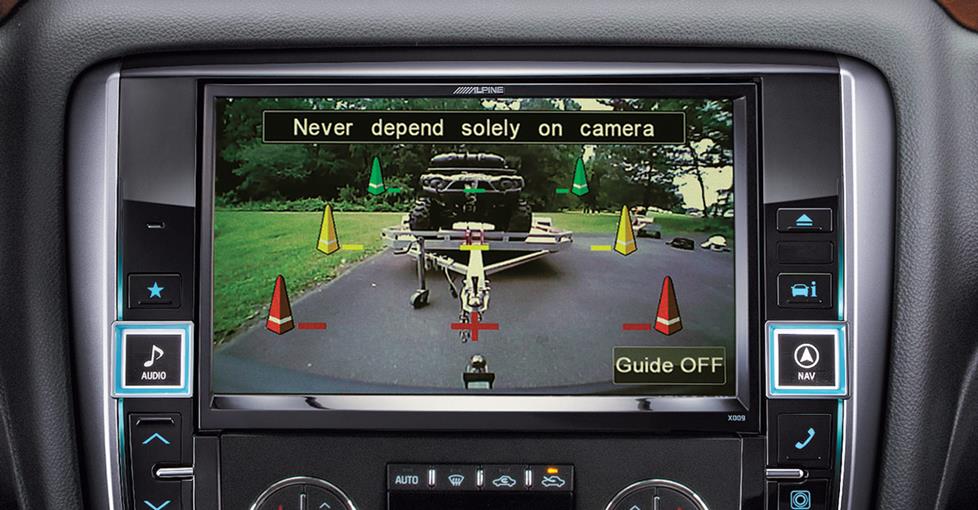
Setting up a backup camera in your car enhances safety by improving rear visibility, potentially protecting you from accidents. Modern vehicles often come with these cameras pre-installed, but for car owners without this feature, adding an aftermarket backup camera is a valuable upgrade. This article breaks down the DIY installation process into simple steps, ensuring you set up your backup camera properly and enjoy the added confidence it brings while reversing your vehicle.
Choosing the Right Backup Camera Kit
Select a Compatible Model
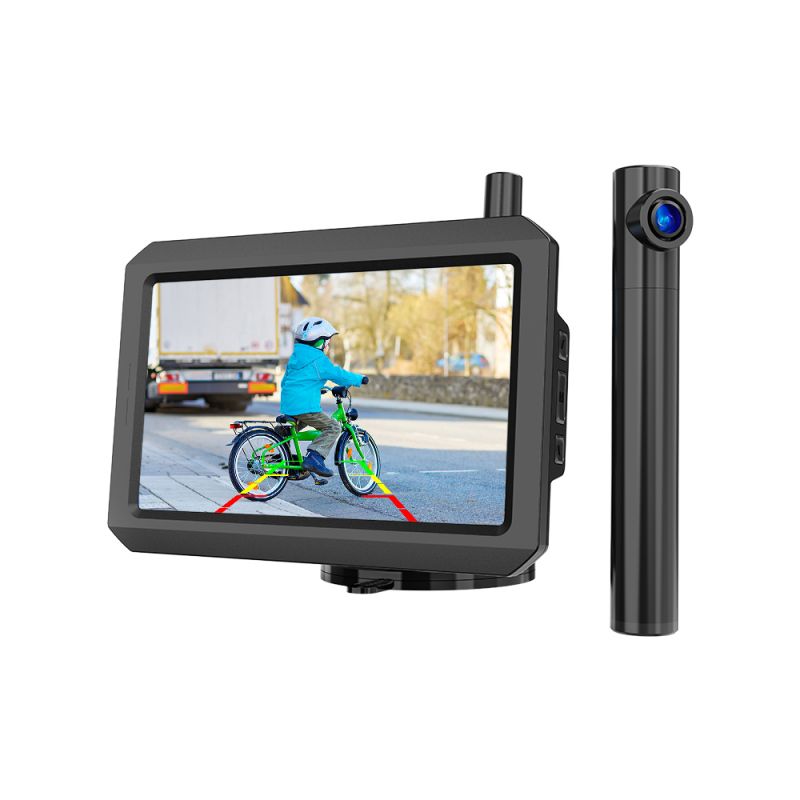
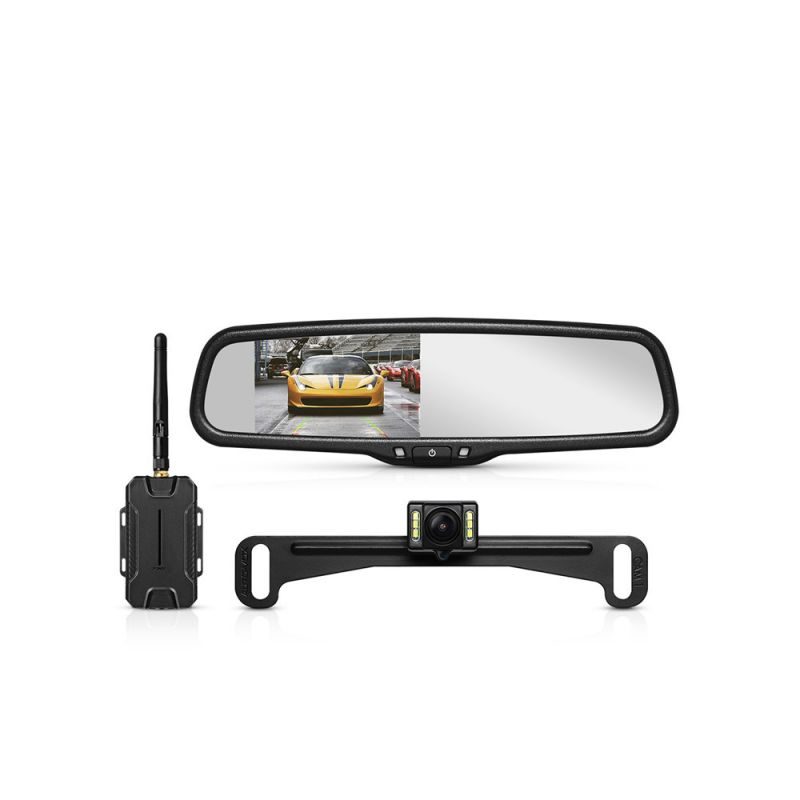
The first step is to pick a backup camera kit compatible with your vehicle. Check the manufacturer’s specifications for guidelines on compatibility with different car makes and models. Consider whether you want a wired or wireless system, as wired ones generally offer a more stable image but can be more complex to install.
Features and Functionality
Look at the features each camera offers, such as night vision, parking guidelines, and viewing angle. A wider angle provides better coverage but may distort distances. Choose a model with clear instructions and reliable customer support, which will be crucial if you encounter difficulties during installation.
Preparing for Installation
Gather Tools and Read Instructions
Amass all the tools you’ll need before starting the installation. This often includes a drill, screwdriver, wire strippers, and electrical tape, among others. Read the manufacturer’s installation instructions through at least once to familiarize yourself with the process and the specific needs of your backup camera system.
Plan Camera and Monitor Placement
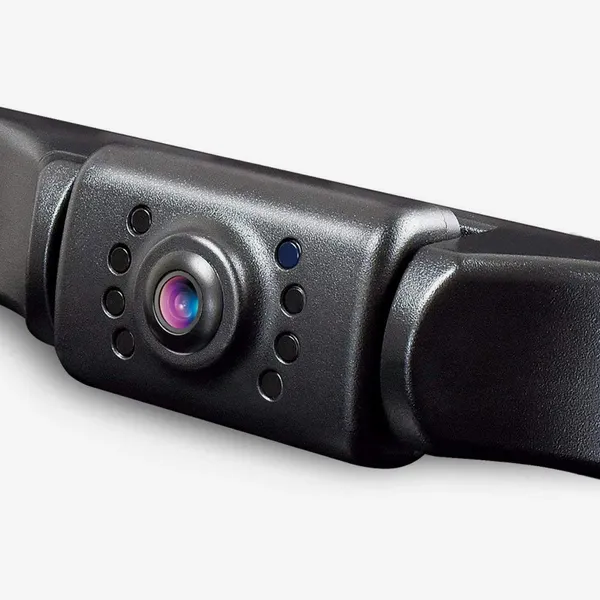
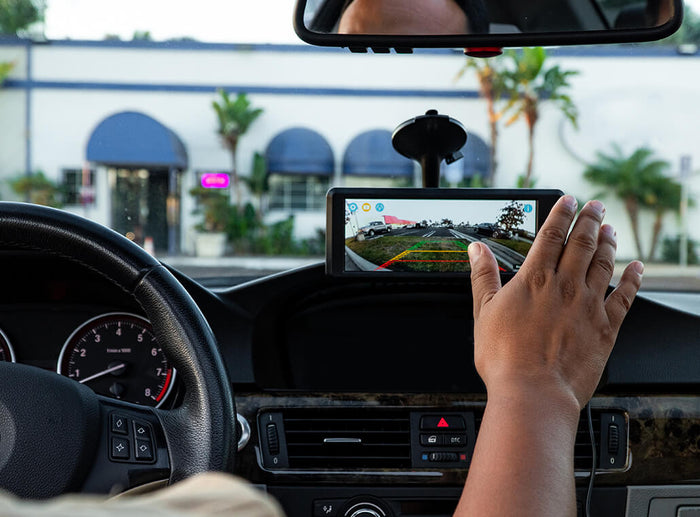
Decide where the camera will mount—usually on the license plate frame or a suitable flat surface at the back of the car. Plan how the wires will run from the camera to the monitor inside your car. The monitor should be in a position that’s visible while driving without obstructing your view. Using suction cups or a dash mount can allow for temporary placement while testing the system.
Wiring Your Backup Camera System
Establishing Power Connections
You will need to connect the backup camera to a power source, typically your vehicle’s reverse light power cable—this ensures the camera activates when you switch to the reverse gear. Carefully splice into the reverse light wires and attach the camera’s power cable, ensuring all connections are secure and properly insulated with electrical tape or wire connectors.
Running Wires Through the Vehicle
For wired backup camera systems, routing the video and power cables from the camera to the monitor is often the most involved step. Follow distinct routes under carpets or through panels, keeping cables hidden and safe from pinching or crimping, which could damage them. When routing the wires, avoid areas that may generate electrical noise or heat that might affect the camera’s performance.
Connecting the Monitor
Monitor Setup
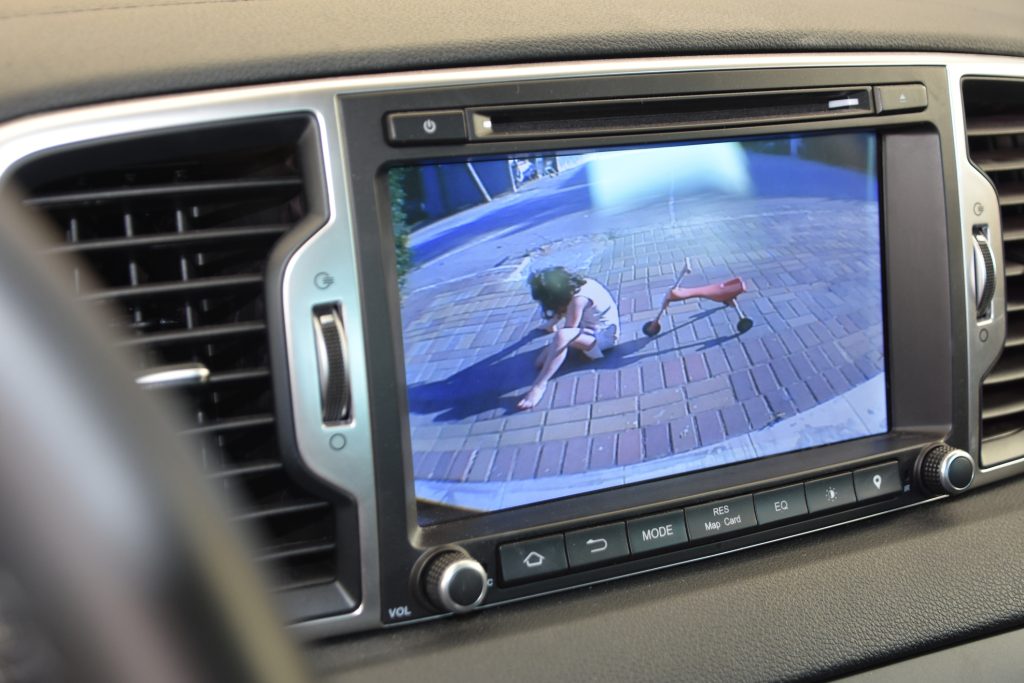
Secure the monitor on the dashboard, windshield, or wherever you’ve determined is best for screen visibility and safety. Follow the specific instructions for your model to connect the monitor to the backup camera’s video cable and a power source, often the fuse box or a 12V power socket in your vehicle.
Testing Connections
Before finalizing the installation, test the connections by putting your car in reverse to activate the monitor. Check the quality of the image for clarity and ensure no cables interfere with driving mechanisms like the gear shift, pedals, or steering wheel. Make adjustments to cable routes or camera position as needed for optimal functionality.
Adjusting and Securing
Fine-Tune Camera Angle
Once your backup camera system is operational, fine-tune the camera angle for the best possible view behind your car. This might involve a few iterations of adjustments and testing until you get it right. Make sure you tighten any screws or bolts to secure the camera firmly in place, minimizing vibrations and movements while driving.
Finalizing Installation
After adjusting, it’s time to finalize the installation. Ensure cables are neatly tucked away and secured to prevent damage or rattles. Recheck all connections for sturdiness. Use cable clips or ties to affix the wires within the interior, and make sure the monitor is mounted firmly to avoid it coming loose over time.
Emphasizing Routine Maintenance
Keeping the Camera Clean
Regular maintenance is vital for ensuring long-term functionality of your new backup camera. Dirt, road salt, and other debris can accumulate on the lens, which might obstruct the camera’s view. Make it a practice to clean the lens frequently with a soft, clean cloth, especially after harsh weather conditions to maintain clear visibility.
Inspecting Wiring Periodically
With temperature changes and normal vehicle use, the wires and connections can become loose or wear down over time. Periodically inspect the cables—particularly those exposed to the elements—for fraying, corrosion, or disconnections. Addressing issues promptly will avoid interruptions in your backup camera’s operation and potentially more complex repairs down the line.
Upgrading Your System Responsibly
Evaluating Advanced Features
As technology advances, so do the features available for backup camera systems. Night vision capabilities, dynamic parking lines that bend as you steer, and even cameras that offer 360-degree views are becoming more common. If you find that your backup camera system doesn’t meet your evolving needs, consider upgrading to a model with additional functionalities that can provide greater assistance and contribute to a safer driving experience.
Disposing of Electronic Waste Correctly
When upgrading any electronic equipment in your vehicle, dispose of the old components responsibly. Many of the materials used in cameras and monitors can be harmful to the environment if not handled properly. Look for e-waste recycling programs in your area or inquire with automotive shops about proper disposal methods. By disposing of electronic waste correctly, you’re contributing to the conservation of the environment while enjoying the latest advancements in car safety technology.
Leveraging Backup Camera Capabilities
Enhancing Parking Skills
With a backup camera installed, you can improve your parking skills dramatically. The camera provides a perspective that you don’t get from mirrors alone, allowing for precise maneuvers in tight spaces. Use the guidelines displayed on the monitor to judge distances more accurately, and with practice, you’ll gain confidence in parallel parking and backing into spaces.
Increasing Awareness
Furthermore, a backup camera extends your field of view, increasing awareness of what’s happening around your vehicle. It can help in spotting small obstacles, animals, or even children that might be behind the car—hazards that are usually out of sight. With this increased awareness, you can maintain a safer environment for everyone around your vehicle.
Enjoy Your Enhanced Safety Feature
Successfully installing a backup camera not only boosts your confidence as a driver but also significantly improves safety. By selecting the right camera system, preparing thoroughly, completing a careful installation, and making necessary adjustments, you ensure this feature works well to prevent accidents. Whether you choose a wireless or wired system, the peace of mind when reversing is worth this relatively straightforward DIY project. With your new backup camera installed, enjoy a clearer view every time you put your vehicle in reverse, and relish the added convenience and security it brings to your daily driving experience.
