In the world of DIY, having the right tools can make all the difference between a successful project and a frustrating experience. An often-overlooked tool that has proven invaluable in a wide range of DIY projects is the endoscope camera. This versatile device, traditionally used in medical procedures, has found its way into the hands of DIY enthusiasts thanks to its ability to provide a close-up view of hard-to-reach places. This article will guide you through the basics of using an endoscope camera for DIY projects, ensuring you get the most out of this innovative tool.
Understanding Endoscope Cameras
What is an Endoscope Camera?
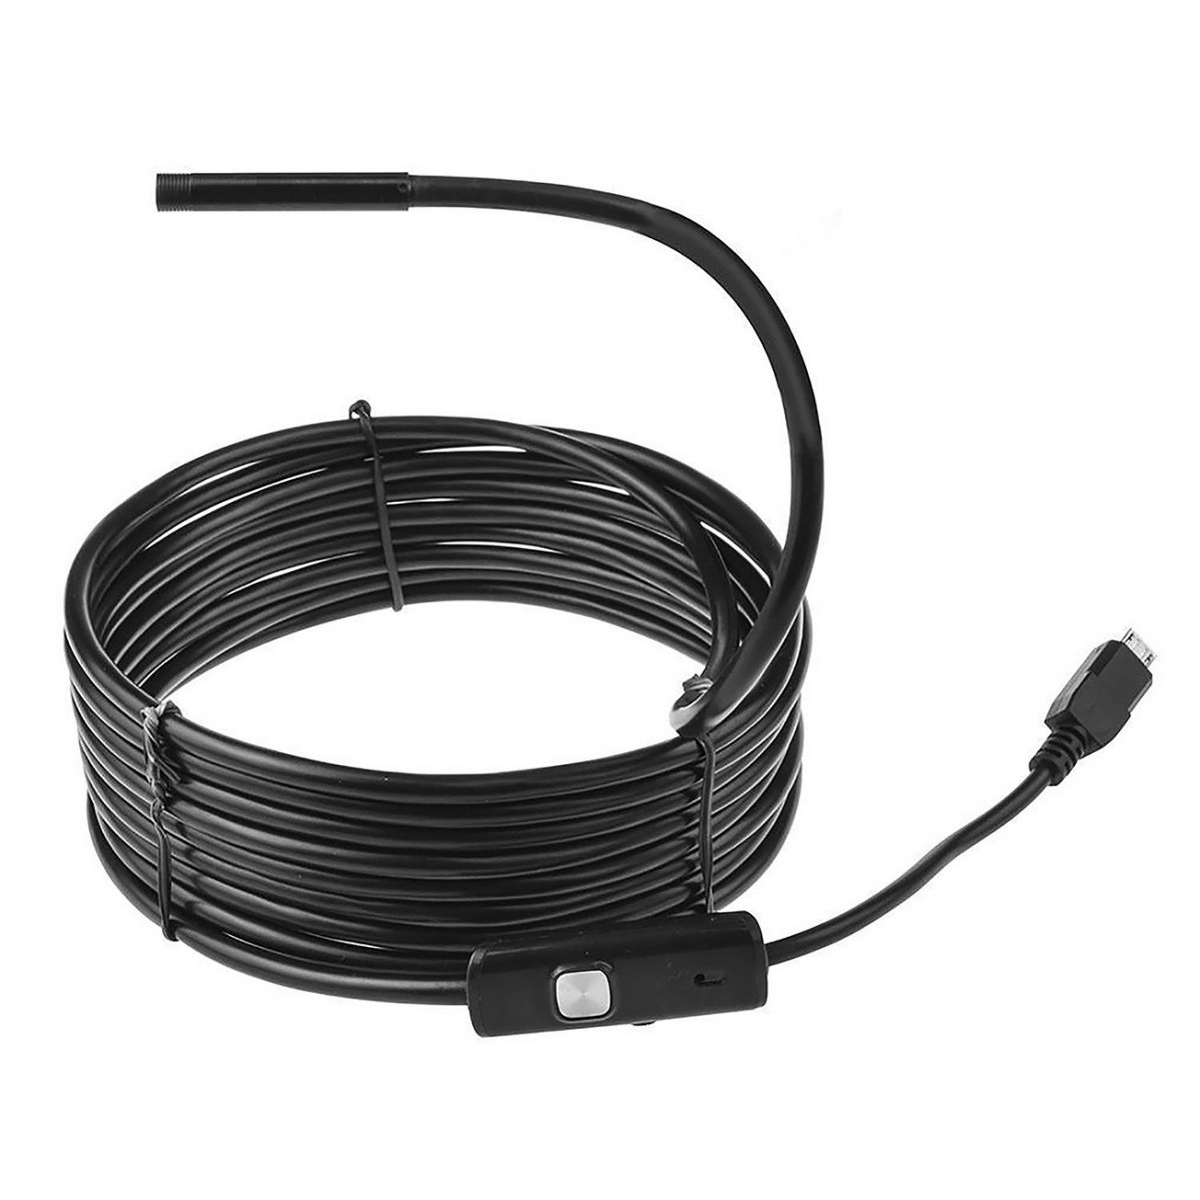
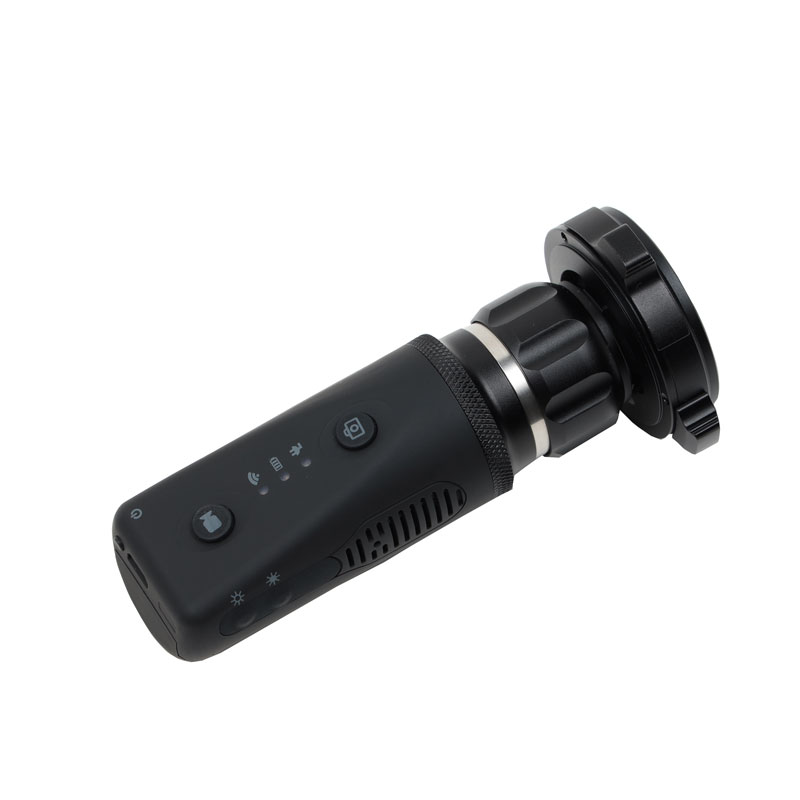
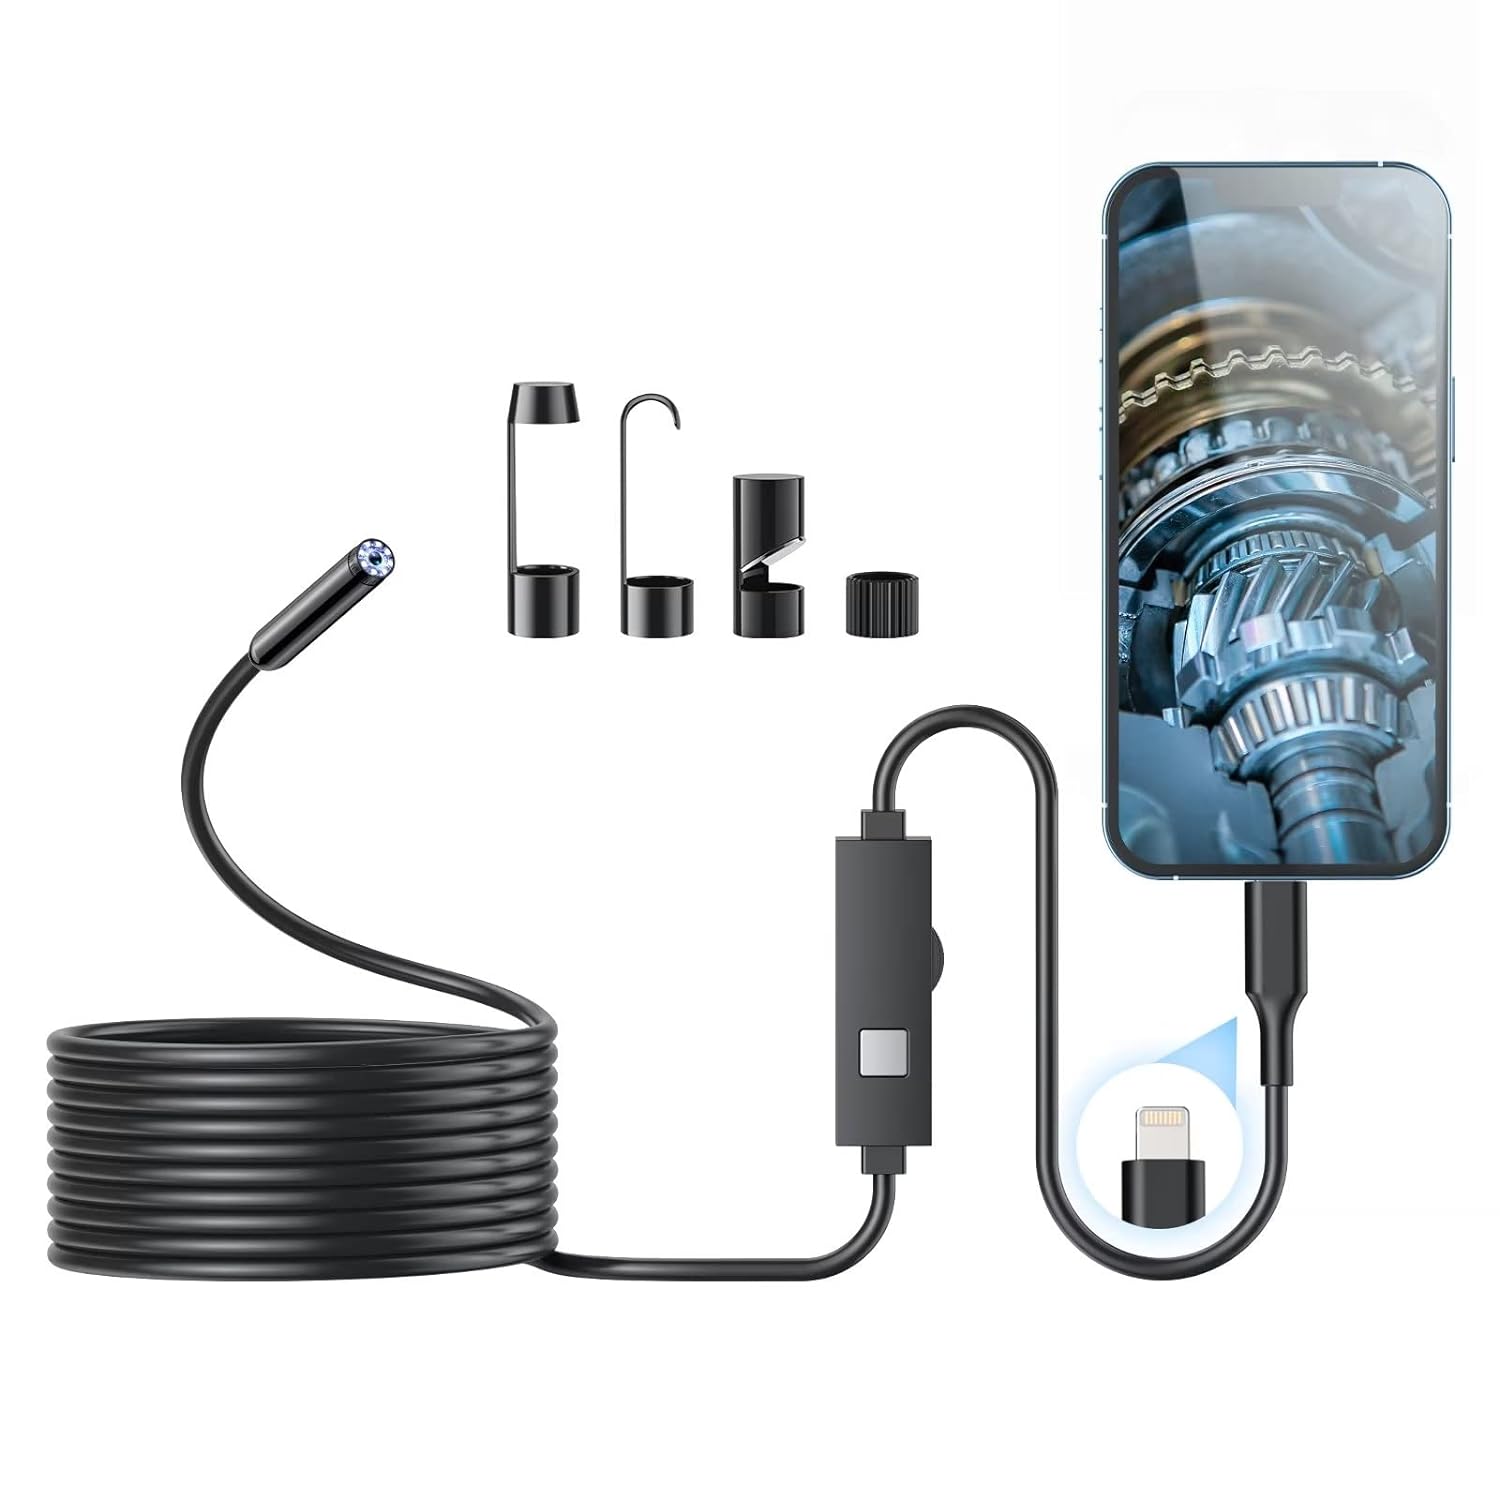
An endoscope camera is a small, flexible camera attached to a long, thin tube. It’s designed to navigate through narrow spaces, providing a live video feed to a connected display. This allows users to inspect areas that are otherwise inaccessible, such as inside pipes, behind walls, or within complex machinery. With LED lights attached near the camera lens, endoscopes can illuminate dark spaces, making them perfect for detailed inspection work.
Benefits for DIY Projects
For DIY enthusiasts, an endoscope camera can be a game-changer. It allows for precision inspections without the need for disassembling or cutting into surfaces. Whether you’re trying to locate a leak, inspect electrical wiring, or find a blockage, an endoscope camera can provide clear visuals in tight spots. This not only saves time but also helps avoid potential damage to your property during exploratory procedures.
Preparing Your Endoscope Camera for Use
Selecting the Right Camera
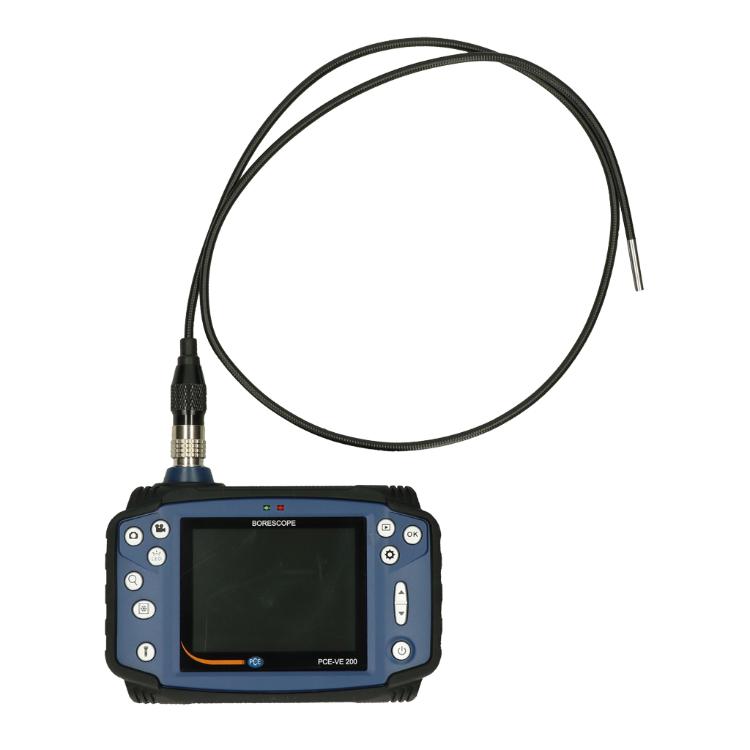
When choosing an endoscope camera for DIY projects, consider the camera’s diameter, flexibility, and the length of the cable. Smaller diameters can access tighter spaces, but may offer lower-quality images. Look for cameras with high-resolution output for clearer visuals. Additionally, ensure the model you select is compatible with your smartphone or display device.
Setting Up Your Device
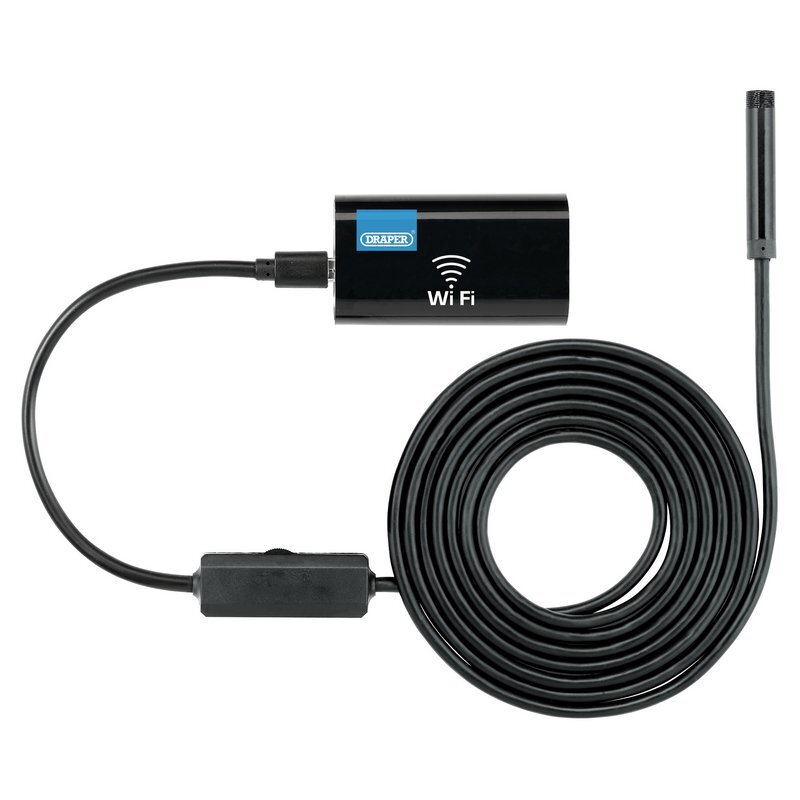
Setting up your endoscope camera typically involves charging the camera (if it’s not plug-in), installing any necessary software or apps on your display device, and connecting the camera via USB, Wi-Fi, or Bluetooth. Ensure that the LED lights are functioning and adjust them to the desired brightness. Familiarize yourself with the controls and features of both the camera and the software, such as taking photos, recording videos, and adjusting the light intensity.
Practical Applications in DIY Projects
Plumbing Inspections
One of the most common uses for endoscope cameras in DIY projects is plumbing inspections. Whether it’s checking for clogs deep within pipes or inspecting the condition of water lines, an endoscope can provide a clear view without the need for extensive disassembly. Simply feed the camera into the pipe or drain and watch the display for any signs of trouble.
Electrical Work
For those tackling electrical work, an endoscope camera can help inspect wiring within walls or behind appliances. This is particularly useful for tracing wires, identifying electrical faults, or ensuring that new wiring is correctly installed. The camera’s flexibility and illumination make it easier to navigate through tight spaces filled with wires.
Automotive Repairs
DIY mechanics can benefit greatly from using an endoscope camera for automotive repairs. From inspecting engine components to checking for leaks in hard-to-reach areas, an endoscope camera brings visibility to otherwise hidden parts of a vehicle. This can aid in diagnosing issues and verifying repairs without the need for complete disassembly.
Tips for Effective Use
Slow and Steady Movements
When using an endoscope camera, move the camera slowly and steadily. Quick or jerky movements can result in blurry images and make it difficult to get a clear view of your area of interest. Gentle manipulation of the camera will give you the best results.
Lighting Is Key
Proper lighting is critical for getting clear images with an endoscope camera. Make full use of the camera’s built-in LED lights, adjusting the brightness as needed to illuminate dark spaces. In some cases, additional external light sources might be necessary to improve visibility.
Review and Record
Take advantage of the camera’s recording features by saving images and videos of your inspections. This documentation can be helpful for reviewing details later or seeking advice from professionals. It also serves as a valuable reference for monitoring the progression of a potential issue over time.
Maximizing Project Efficiency
Streamlining Problem Diagnosis
An endoscope camera drastically reduces the guesswork in identifying the root cause of issues within unreachable areas. A precise visual inspection enables a quicker diagnosis, allowing DIYers to immediately focus on the solution rather than spending time on speculative troubleshooting. As the camera reveals the inner workings of machinery, pipes, and walls, you can pinpoint problems like leaks, fractures, or wear and tear without intrusive exploration. By cutting down on the time it takes to assess the situation, you can allocate more time to the actual repair or improvement work, boosting your overall project efficiency.
Advancing with Technology
Embracing the digital toolset of an endoscope camera is an acknowledgment of advancing DIY practices. Incorporating this technology not only demonstrates a commitment to modern problem-solving methods but also enhances the quality of the work. By combining this advanced tool with traditional DIY skills, project enthusiasts can tackle complex tasks that were once out of reach for the typical home repair toolkit. Whether applying the endoscope to examine interior structures or utilizing its recording capabilities to document and plan projects, the integration of this technology fosters a more progressive, informed, and capable DIY approach.
Unleashing Potential with Advanced Tools
Revolutionizing DIY with the Endoscope Camera
In the ever-evolving landscape of do-it-yourself projects, where creativity meets functionality, the advent of the endoscope camera stands out as a groundbreaking leap. This sophisticated tool does more than just illuminate hidden corners and unreachable crevices; it fundamentally changes our approach to problem-solving in the DIY world. With its slender, flexible form and powerful visual capabilities, the endoscope camera invites us into the concealed inner workings of our homes and gadgets, offering a level of detail previously unattainable to the hobbyist. This intimate exploration not only enhances the precision and safety of our projects but also expands our horizons, pushing us to think outside the box and tackle challenges with renewed confidence and insight.
An endoscope camera is a potent tool in the arsenal of any DIY enthusiast, providing insightful visuals into the hidden recesses of projects. By understanding how to select, set up, and effectively use an endoscope camera, you can tackle a wide array of DIY tasks with greater confidence and precision. Remember to proceed with care, take advantage of the camera’s features, and document your findings for a comprehensive DIY experience. With these tips, you’re well-equipped to explore new dimensions of DIY projects, making the invisible, visible.