Venturing into the realm of low-light photography presents a unique set of challenges and opportunities. The latest advances in light cameras, with their superior sensors and features, empower photographers to capture stunning images even in the dimmest conditions. This article will guide you through mastering low-light photography while harnessing the power of these innovative cameras.
Understanding Low-Light Photography
The Challenges of Shooting in Low Light
In low-light situations, cameras struggle to capture details and often produce images with high noise levels. Understanding the limitations and capabilities of your camera in such conditions is crucial. A camera’s sensor sensitivity, denoted by its ISO range, along with its aperture and shutter speed capabilities, play a significant role in low-light performance.
Selecting the Right Camera
When selecting a light camera for low-light photography, look for models with large sensors, wide apertures, and high ISO ranges. These features allow more light to reach the sensor, thus improving image quality. Cameras labeled as having good low-light performance or those specifically designed for such environments make excellent choices for low-light enthusiasts.
Adjusting Camera Settings for Low Light
Optimizing ISO Settings
In low-light settings, you will often need to increase your ISO to capture more light. However, pushing ISO too high can introduce noise. Latest light cameras often feature advanced noise reduction technology that allows photographers to use higher ISO values with less degradation in image quality. Experiment to find the sweet spot where you achieve a bright enough exposure without compromising too much on noise.
Balancing Aperture and Shutter Speed
A wider aperture lets in more light, making it ideal for low-light photography. Pair a wide aperture with slower shutter speeds to allow the camera to gather more light during exposure. Be mindful of camera shake and subject movement; a tripod or image stabilization can help maintain sharpness when using slower shutter speeds.

Leveraging Camera Technology
Making Use of Image Stabilization
Modern cameras come equipped with image stabilization (IS) features, either in the camera body (IBIS) or in the lens (OIS). These functionalities are invaluable in low-light scenarios, as they counteract small movements that could lead to blurry images. Make sure to activate these features to expand the range of shutter speeds you can use without a tripod.
Utilizing Advanced Autofocus Systems
Low light can make focusing difficult. However, recent cameras have advanced autofocus systems that perform better in low lighting. Features like focus peaking or low-light AF assist can contribute greatly to achieving sharp focus in your night-time shots. Familiarize yourself with these tools and how to quickly access them on your camera for when the moment calls.
Crafting the Scene with Lighting
External Light Sources
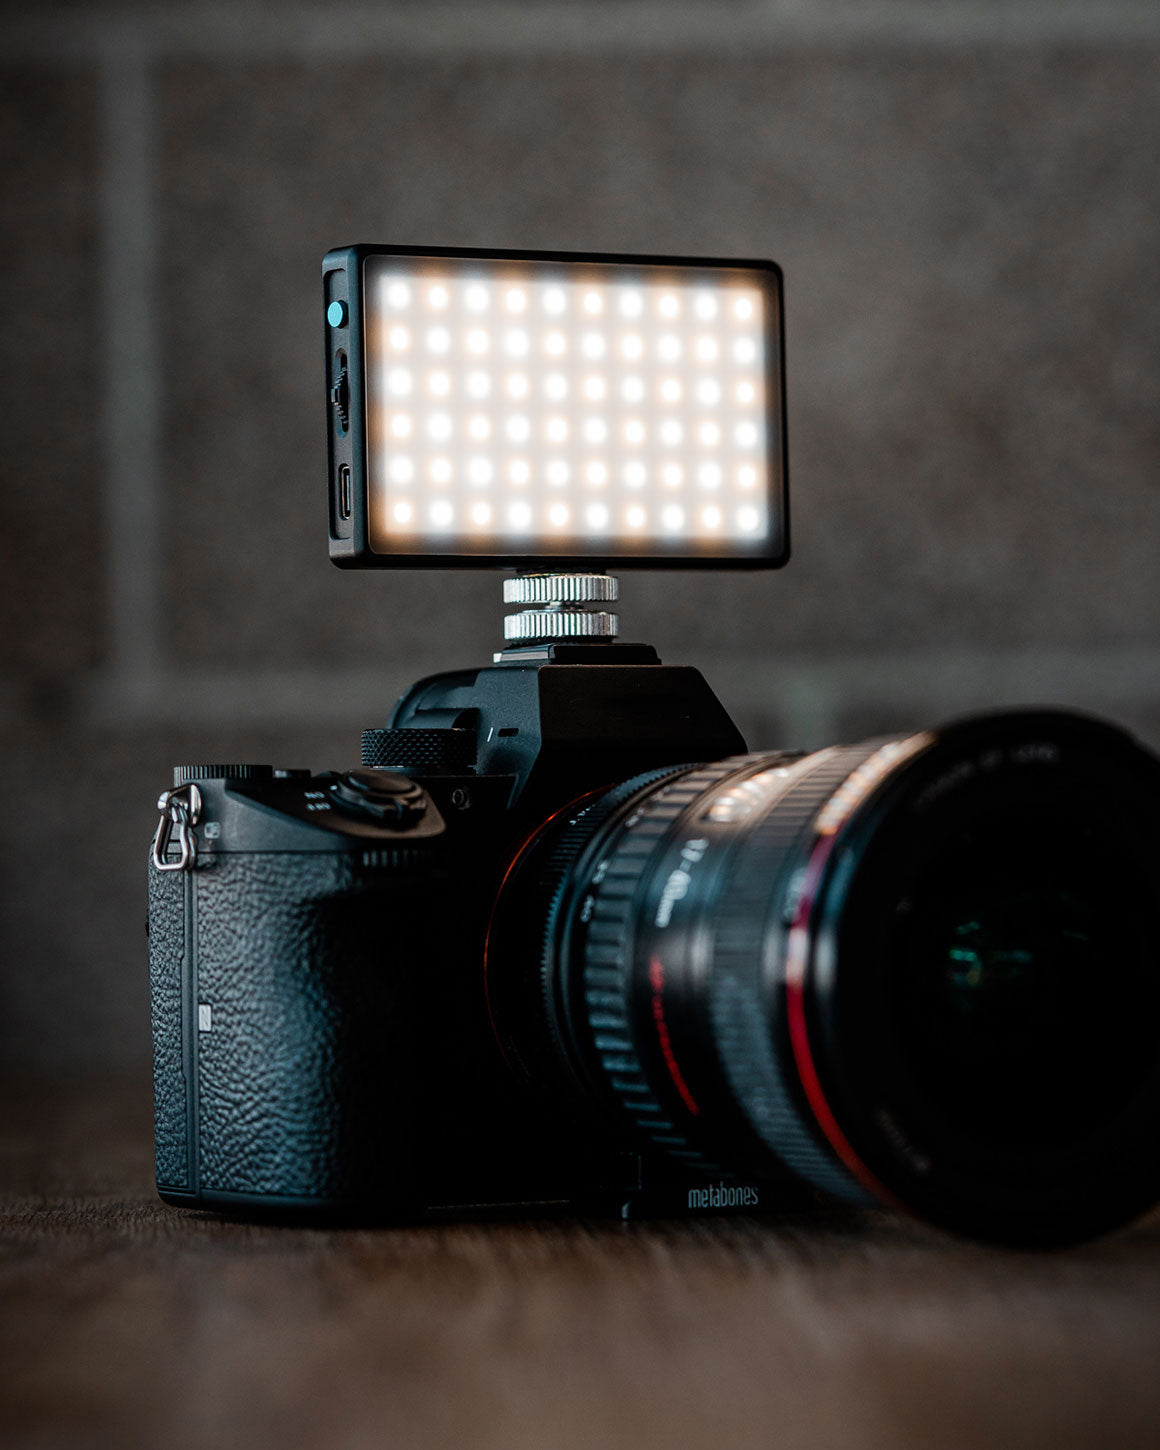
If the available light isn’t sufficient, consider using external light sources. LED panels, flashguns, or even a smartphone’s flash can provide additional light. Latest light cameras have improved flash control systems that enable photographers to adjust the strength and direction of additional light seamlessly for the desired effect.
Creative Lighting Techniques
Techniques such as “painting with light” can add a creative spin to your low-light images. Use a handheld light source like a flashlight to selectively illuminate parts of the scene during a long exposure. This method can yield unique and artistic photos that burst with life, even in the darkest environments.
Post-Processing Low-Light Images
Noise Reduction and Editing Software
Post-processing is crucial for enhancing low-light images. Use editing software to apply noise reduction filters that clean up the digital ‘grain’ without sacrificing detail. Modern cameras often provide software that is tailored to their sensor’s characteristics and can deal with noise more effectively.
Adjusting Exposure and Color Correction
When editing, adjust the exposure to brighten the image if necessary, and work on color correction to account for shifts that often occur in low-light settings. Software tools can also help recover details in shadows and highlights, bringing out subtleties that may not be immediately apparent in the original exposure.

Practice, Practice, Practice
Learning Through Experience
Mastering low-light photography comes with experience. Spend time practicing with your camera in different environments and lighting conditions. Learn how changing each setting affects the final image. As you practice, you’ll gain an intuitive understanding of how to quickly adapt your camera settings on the fly.
Analyzing and Improving Technique
After each session, review your photos to identify what works and what doesn’t. Take note of successful settings and techniques that you can replicate in the future. Continuous learning and reviewing your own work are key to improving your low-light photography skills.
Experimenting with Different Scenarios
Situational Awareness and Flexibility
Each low-light environment you encounter may demand a different approach. Whether shooting under the faint glow of streetlights or capturing the subtle ambiance of a candlelit room, you must be aware and adaptable. Test various camera settings and compositions in diverse locations. Outdoor scenes often require different strategies than indoor settings, and familiarizing yourself with both can significantly enhance your photographic versatility.
Harnessing the Power of Raw Files
Shooting in RAW format is particularly beneficial in low-light photography, as it captures a wider dynamic range and offers greater latitude in post-processing. With RAW files, you can fine-tune exposure, white balance, and other key details without loss of image quality. This way, if the lighting conditions weren’t ideal at the time of shooting, you have a better chance of salvaging and improving your images during editing.
Embracing the Unexpected
Low-light photography often yields surprising results – an unintended silhouette, an unexpected reflection, or the dramatic play of shadows and light. Learn to embrace these spontaneous elements. They can add a unique dimension to your photos that planned shots might miss. Keep an open mind, and don’t hesitate to experiment with compositions that initially may seem unconventional.
Embrace the Darkness
Low-light photography allows for some of the most impressive and atmospheric images in a photographer’s portfolio. With the latest light cameras and a solid grasp of their capabilities and settings, you can push the boundaries of your work into the night. Embrace the challenges and joys of shooting when light is scarce, and cultivate the skills to let your creativity shine in the darkness.