Installing a Wyze Doorbell Camera can enhance your home security by providing real-time video monitoring and instant alert notifications. With easy-to-follow steps and practical guidelines, you can have your doorbell camera up and running efficiently. This comprehensive guide covers preparation, installation, app setup, configuration, testing, adjustments, and troubleshooting to ensure a seamless experience.
Preparing for Installation
Gather Necessary Tools
Gathering the necessary tools before starting the installation process is crucial for a smooth and trouble-free setup. You will need a standard screwdriver for removing and mounting screws, a drill with appropriate drill bits for creating pilot holes, a level for ensuring the doorbell is mounted straight, and a voltage tester to verify the power supply. Make sure you also have the Wyze Doorbell Camera kit, which includes the camera unit, mounting bracket, screws, and wall anchors. Having all these tools within reach will minimize interruptions and help you stay organized throughout the installation process.
Check Compatibility
Before diving into the installation, check that your existing doorbell system is compatible with the Wyze Doorbell Camera. The Wyze Doorbell Camera requires a wired doorbell setup with a voltage range of 16-24V AC. Using a voltage tester, verify that your existing doorbell transformer meets this requirement to avoid any potential issues. Ensuring compatibility not only prevents complications during installation but also guarantees that the doorbell camera will operate efficiently. If your current system is not compatible, you may need to upgrade your doorbell transformer to meet the necessary voltage requirements.
Removing Your Existing Doorbell
Turn Off Power
For safety, always turn off the power to your doorbell system before beginning the installation. Locate the corresponding circuit breaker in your electrical panel and switch it off. Confirm that the power is truly off by pressing your existing doorbell button; it should not ring. Taking this precaution prevents electrical accidents and ensures a safe environment while working on your doorbell system. Double-checking that the power is off eliminates the risk of electric shock, making the installation process safer.
Detach the Old Doorbell
Once the power is off, use a screwdriver to remove the screws that secure your current doorbell to the wall. Carefully pull the doorbell away from the wall, exposing the wires connected to it. Disconnect the wires, making sure to take note or a picture of how they were connected, as this will be helpful when connecting the new Wyze Doorbell Camera. Handling the old doorbell and wires with care prevents damage and makes the subsequent installation steps easier. Keeping track of the wire configuration ensures a smoother transition to the new system.
Installing the Wyze Doorbell Camera
Mounting the Bracket
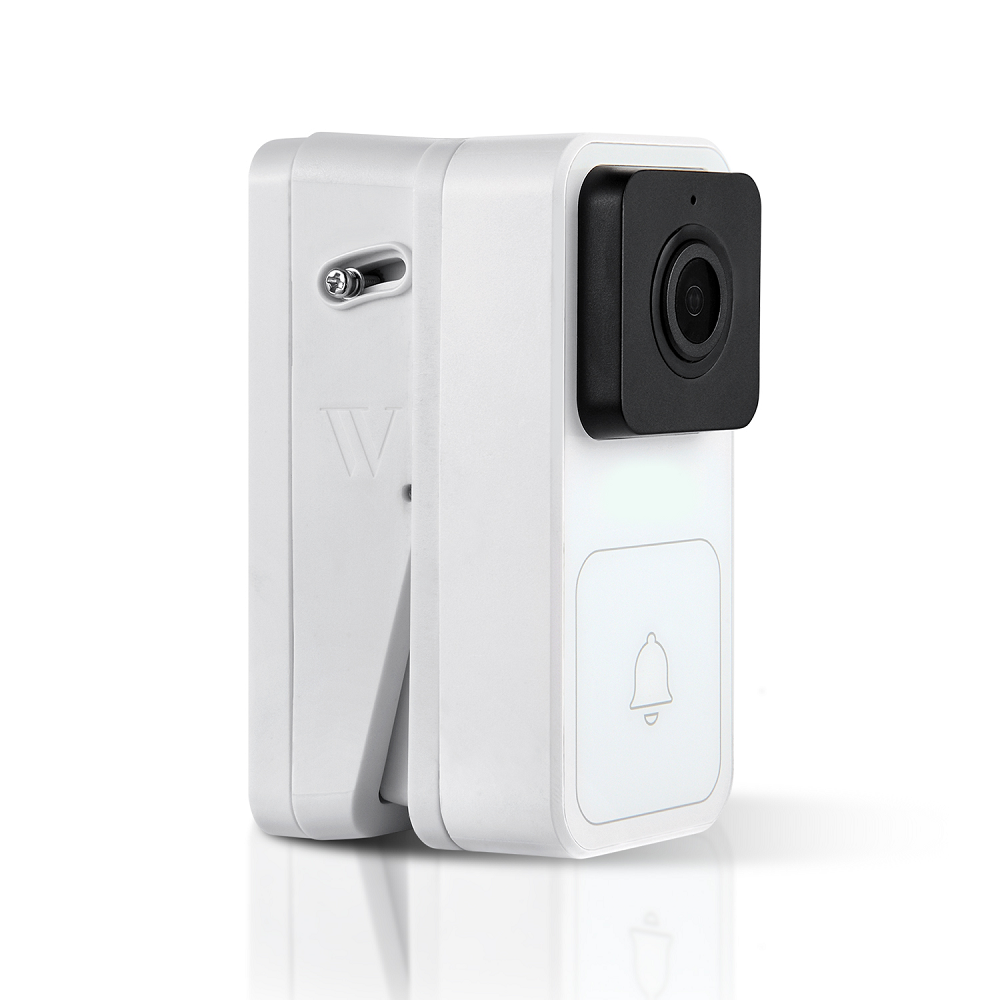
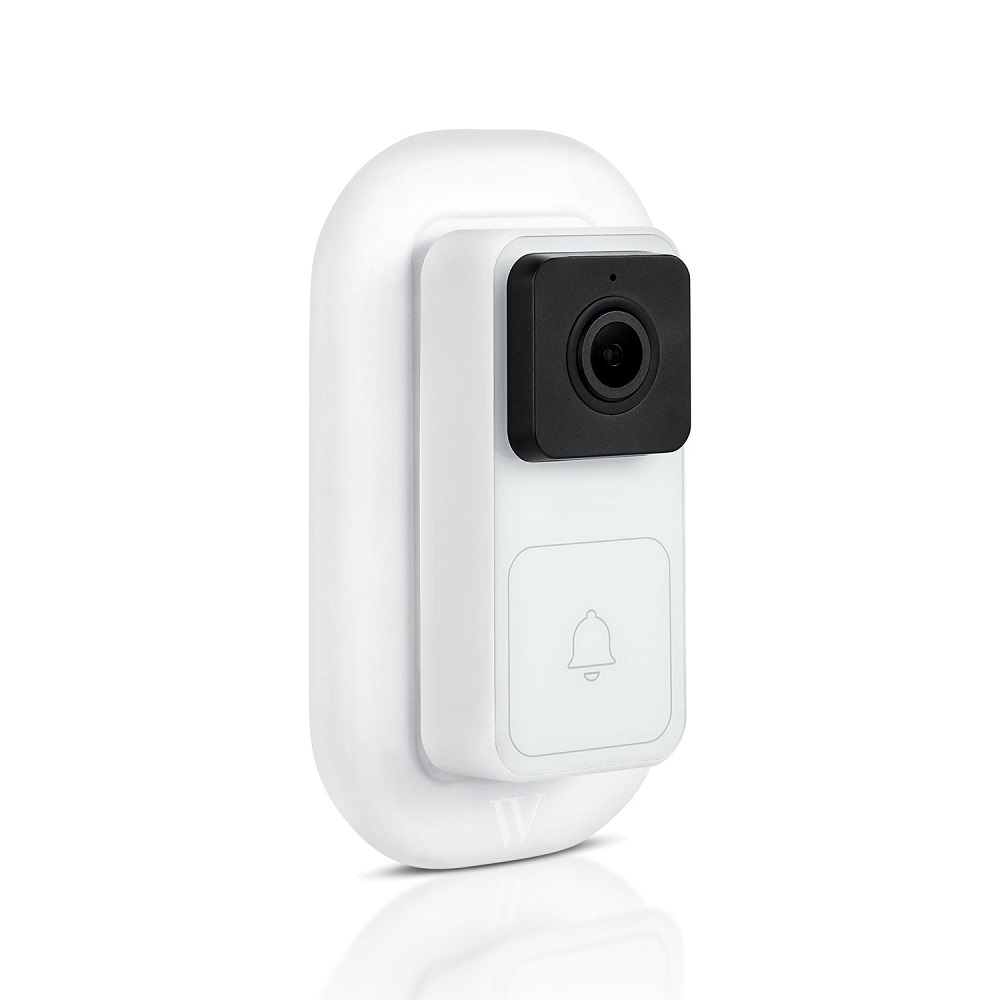
Select the perfect spot to mount your Wyze Doorbell Camera. Position the mounting bracket against the wall where you want to install the doorbell, and use a level to ensure it is aligned correctly. Mark the screw hole locations with a pencil. Using a drill, create pilot holes at the marked sites and insert wall anchors if necessary to provide secure mounting. Secure the bracket to the wall using the provided screws, making sure it is firmly in place. Properly mounting the bracket ensures that the doorbell camera is stable and positioned for optimal viewing angles.
Connecting the Wires
With the mounting bracket securely in place, connect the existing doorbell wires to the terminals on the back of the Wyze Doorbell Camera. It doesn’t matter which wire connects to which terminal, as the doorbell will function correctly regardless. Tighten the screws to secure the connections firmly. Once connected, align the doorbell with the mounting bracket and slide it into place. Lock it using the provided screw at the bottom to ensure it stays secure. Secure wire connections and proper mounting prevent operational issues, ensuring reliable performance and stability for the doorbell camera.
Setting Up the Wyze App
Download and Install the App
To fully utilize the Wyze Doorbell Camera, download the Wyze app from the Apple App Store or Google Play Store onto your smartphone. Install the app and create a Wyze account if you don’t already have one. Log in to your account to begin the setup process. Having the app ready on your smartphone streamlines the camera setup and provides easy access to its features and settings. Being familiar with the app interface will also make managing your doorbell camera more intuitive.
Add the Doorbell Camera
Within the Wyze app, tap the “+” icon to add a new device and select “Wyze Doorbell” from the list of available devices. Follow the on-screen instructions to connect the doorbell camera to your Wi-Fi network. Ensure your phone is connected to the same network during this process to facilitate a smooth setup. Once connected, the app will guide you through the remaining steps to finalize the setup. Adding the doorbell camera to the app integrates it with your home network, enabling remote access and control from your smartphone.
Configuring the Camera Settings
Adjust Motion Detection Settings
Navigate to the doorbell camera settings within the Wyze app. Here, you can adjust the motion detection settings to suit your preferences. Set the sensitivity level, define detection zones, and configure what kind of notifications you wish to receive. Properly configuring these settings minimizes false alerts and ensures that only relevant activities trigger notifications. Taking the time to fine-tune these features enhances the camera’s functionality and reduces unnecessary interruptions, providing a more tailored security experience.
Set Up Notifications
Enable notifications to receive alerts for motion detection and doorbell presses directly on your smartphone. Customize the notification settings to choose between push notifications, email alerts, or both, depending on your preference. You can also set specific times for when you want to receive notifications, ensuring that you are only alerted during relevant hours. Setting up notifications ensures that you are always informed of any activity at your door, enhancing your home security and providing peace of mind whether you’re at home or away.
Testing and Final Adjustments
Test the Doorbell Functionality
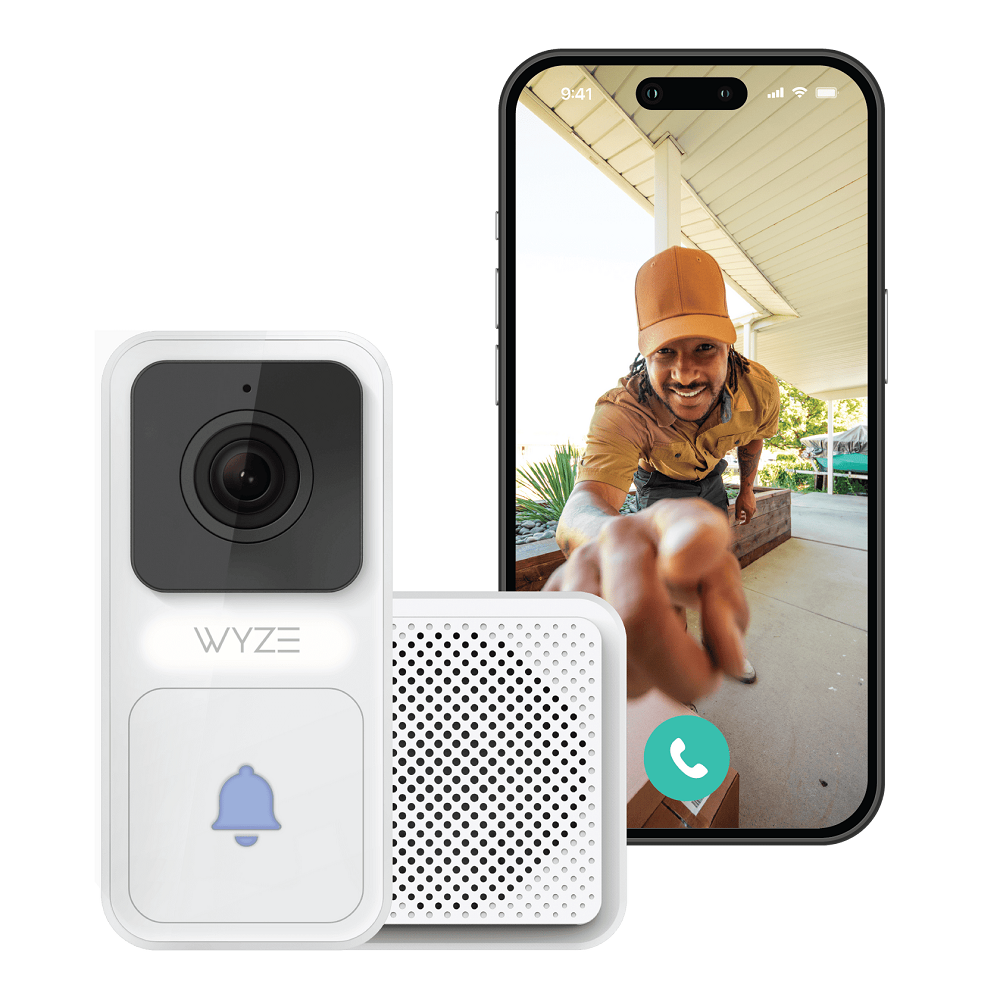
With the setup complete, test the doorbell functionality to ensure it works as expected. Press the doorbell button to confirm it rings your indoor chime and sends a notification to your phone. Verify that the video feed is clear and that motion detection works correctly. Conduct a few tests at different times and settings to make sure everything operates smoothly. Testing ensures that the doorbell camera is correctly installed and configured, providing you with reliable security right from the start.
Adjust the Camera Angle
Evaluate the camera’s field of view and adjust the angle if necessary to cover the desired area. The Wyze Doorbell Camera allows for slight adjustments to ensure optimal coverage. Check the live video feed through the Wyze app to verify that the camera captures the entire area around your front door. Proper camera positioning ensures comprehensive monitoring, allowing you to see visitors, packages, and any unusual activity clearly. Adjusting the camera angle maximizes security by ensuring no blind spots are left unattended.
Troubleshooting Common Issues
Connectivity Problems
If you encounter connectivity issues, first ensure that the doorbell camera is within range of your Wi-Fi network. Check for any network interference from other devices and consider using a Wi-Fi extender to improve signal strength. Restarting both your router and the doorbell camera can also resolve connectivity problems. If issues persist, consult the Wyze support team or refer to the troubleshooting guide within the app. Addressing connectivity issues ensures reliable video streaming and continuous remote access.
Power Issues
If the doorbell camera does not power on, double-check the wiring connections at both the camera and the transformer. Make sure the circuit breaker is turned back on and verify that your doorbell transformer meets the required voltage range. If you still experience power issues, consider consulting an electrician or reaching out to Wyze support for assistance. Ensuring a stable power supply guarantees that your doorbell camera operates effectively and continuously, providing consistent security monitoring.
Secure Your Home with Confidence
Installing and setting up your Wyze Doorbell Camera enhances your home security and provides valuable peace of mind. By following these detailed steps—from preparation and wiring to app setup and troubleshooting—you can ensure a seamless installation process. Proper installation and configuration allow you to take full advantage of the Wyze Doorbell Camera’s advanced features, including real-time video monitoring, motion detection, and instant notifications.
In summary, whether you’re a seasoned DIY enthusiast or a first-time installer, this guide provides clear and practical instructions to help you get your Wyze Doorbell Camera up and running efficiently. Taking the time to install and set up your doorbell camera correctly ensures reliable performance and enhanced security for your home. Enjoy the benefits of advanced home monitoring, and feel secure knowing you can keep an eye on your property from anywhere, at any time. Investing in and installing a Wyze Doorbell Camera is a significant step toward modernizing and safeguarding your home, offering you and your family a higher level of protection and peace of mind.