Underwater photography can be both exhilarating and rewarding, capturing the beauty hidden beneath the waves. Whether you’re snorkeling in a coral reef or diving in deep-blue oceans, having the best underwater camera is essential. However, merely owning a high-quality camera isn’t enough; maximizing its potential requires knowledge and skill. This guide outlines how to get the most out of your best underwater camera, ensuring you capture stunning images of marine life.
Know Your Equipment
Understanding Camera Features
Before you dive into the water, familiarize yourself with your underwater camera’s features and settings. Each camera has unique modes, such as automatic, manual, or underwater-specific settings tailored for various depths and lighting conditions. Understanding these functionalities helps you make the right choices in different environments. For instance, some cameras come with specific modes like macro for close-up shots of tiny fish or wide-angle for capturing expansive seascapes.
You should also explore your camera’s controls, such as aperture, shutter speed, and ISO settings. These parameters significantly affect your photography. Knowing how to adjust these settings quickly can be crucial when faced with ever-changing underwater conditions. Practice using these settings in a controlled environment, so you feel comfortable adjusting them when you’re submerged.
Choosing the Right Accessories
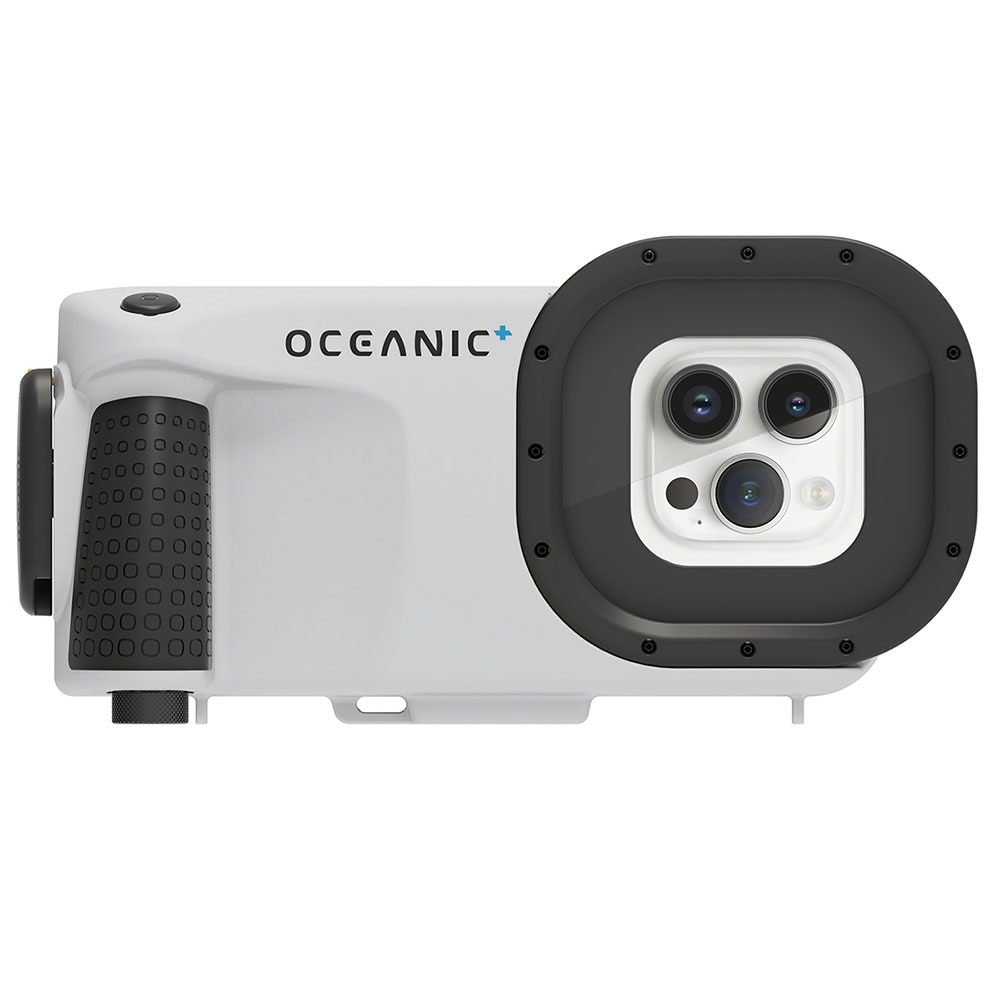
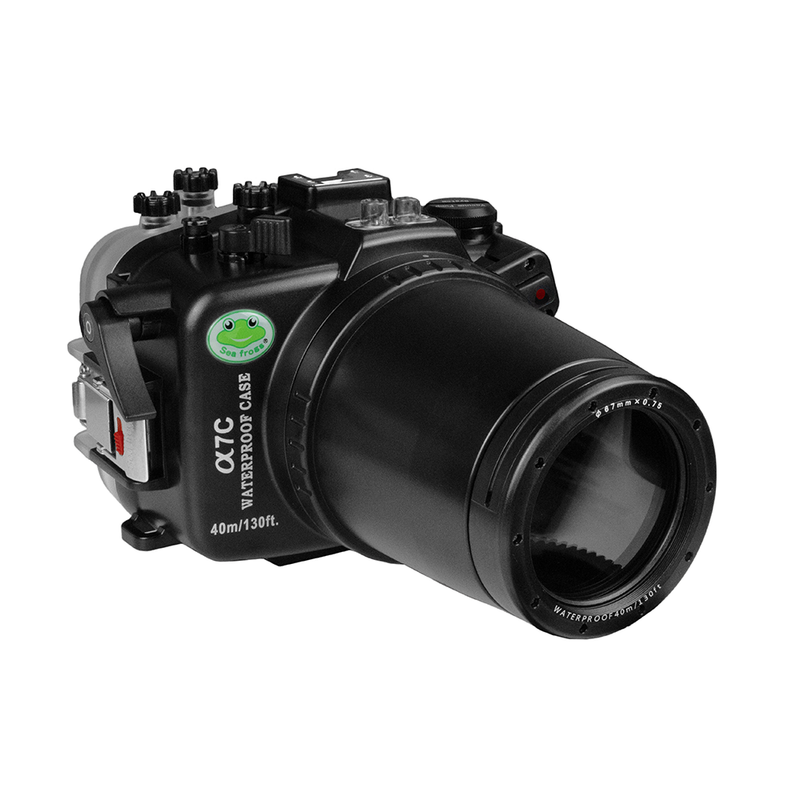
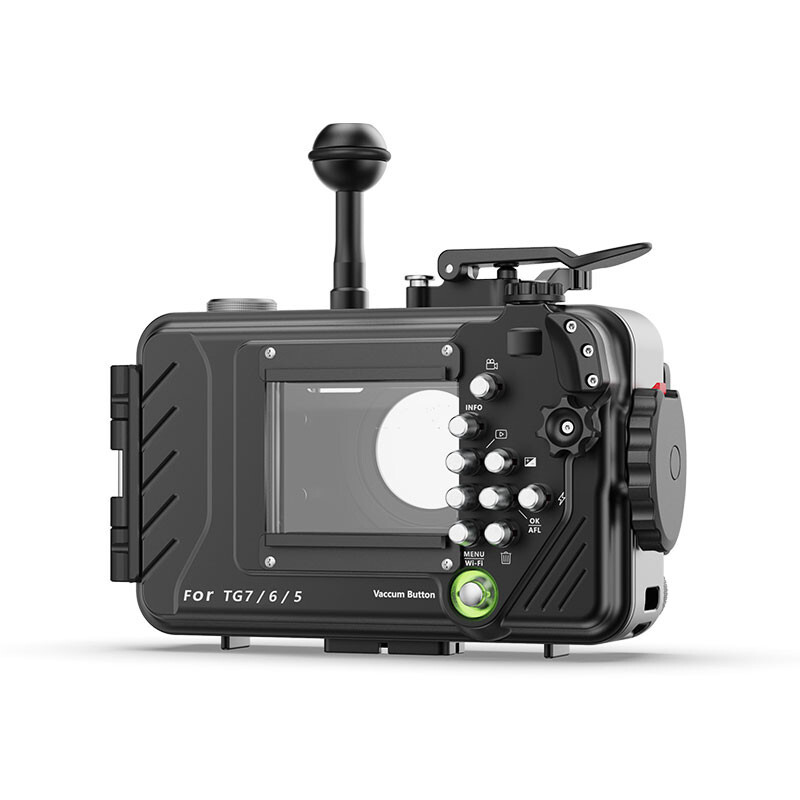
Investing in accessories can drastically improve your underwater photography. A good quality underwater housing is essential for protecting your best underwater camera from water damage, pressures, and potential impacts. If your best underwater camera doesn’t come with built-in waterproofing, look for a housing made specifically for it. Additionally, consider using filters to reduce color distortion and enhance clarity. Red filter lenses can help restore the vibrant colors that typically fade underwater, especially at greater depths.
A solid tripod or floatation device can also be beneficial. While a tripod may seem challenging to use underwater, it can help stabilize your camera for longer exposures or low-light conditions. On the other hand, floatation devices will allow you to maintain buoyancy, freeing your hands for more flexibility in capturing shots. Each accessory contributes to improving your photographs and ensuring a safer experience as you explore.

Master Underwater Exposure
Understanding Lighting Conditions
Lighting plays a pivotal role in underwater photography. Sunlight diminishes quickly as you descend, and colors appear more muted. About 15 feet below the surface, red hues can significantly fade. Because of this, understanding the lighting conditions in various depths and environments is essential. When shooting near the surface, take advantage of natural light and try to position your subjects to face upwards towards it.
If you dive deeper, consider using artificial light sources, like underwater strobes or video lights. These can provide the extra illumination necessary for bright, colorful images and help restore lost hues. Using strobes effectively can enhance the contrast between the subject and the background, adding depth to your photos.
Balancing Exposure Settings
When you know the lighting conditions, work on balancing your exposure settings. An ideal combination of aperture, shutter speed, and ISO will ensure sharp, well-lit images. A wider aperture (a lower f-number) allows more light into the camera, perfect for low-light conditions. Meanwhile, a faster shutter speed can help freeze motion—crucial when photographing active marine animals.
Trial and error will be your best friend here. Experiment with different settings and take notes about what works best in various underwater environments. Take multiple shots to capture the right moment; this is especially important when dealing with fast-moving subjects like fish or sharks.
Composition Techniques
Framing Your Subject
Effective composition can elevate your underwater photography from ordinary to extraordinary. Use the principle of the rule of thirds, where you imagine breaking your shot into a grid of nine squares. Position your main subject along these lines or at their intersections to create a more visually appealing image. This approach draws the viewer’s eye toward the focal point while maintaining balance within the shot.
Don’t shy away from incorporating foreground elements like corals or rocks to add depth to your images. Also, experiment with different angles—shooting from below can provide unique perspectives, while capturing a fish’s eye level adds an engaging touch to your composition.
Experimenting with Perspectives
Your location and marine life can offer plenty of unique perspectives. When photographing larger subjects like turtles or rays, aim for a wide-angle approach to capture their grandeur. Consider getting low to the ground to emphasize their size against the surrounding environment. Conversely, for smaller subjects like tiny shrimp or sea slugs, a closer focus will highlight intricate details that make these creatures fascinating.
Taking time to explore various angles will often yield richer results. Switch your viewpoint frequently and be willing to change positions underwater. Sometimes, the best photograph happens when you least expect it, adding an element of discovery to your underwater adventures.

Maintaining Proper Buoyancy
Achieving Neutral Buoyancy
Buoyancy control is essential in underwater photography. Achieving neutral buoyancy will help stabilize your camera and allow you to focus fully on capturing images rather than fighting to maintain your position. Practice controlling your buoyancy during dives by adding or removing weights and adjusting your breathing. A slow, deliberate breath can impact your buoyancy; inhaling deeply can lift you upward, while exhaling can bring you down.
Many underwater photographers use a buoyancy control device (BCD) to adjust buoyancy effortlessly. These devices allow you to fine-tune your position without overexerting yourself. With time and experience, you’ll learn how to maintain your position to capture those elusive shots without disturbing the marine environment.
Avoiding Disturbance
Moving through water can create sediment and disrupt marine life. When attempting to photograph delicate underwater ecosystems, approach with care. Use slow, measured movements to avoid kicking up sand or disturbing plants. Not only does this practice yield better images, but it also minimizes the impact on your surroundings. If necessary, practice neutral buoyancy techniques to hover effortlessly without disturbing your environment.
Keeping your distance from marine animals is equally important. A sudden movement can scare them away and ruin your chance to get the shot. Respectful distance helps maintain a balanced relationship with the underwater environment, allowing you to observe and photograph without intruding.
Timing and Patience
Understanding Animal Behavior
Successful underwater photography often hinges on timing and patience. Research the behavior of marine animals before your dive. Knowing when fish feed, mate, or seek shelter can help you position yourself for the perfect shot. For example, certain fish species may be more active during specific tidal cycles or times of day, often leading to better photographic opportunities.
Moreover, understanding how these creatures behave will allow you to anticipate their movements. Anticipation is key when photographing fast-moving subjects. Watch for telltale signs of behavior, like fish darting towards food, and position your camera accordingly.
Exercising Patience
Underwater photography isn’t just about seizing an opportunity—it often requires significant patience. Sometimes, the best shots occur when you take a moment to wait and observe. Allowing time for nature to unfold can lead to incredible photos that capture authentic moments. Sitting quietly and remaining still can invite fish or other marine creatures to approach, creating opportunities for striking close-up shots.
This patience extends beyond single dives. Return to the same location multiple times to build familiarity with the surroundings and animal patterns. The more you observe, the more skilled you become at predicting behavior.

Post-Processing Techniques
Enhancing Your Images
Once you’ve captured stunning underwater photographs, the next step is enhancing them through post-processing. Use photo-editing software like Adobe Lightroom or Photoshop to adjust brightness, contrast, colors, and sharpness. Underwater images often require correcting color hues due to water distortion, and an editing program can help restore lost vibrance.
Experiment with different filters and effects. For example, slightly increasing saturation can bring out the beautiful hues of coral and fish. Make sure not to overdo it; the goal is to enhance your photographs without making them look overly edited.
Organizing and Storing Your Work
Digital storage is crucial for organizing your underwater photographs. Create a structured filing system on your computer to categorize images by date or dive location. Regularly back up your files to external hard drives or cloud storage to prevent losing irreplaceable captures.
Investing in effective organization and storage allows you to revisit and relive your underwater adventures anytime. It also provides a platform for sharing your work online, allowing you to connect with fellow underwater photography enthusiasts and exhibit your talent.
Sharing Your Underwater Experience
Building a Portfolio
As you accumulate stunning underwater photographs, consider building a portfolio to showcase your work. Online platforms like Instagram, personal websites, or photography forums can serve as places to proudly display your images. An organized portfolio will not only help you refine your skills but also enable potential clients or collaborators to see your capabilities.
Consider focusing on a specific niche within underwater photography, whether it’s marine life, underwater landscapes, or conservation efforts. This specialization can set you apart and attract a dedicated audience that shares your passion for the underwater world.
Joining the Photography Community
Networking with other underwater photographers can open doors to new opportunities, collaborations, and constructive feedback. Join online forums, participate in social media groups, and attend photography workshops or conferences. Engaging with others in the field exposes you to different techniques, ideas, and challenges, enhancing your growth as a photographer.
Sharing your experiences and learning from others fosters a sense of community that enriches your underwater photography journey. Collaboration can lead to exciting projects and adventures, amplifying your appreciation for the wonders beneath the surface.
Dive Into Your Underwater Adventures
Getting the most out of your best underwater camera goes beyond simply pressing the shutter button. By understanding your equipment, mastering exposure, focusing on composition, and exercising patience, you can capture breathtaking moments in the ocean. Prioritizing buoyancy and timing enhances your shooting experience, while post-processing and engaging with the photography community amplifies your skills. Embrace these tips, and immerse yourself in the wonders of underwater photography. With practice and creativity, you’ll create captivating images that highlight the beauty of marine life and inspire others to explore the depths of the ocean.
