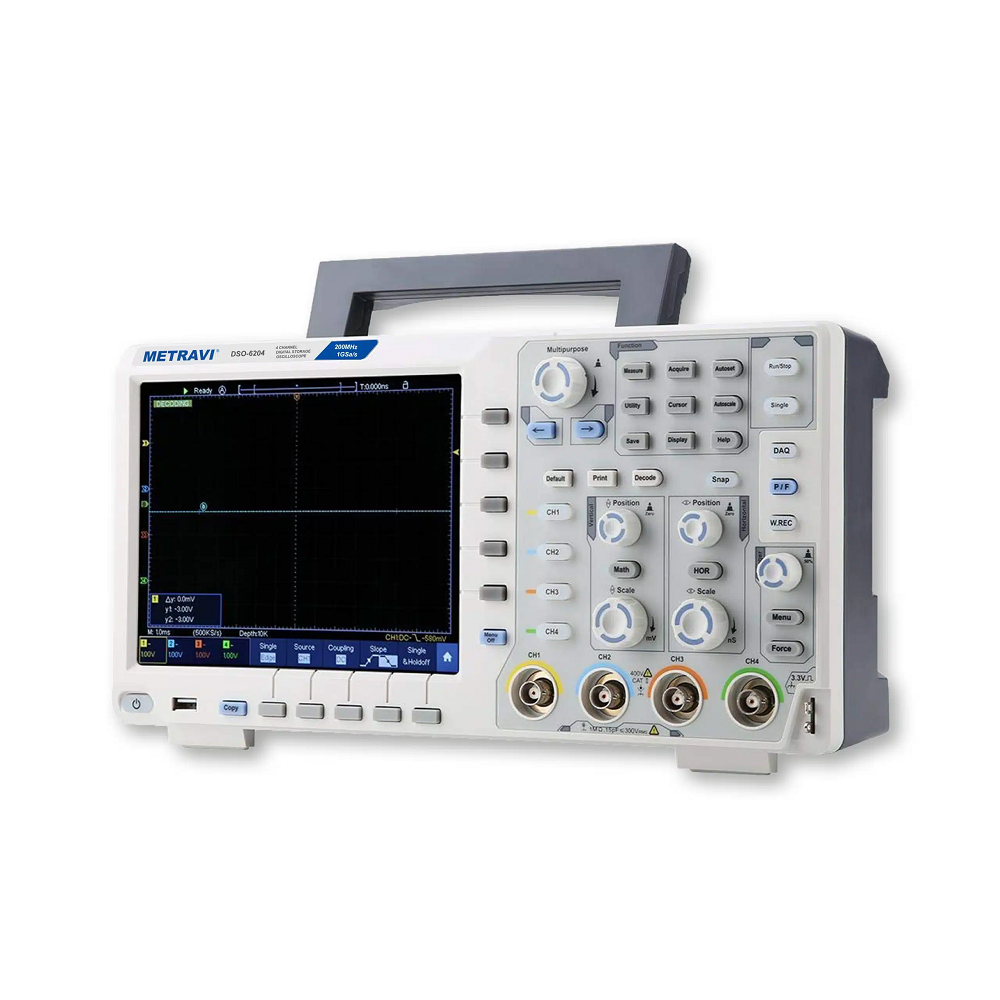
An oscilloscope is an invaluable tool for anyone working with electronics, providing real-time visualization of electrical signals. For beginners, the wide variety of controls, features, and settings can be overwhelming. However, understanding how to effectively use an oscilloscope can enhance your ability to analyze and troubleshoot circuits. This guide is tailored to help novices become proficient with oscilloscope, emphasizing practical steps, essential features, and tips to maximize efficiency.
Understanding Oscilloscope Basics
What is an Oscilloscope?
An oscilloscope displays electrical signals as waveforms on a screen, allowing users to visualize voltage over time. By turning voltage changes into visible shapes, oscilloscopes enable technicians and engineers to comprehend circuit performance and diagnose faults. With the oscillation of electrical signals, it becomes easier to identify patterns, anomalies, and the general behavior of a circuit.
Key Components of an Oscilloscope
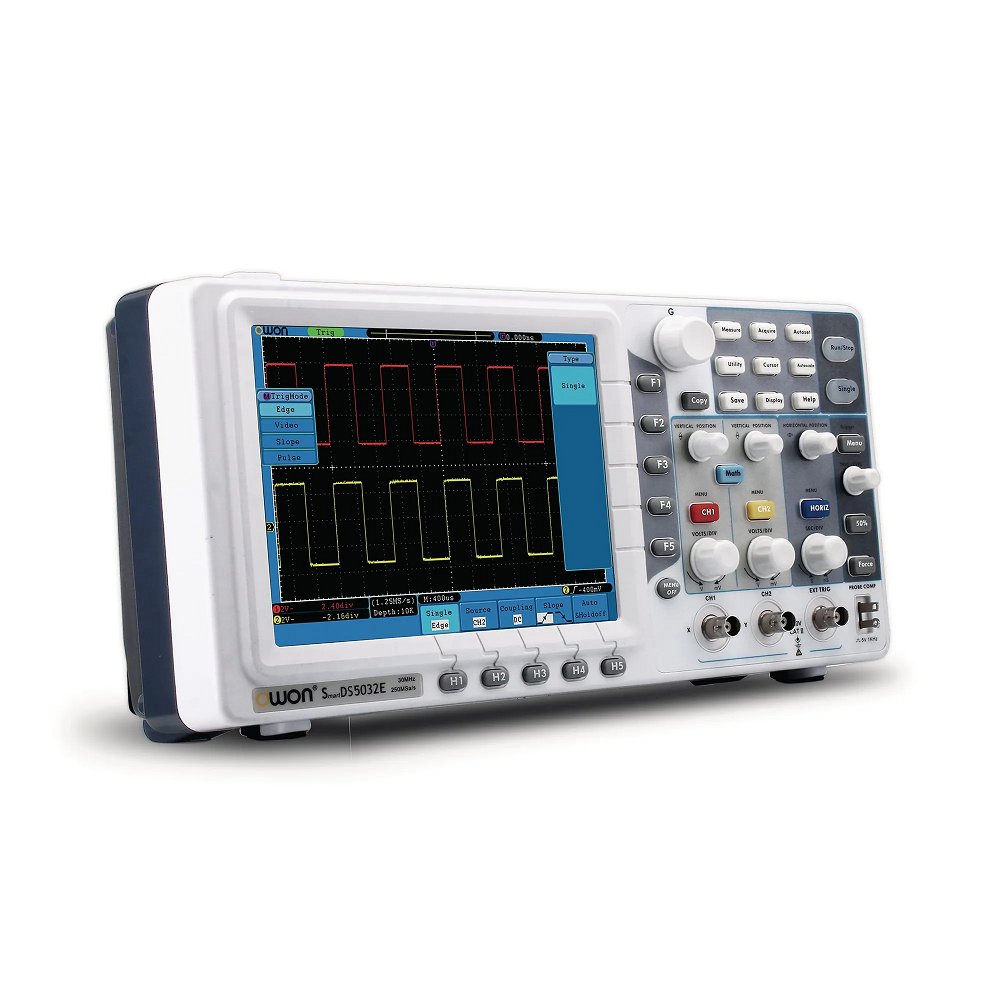
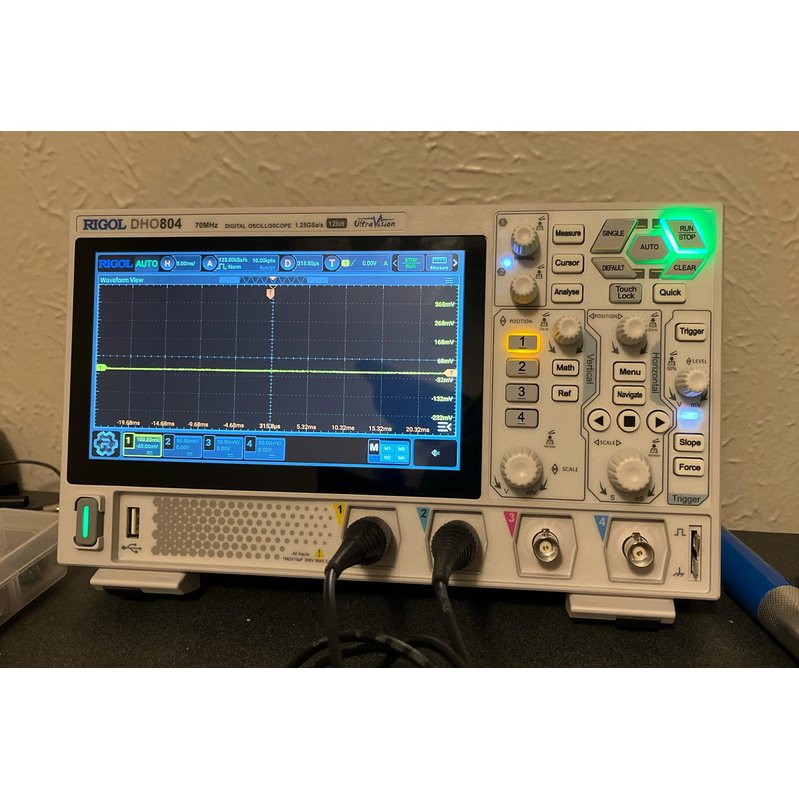
To effectively use an oscilloscope, familiarize yourself with its key components. The display shows the waveform, while controls on the front panel allow users to adjust various settings. Probes connect the oscilloscope to the circuit you want to measure, providing the input signal. Key features to pay attention to include the timebase control, which adjusts how quickly the signal is displayed, and the vertical gain, which controls the amplitude of the waveform on the display. Understanding these components will help you navigate the oscilloscope’s functionality with greater ease.
Setting Up Your Oscilloscope
Choosing the Right Probes
The first step in using an oscilloscope is selecting the correct probe for your measurement. Probes come in various types, each designed for specific tasks. Standard passive probes are often suitable for general measurements, while active probes are best for high-frequency signals. Ensure that the probe’s bandwidth matches or exceeds the oscilloscope’s bandwidth and that it has adequate attenuation to protect the oscilloscope from potential overvoltage.
Once you’ve chosen the appropriate probe, attach it securely to the oscilloscope input channel. Connect the other end to the circuit or component you want to measure, ensuring proper grounding to avoid floating measurements that can lead to inaccurate readings.
Configuring the Oscilloscope Settings
Before capturing signals, it’s essential to configure your oscilloscope settings. Start by turning it on and adjusting the vertical scale, which sets the voltage range displayed on the screen. Follow this by configuring the horizontal scale or timebase. This determines how much time is represented on the display, allowing you to visualize the waveform’s behavior over a defined period. A good starting point is to set both scales to ensure you capture the expected signal amplitude and frequency.
Lastly, enable the trigger function, which stabilizes the waveform for consistent viewing. The trigger points the oscilloscope to when to start drawing the waveform based on specific event conditions. You can adjust the trigger level and edge type (rising or falling) to provide a clearer view of your signal.
Capturing and Analyzing Waveforms
Adjusting Timebase and Vertical Scale
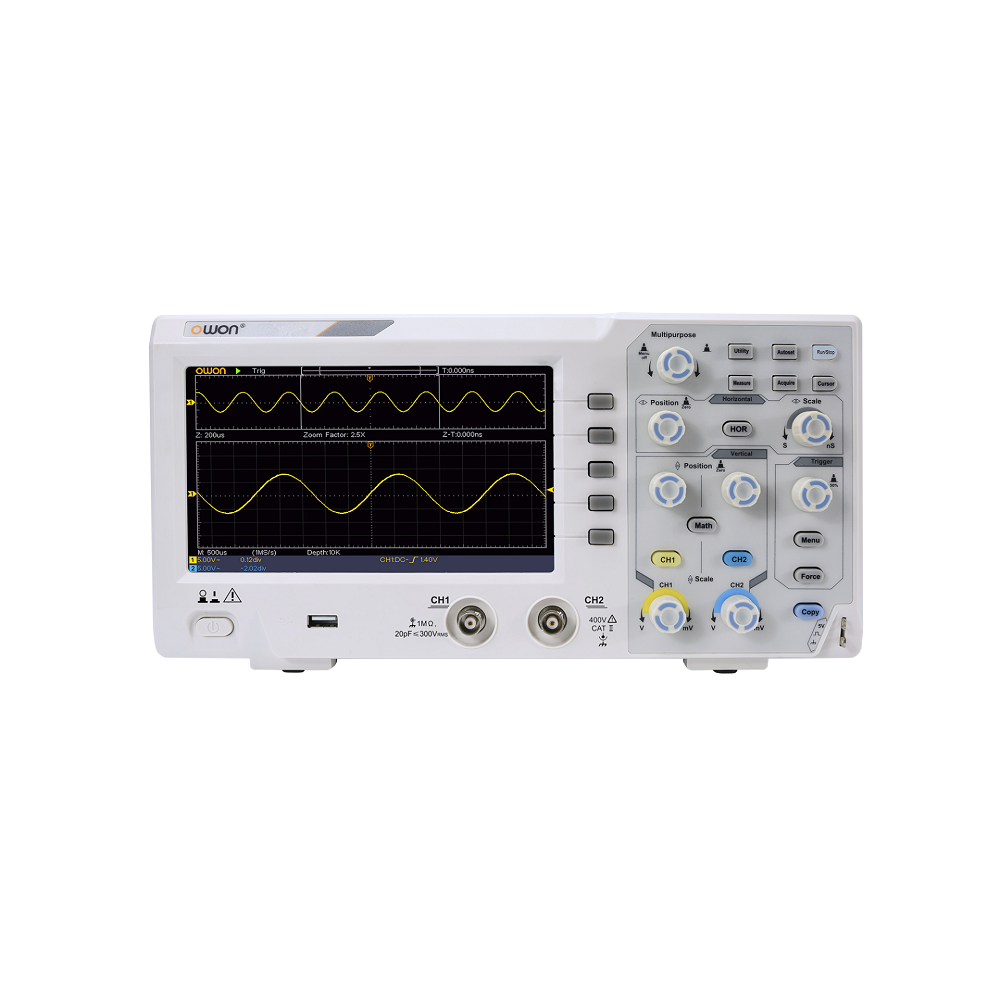
Once your oscilloscope is configured, it’s time to capture the waveform. Start with your timebase and vertical scale adjusted to reasonable estimates based on your expectations. As you observe the waveform, fine-tune the settings for clarity. Increasing the vertical scaling will help if the waveform appears too small, while adjusting the timebase can reveal more detail in rapid signals.
For continuous signals, you may want to reduce the timebase to see cycles in greater detail. Observing changes in waveform shape, frequency, and amplitude gives insights into the performance of your circuit.
Analyzing Basic Waveform Characteristics
As you capture waveforms, pay attention to key characteristics such as frequency, amplitude, and periodicity. You can measure the voltage levels by assessing the vertical axis and timing by checking the horizontal axis. For AC signals, determine the peak-to-peak voltage and RMS (Root Mean Square) values to understand power consumption better. Many modern oscilloscopes can perform these measurements automatically, reducing manual calculations.
Familiarizing yourself with waveform analysis techniques will grow your skill set, providing valuable insights into circuit behavior, oscillations, and potential issues.
Using Advanced Features
Triggering Options
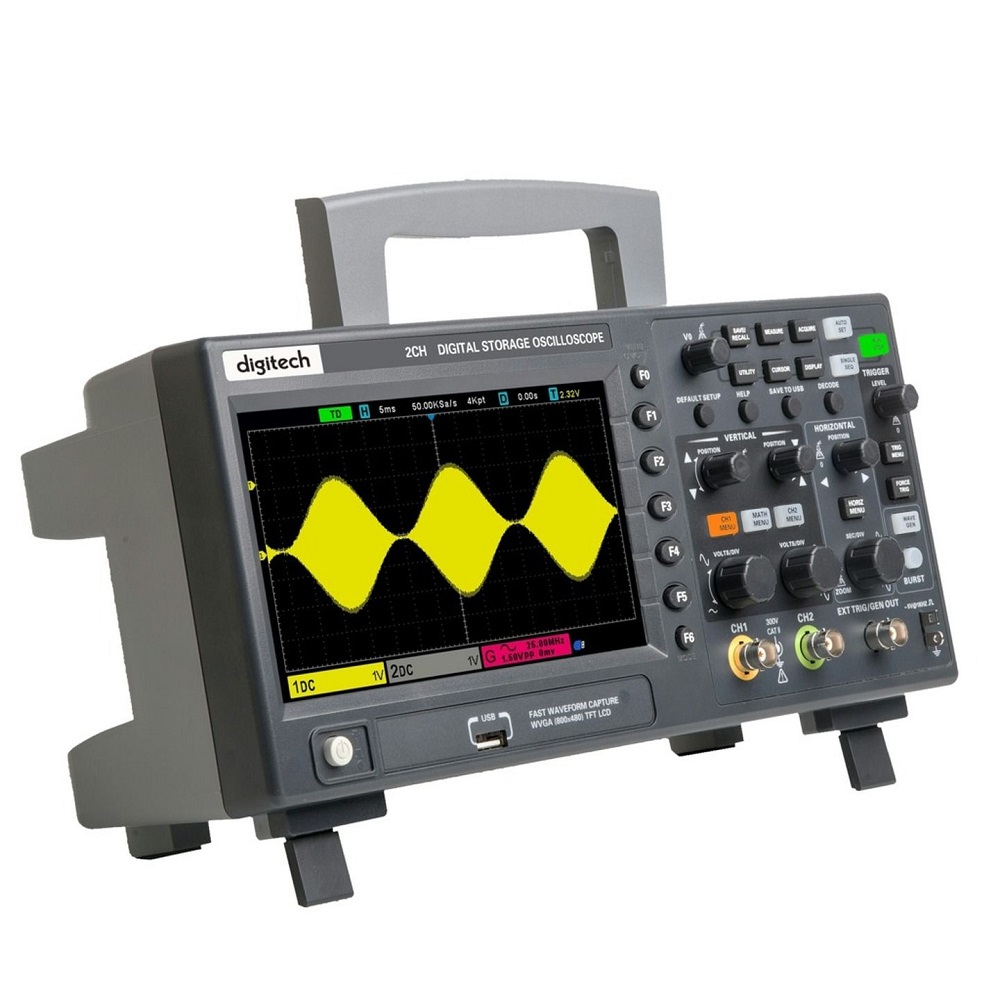
Modern oscilloscopes often come with various triggering options, enabling users to capture specific events within a signal. Edge triggering is the most common method, focusing on rising or falling edges of signals. However, more advanced features like pulse width triggering and pattern triggering can help isolate unusual signals or glitches. Learning to effectively use these triggering options will allow you to stabilize waveforms, making it easier to analyze details and gather pertinent data from your measurements.
Measurement Tools
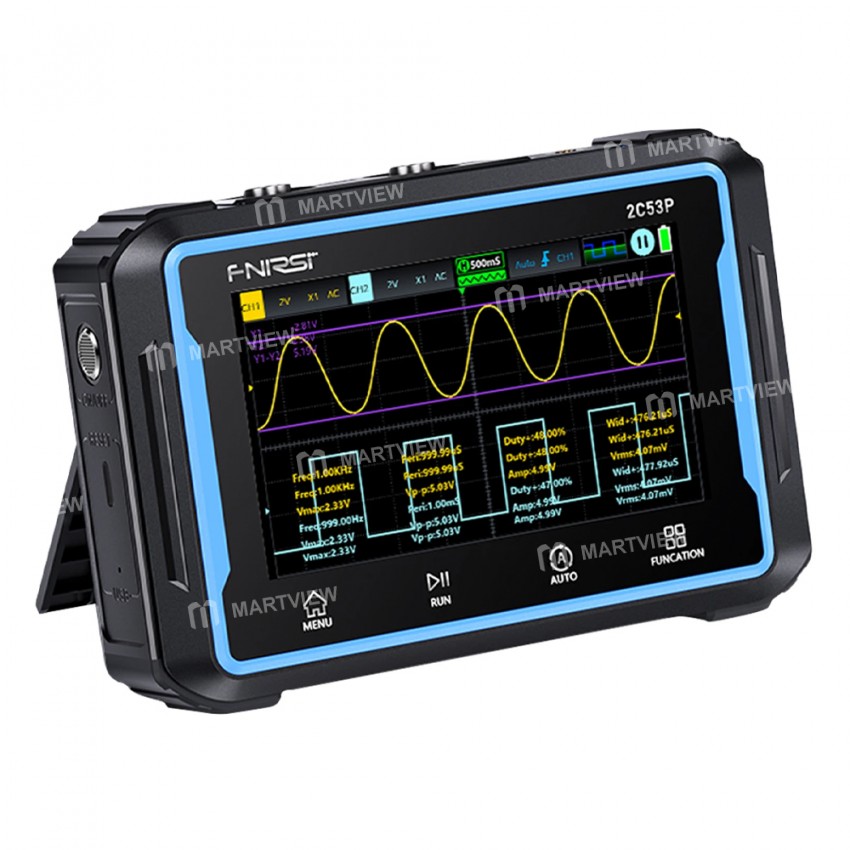
Many oscilloscopes come equipped with built-in measurement tools that can automatically calculate waveform characteristics. These tools can measure voltage levels, pulse widths, frequency, duty cycle, and other parameters. Utilizing these features simplifies the measurement process, saving you time and effort when analyzing circuits. Explore the measurement menus within your oscilloscope to familiarize yourself with common functions and how to access them quickly.
Common Oscilloscope Applications
Troubleshooting Circuits
Using an oscilloscope is indispensable for troubleshooting circuits. When a circuit is not functioning correctly, measuring signal integrity at various points helps pinpoint faults. For example, if a digital circuit does not switch states as expected, the oscilloscope can reveal whether signals reach the intended components.
You can assess noise levels or distortion in analog circuits, indicating issues with the power supply, component failure, or poor connections. By systematically checking each stage of the circuit, you can identify and address problems efficiently.
Educational Purposes
Oscilloscopes are invaluable tools in educational settings, helping students visualize electrical concepts. They can observe principles such as wave propagation, signal modulation, and filtering in real time. By allowing students to interact with live waveforms, oscilloscopes provide an engaging and effective learning experience, enhancing understanding and retention.
In lab settings, instructors can demonstrate key concepts using the oscilloscope, encouraging students to conduct experiments that reinforce theoretical knowledge.
Safety Tips and Best Practices
Ensuring Safe Operation
Safety is paramount when using an oscilloscope. Always adhere to safety protocols to prevent accidents or damage to the equipment. Understand the voltage limits of both the oscilloscope and the probes. When working with high voltages, use appropriate probes designed to handle those levels and adjust settings to avoid overloading the oscilloscope.
Ensure that your work area is clean and free of clutter, and avoid working on energized circuits whenever possible. If you must measure live circuits, exercise additional caution to avoid electric shock or damaging your oscilloscope.
Keeping Your Equipment in Good Condition
Proper maintenance helps prolong the life of your oscilloscope and ensures accurate measurements. Regularly inspect your probes for wear and tear, including frayed wires, damaged connectors, or loose fittings. Replace any damaged components before use. Additionally, clean the oscilloscope’s screen and controls to prevent dust buildup that could cause interference during operation.
Finally, always store your oscilloscope and probes in a dry, moisture-free environment. Doing so protects them from damage while not in use, ensuring reliable performance when needed.
Troubleshooting Common Issues
Identifying Signal Inconsistencies
When working with an oscilloscope, you may encounter common issues such as distorted waveforms or unexpected noise. If the waveform appears clipped or distorted, check the voltage settings and input connections. Improperly set vertical scales or a damaged probe can cause these issues. Also, examine your circuit for signals that may be affected by interference caused by nearby devices.
Resolving Triggering Problems
If the waveform is unstable, triggering issues may be to blame. Ensure the trigger level is set correctly and that you’re using the appropriate edge type. If necessary, reduce the timebase setting to allow the oscilloscope to lock onto the signal more effectively. Adjusting these parameters will provide a more stable and reliable visualization of your waveform.
By following troubleshooting steps calmly and methodically, you can quickly resolve issues and return to effective measurements.
Conclusion
Using an oscilloscope effectively, especially for beginners, involves understanding the fundamental principles, setting up the equipment correctly, capturing and analyzing waveforms, and navigating advanced features. Learning how to configure the oscilloscope and interpret the displayed signals will greatly enhance your ability to troubleshoot and optimize electronic devices.
As you become more comfortable with your oscilloscope, don’t hesitate to explore beyond basic functions. Advanced triggering options and built-in measurements can significantly enhance your efficiency and accuracy. Whether you are working as an engineer, a student, or an electronics enthusiast, mastering the use of an oscilloscope will provide you with invaluable skills in circuit analysis and design.
By adopting safety practices and keeping your equipment well-maintained, you ensure longevity and performance while minimizing the risk of accidents. With patience and practice, anyone can learn to use an oscilloscope effectively and accurately analyze electrical signals. Embrace the learning process, explore various applications, and enjoy the insights that come with mastering this essential tool!
