Smartphones have become indispensable tools in our daily lives, serving not just as communication devices but also as our primary means of capturing memories through photography. A smartphone’s back camera is especially vital for many users, allowing them to take advantage of high-quality imaging for everything from casual snapshots to professional-grade photography. However, if your back camera suddenly stops working, it can lead to frustration and potentially missed moments. Understanding the potential issues and troubleshooting methods can quickly help you diagnose and resolve the problem. This guide offers in-depth steps and considerations for getting your back camera back in working order.
Check for Software Updates
Importance of Keeping Your Software Updated
One of the most common reasons for camera malfunction can be attributed to outdated software. Just like any other app on your smartphone, the camera app relies on the phone‘s operating system to function properly. Manufacturers routinely patch their systems to fix previously reported bugs, enhance performance, and improve compatibility with newer apps and features. When a new version is available, it might contain fixes specifically targeting camera issues that have been recognized by other users.
How to Check for Updates
To check for software updates, navigate to your phone’s Settings. For Android users, look for Software Update or System Update, typically found towards the bottom of the settings menu. If an update is available, a prompt will guide you through the installation process. For iPhone users, go to Settings > General > Software Update to check for available updates. Install any updates, and restart your device afterward. To ensure all changes take effect, always reboot your phone after an update. After restarting, open the camera app again to see if the problem persists. Often, this simple step resolves various software-related issues.

Restart Your Device
Simple Yet Effective Solutions
When troubleshooting technical issues, many users often overlook the effectiveness of a simple restart. Smartphones, like any electronic device, can experience temporary glitches due to a variety of factors, such as accumulation of app cache, memory overload, or even system hitches, which may directly affect the camera’s performance. Restarting provides a refreshed state, effectively clearing temporary files and freeing up memory that can enhance your device’s overall performance.
How to Restart Your Device
To restart an Android device, press and hold the power button until a pop-up appears with the options to Power Off or Restart. Select the Restart option. For iPhone users, especially those with Face ID, press and hold the side button along with the volume button until the power-off slider appears. Slide to power off, wait a few moments, then turn the device back on. After the restart, open the camera to test its functionality. You might find that this quick action resolves minor software or system-related issues, restoring your camera to working condition.
Clear Camera App Cache (Android Only)
The Role of Cached Data
Cached data consists of temporary files stored by the system and apps to expedite load times. While caching can be beneficial, accumulated data may sometimes result in performance issues. This is particularly true with resource-intensive applications like the camera app, which requires a smooth flow of information to function correctly. Over time, the cache can become corrupted, leading to unexpected behaviors and malfunctions. If your camera app is acting erratically, clearing the cache is a necessary troubleshooting step.
Steps to Clear the Cache
To clear the camera app cache on an Android device, follow these steps: Open Settings > Apps or Application Manager. Locate the Camera app in the list and tap on it. From there, tap Storage, then select Clear Cache. Follow any additional prompts, and do not worry—clearing the cache will not delete your photos or other important data. After clearing the cache, open the camera app again and check its functionality. If problems persist, you may also consider clearing the app’s data, which resets the settings and may provide further assistance in resolving issues.

Check Camera Settings
Understanding the Settings
The camera app’s settings can directly influence its performance and functionality. Sometimes, settings can be changed accidentally or through an update, leading to confusion about why the camera isn’t working as expected. Features like “Do Not Disturb” mode can restrict camera functionality, especially when linked to notifications. A simple mode switch or adjustment in the settings can often lead to your camera working perfectly once again.
Resetting Camera Settings
Launch your camera app and navigate to its settings menu, which generally appears as a gear icon. Look for options that might indicate a reset or default option. Resetting the camera settings to their factory defaults can resolve any misconfigured settings that may have led to the camera malfunction. Additionally, ensure you have selected the right camera mode—like switching between photo, video, or portrait modes. Even ensuring that the correct orientation is selected can impact usability.
Inspect the Hardware
Assessing Physical Damage
If your back camera continues to exhibit issues after attempting software fixes, it may be due to hardware problems. Physical damage can come from drops, exposure to moisture, or other incidents that affect internal components. It’s essential to assess the condition of your phone closely and look for any signs of damage, such as a shattered camera lens or visible impact marks on the phone’s housing.
Conducting a Visual Check
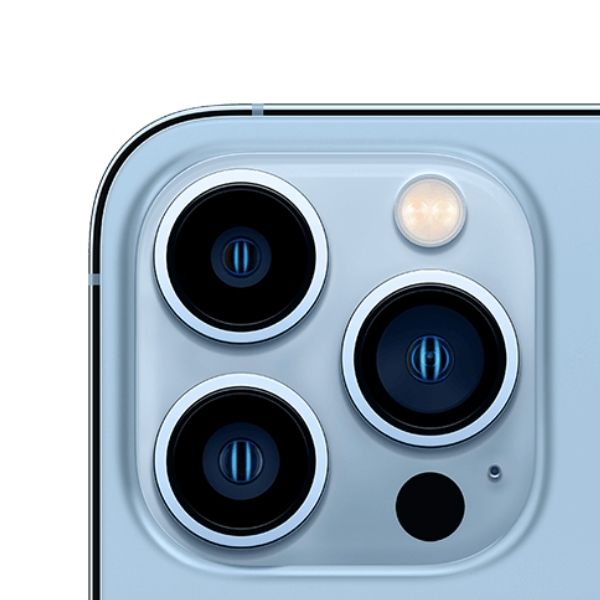
Examine the back camera lens closely for dirt, dust, or smudging that can obstruct visibility. Using a quality microfiber cloth, gently clean the lens to restore clarity. Avoid using any rough materials, as they may scratch or damage the lens surface. A clean lens can make a noticeable difference in camera performance.
If there’s visible damage to the camera lens or if cleaning does not resolve the issue, it may be time to consult a professional for repair. Attempting to repair internal components on your own without the requisite skills can lead to further complications.
Safe Mode Testing
Understanding Safe Mode
Safe Mode serves as a diagnostic tool that isolates the operating system’s core features. This mode disables third-party apps that might be causing conflicts, thereby allowing you to determine whether an application is interfering with your back camera functionality. If your camera works in Safe Mode, that suggests an application is the culprit, and it may need to be uninstalled or updated.
How to Enter Safe Mode
For most Android devices, access Safe Mode by holding the power button until the shutdown screen appears. Long-press the “Power Off” option until the Safe Mode prompt shows up. Accept the prompt, and your device will restart in Safe Mode. The steps may slightly differ based on your device manufacturer, so refer to your user manual if needed. If you use an iPhone, remember that it doesn’t have a defined Safe Mode, so you will have to rely on the previous troubleshooting methods. Once in Safe Mode, test the camera app. Should the back camera successfully work, focus on identifying and dealing with any problematic applications.

Factory Reset as a Last Resort
Preparing for a Factory Reset
While a factory reset is often seen as a last resort, it can effectively address persistent software issues, including those affecting the back camera. However, this step will wipe all data from the device, so it’s imperative to back up critical files, photos, and settings beforehand. Utilize services like Google Drive, iCloud, or other cloud storage solutions to ensure your information is safe.
Performing a Factory Reset
To execute a factory reset on an Android device, navigate to Settings > System > Reset Options > Erase All Data (Factory Reset). Follow any prompts to confirm your choice. For iPhone users, the process involves going to Settings > General > Transfer or Reset iPhone > Erase All Content and Settings. Once you complete the reset, the device will reboot, allowing you to set it up as new. Make sure to check your back camera immediately after setup to see if the problem has been resolved. If the back camera functions properly, you can selectively restore your backup and start using your device again as you did before the issue arose.
Conclusion
Confronting a malfunctioning back camera can be challenging and frustrating, but patience and systematic troubleshooting can often lead to a resolution. Starting with basic steps like checking for software updates and rebooting your device helps address many common issues. If software solutions prove inadequate, inspecting hardware and seeking to identify potential damage gives you another avenue for resolution.
Using Safe Mode can help isolate potential conflicts caused by third-party applications, guiding you in selecting what to uninstall or update. Lastly, if everything else fails, a factory reset can act as a final safeguard to restore your device to peak performance. With careful consideration and thorough checking, you can quickly diagnose the issue and resume capturing the moments that matter most.
