In today’s world, safety is a top priority for drivers, especially when it comes to reversing and parking. Backup cameras have become an essential feature in many vehicles, providing a clearer view of what’s behind you. How to install backup camera can enhance your safety and convenience while driving. Whether you’re upgrading an older vehicle or adding one to a new car without the feature, this guide will take you through the process step-by-step. With the right tools and some patience, you can successfully install backup camera in your vehicle.
Gather Tools and Materials
Essential Tools for Installation
Before you begin the installation process, it is essential to gather the necessary tools. You will need a few basic tools that are likely already in your garage. These include a Phillips screwdriver, flathead screwdriver, wire strippers, and electrical tape. A drill with drill bits may also be necessary if you need to create new mounting holes for your camera.
If the camera you’re installing comes with a wiring harness, make sure you have the right connectors to join the wires securely. Some installations may require specialized connectors, so read the camera’s instructions carefully. Having all the tools ready at your workstation can save you time and effort during the installation.
Required Materials
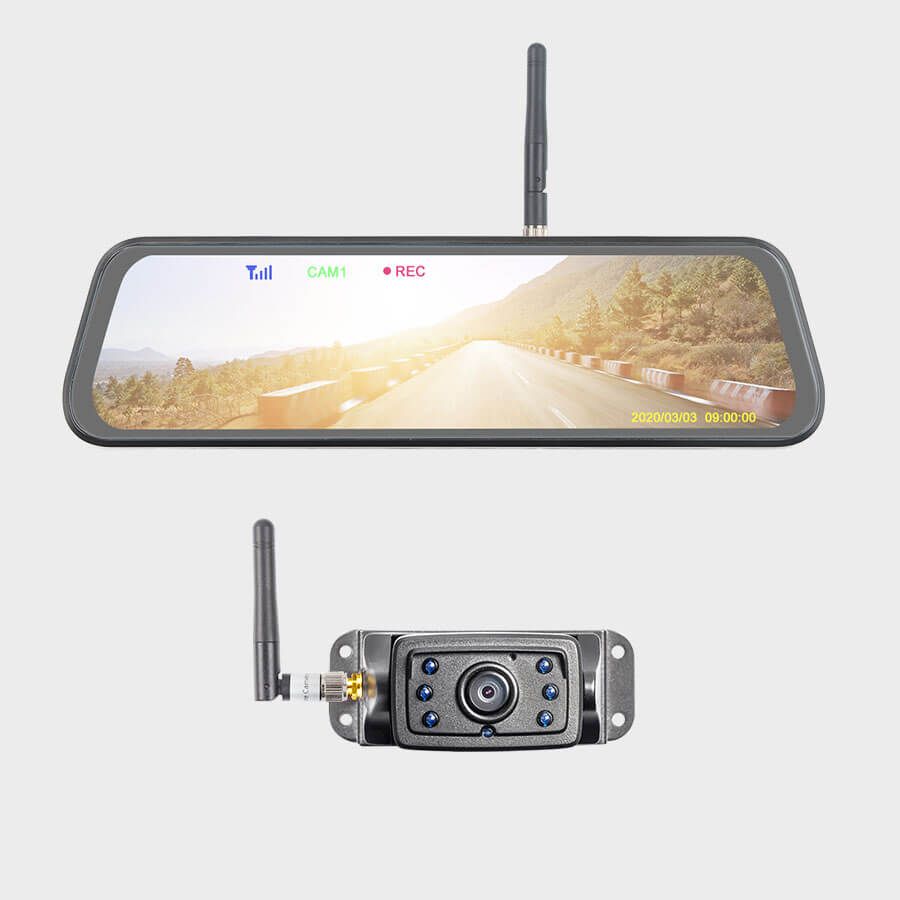
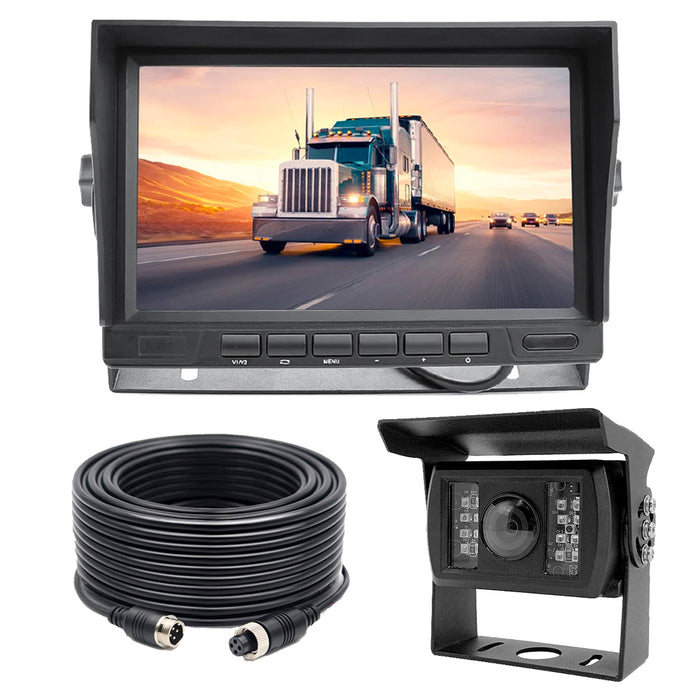
In addition to tools, you will need specific materials for the installation. First and foremost, you will need the backup camera kit. Many kits include a camera, monitor or screen, wiring, and installation instructions. Some popular types of backup cameras are wired and wireless, each with its installation technique, so choose based on your preferences.
You will also need a good length of wiring if your camera kit doesn’t come with enough. Electrical connectors and zip ties can help keep the wires organized and secure. Lastly, consider using a silicone sealant if you need to drill holes into your vehicle to prevent any potential water damage.

Prepare Your Vehicle
Choosing the Right Location
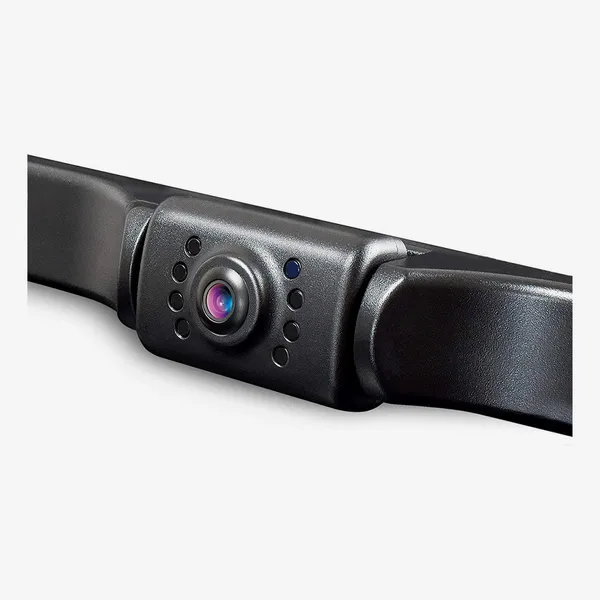
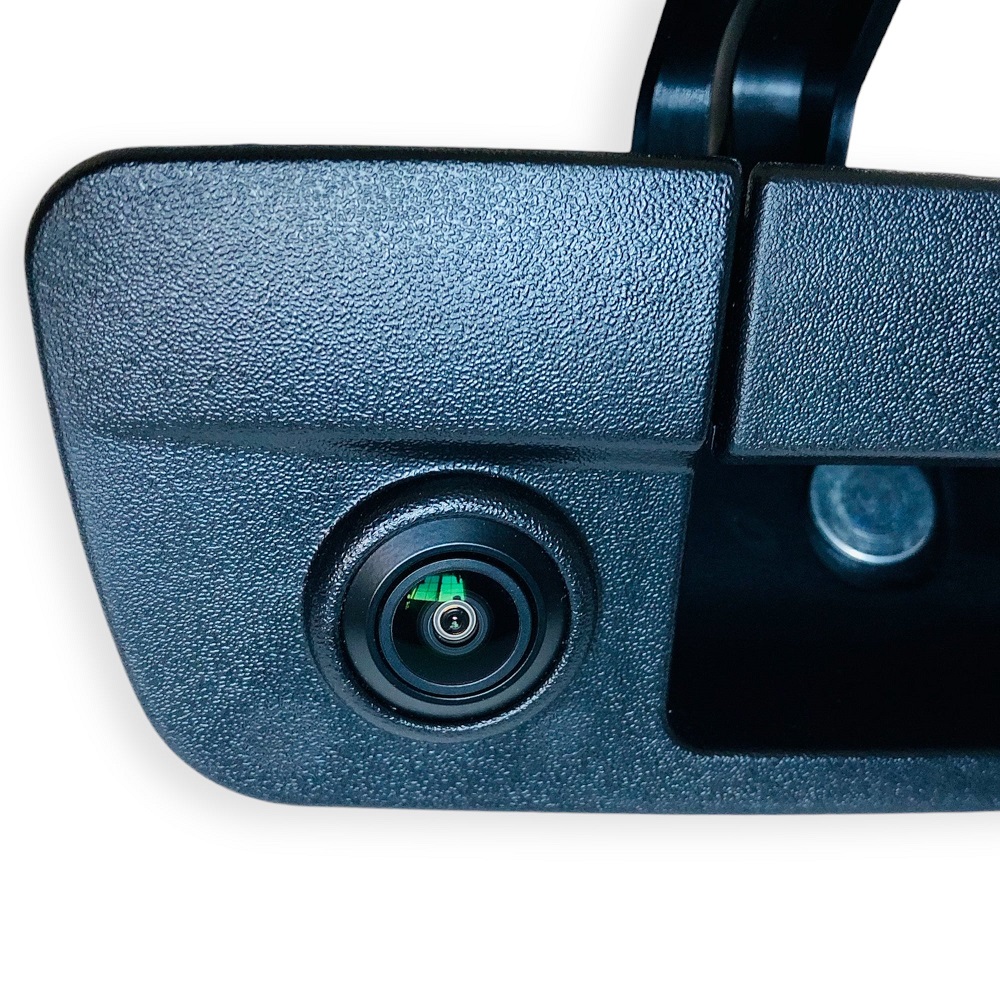
Before installing, you need to choose the best location for the camera. Most backup cameras are mounted near the rear license plate area for optimal visibility. Check your vehicle’s design and select a spot that will offer the widest angle of view while avoiding any obstructions such as lights or the trunk lid.
After deciding on the correct location, you may need to clean the surface on which you’ll mount the camera. Remove any dirt or debris to ensure a secure attachment. Using masking tape can help you mark the position before drilling.
Disconnecting the Battery
Safety is crucial during any electrical installation. Before starting, disconnect the negative terminal of your vehicle’s battery. This precaution helps prevent any electrical shorts while you work on the backup camera installation. You can disconnect the battery using a wrench or battery terminal tool.
Once disconnected, wait a few minutes before proceeding. This waiting period ensures that all electrical systems in the car are fully powered down. Taking these steps protects both you and your vehicle as you begin the installation.
Mounting the Camera
Installing the Camera Bracket
With the location chosen and the battery disconnected, it’s time to mount the camera. Many backup cameras come with a mounting bracket. Use the bracket as a template to mark the holes needed for mounting.
If necessary, drill the holes for the screws as indicated by the template. Make sure to use an appropriate drill bit that suits the type of screws provided in your backup camera kit. Once the holes are drilled, position the bracket and attach it to the vehicle with screws.
Attaching the Camera
After securing the bracket, attach the camera to the mount. Follow the manufacturer’s instructions for correctly placing the camera, ensuring it is angled correctly to capture the rear view accurately. After positioning the camera, tighten screws to hold it firmly in place.
Now, double-check the angle of the camera. Ideally, it should have a slight upward tilt to provide a clear view of any obstacles behind you. Take your time during this step, as an incorrectly angled camera could hinder visibility when you start using it.

Running the Wires
Connecting the Camera to the Monitor
Once the camera is securely mounted, it’s time to run the wires. If you are using a wired camera, you will need to thread the camera cable through the vehicle’s interior. Begin by running the cable through the trim at the top of the trunk or behind the bumper, depending on the vehicle design.
Some vehicles have existing pathways that you can use, while others may require you to feed wires through the car’s interior. Take care not to damage any existing wires or connectors during this process. Use zip ties or adhesive clips to secure the wires in place, keeping them neat and out of the way.
Connecting to Power
Now that the camera is installed, you will need to connect it to a power source. Many users choose to connect the backup camera to the reverse light circuit so it powers on automatically when the vehicle is put into reverse. Locate the reverse light wiring, typically found in the rear of the vehicle near the taillights.
Carefully strip the insulation from the reverse light wire using wire strippers. Connect the positive camera wire to the reverse light wire and the negative wire to a suitable ground point. Ensure each connection is secure by twisting the wires together and covering them with electrical tape or heat shrink tubing to protect against moisture.
Installing the Monitor
Choosing the Location for the Monitor
If your backup camera kit includes a monitor, the next step is to install it. The monitor can be either a standalone device or integrated into the rearview mirror. Decide on a location that allows you to see the monitor without blocking your line of sight while driving.
If you opt for a standalone monitor, it can be mounted on the dashboard or the windshield. Ensure that it is positioned directly in your field of vision, so you can easily glance at it while backing up. Depending on the type, you may need an adhesive mount, suction cup, or brackets.
Connecting the Monitor to Power
Once you have determined the location, proceed to install the monitor. Depending on the design, this may require running additional wiring to connect the monitor to the power source. Similar to the camera, the monitor can be powered by the vehicle’s electrical system.
Typically, you can connect the monitor’s positive wire to a switched power source, like the vehicle’s fuse box. The negative wire should be connected to a suitable ground point. Ensure that the wiring is neat, secure, and away from any moving parts that could cause wear or malfunction.

Testing the Backup Camera System
Reconnecting the Battery
Before you conduct your tests, reconnect the vehicle’s battery. Start by reattaching the negative terminal securely and ensuring that the connection is tight. This step restores the vehicle’s electrical system and prepares it for testing.
Testing the Camera and Monitor
With the battery reconnected, turn the vehicle on and engage the reverse gear. The monitor should illuminate, displaying the feed from the backup camera. Test the camera to ensure it provides a clear view of the area behind your vehicle. Check for any obstructions that could block the lens.
Please take a moment to adjust the angle of the camera if necessary. If the camera does not turn on or the monitor does not display any images, double-check your wiring connections and ensure that everything is properly secured. Make sure the camera lens is clean and free of dirt or grease that could obscure the view.
Final Adjustments and Maintenance
Securing All Components
Now that everything is working as intended, secure all components in place. Reattach any trim you may have removed during the installation process. Ensure that wires are tidy and organized, using cable ties or clips to hold them securely in place. This not only improves aesthetics but also prevents any wires from getting snagged or damaged.
Regular Maintenance
To ensure that the camera system continues to function effectively, regular maintenance is essential. Periodically clean the camera lens to remove dirt or debris that may accumulate over time. Check the wiring connection for wear and tear, as these can weaken with age or environmental exposure.
Furthermore, when washing your vehicle, be mindful of where the camera is located to prevent any accidental damage. Taking care of the camera and monitor will extend their lifespan and reliability, ensuring they remain a valuable safety tool for years to come.
Conclusion
How to install backup camera in your vehicle is a practical and valuable enhancement that boosts safety while driving. By following this step-by-step guide, you can transform your vehicle with relative ease, even if you are not a seasoned mechanic.
Starting with the right tools and materials allows for a smooth installation process. Careful planning and organization ensure a successful result. Testing the system eliminates any potential issues and secures reliability. Finally, regular maintenance keeps everything functioning as it should.
As technology advances, having a backup camera becomes increasingly important for safe driving. Regardless of your vehicle’s age, upgrading its safety features can significantly enhance your driving experience. So start planning how to install backup camera today and enjoy the peace of mind that comes with improved visibility and safety on the road!
