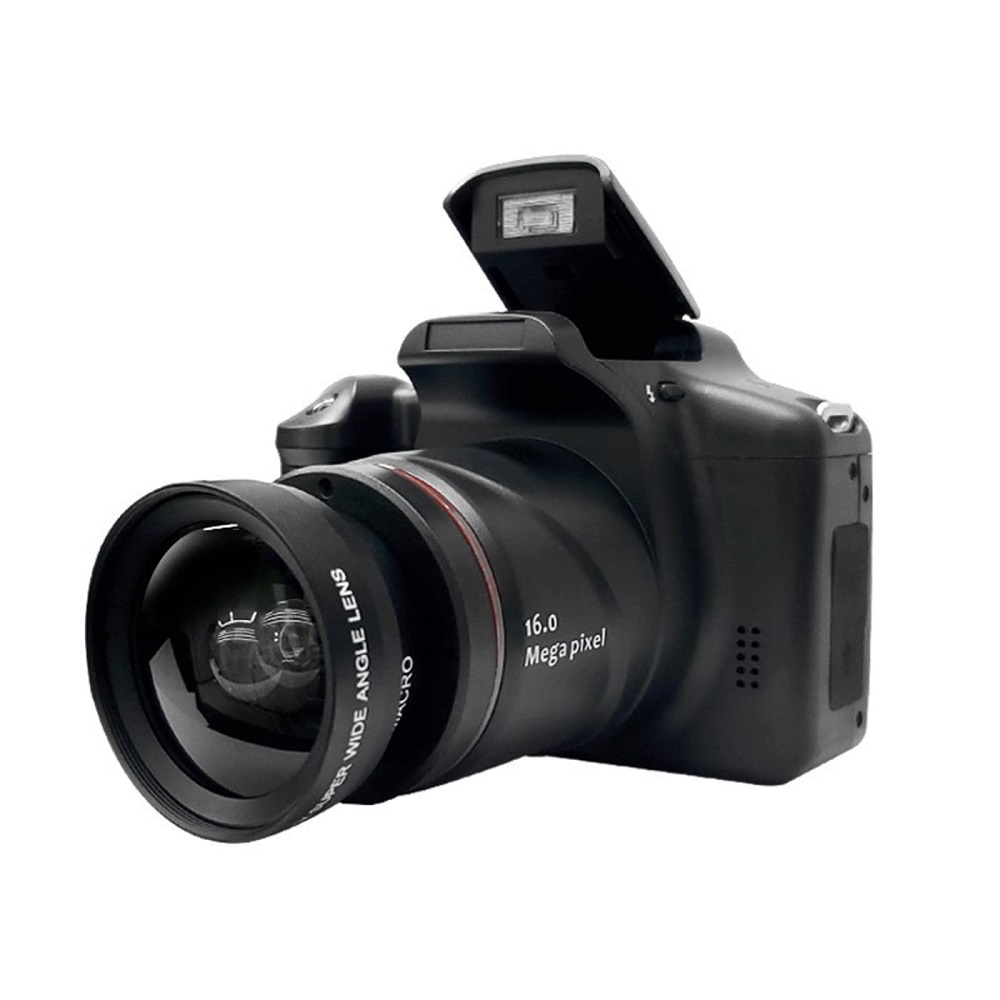
Photography is an art that combines creativity with technical knowledge. A beautiful scene captured in a photograph can evoke emotions and preserve memories. However, many photographers face the frustrating problem of blurry images. A blurry photo can result from various factors, including camera settings, lens quality, and environmental conditions. Understanding the reasons behind camera blur is essential for creating crisp, clear images. Why is my camera blurry? This article will explore the common causes of blurry photos and provide tips for achieving sharper results in your photography.
Understanding the Causes of Blurry Photos
Camera Movement and Stabilization
One of the most common reasons for blurry photos is camera movement during exposure. When taking a picture, any slight movement can lead to a blurred image. This is especially noticeable in low-light conditions where longer exposure times are needed. The longer the shutter remains open, the more chance there is for movement to occur. This makes it vital for photographers to stabilize their cameras, ensuring maximum sharpness.
To combat camera shake, consider using a tripod or stabilizer. Tripods provide a sturdy base that prevents movement, resulting in clearer images. If you don’t have access to a tripod, try stabilizing your arms against a solid surface when taking handheld shots. Holding your breath while pressing the shutter can also minimize movement. Practicing steady holding techniques will contribute significantly to the clarity of your images.
Focusing Issues
Another major cause of blurry photos is incorrect focusing. When the camera’s autofocus system fails to lock onto the intended subject, it can result in an unclear image. Focus problems are common in low-light situations or when shooting fast-moving objects. Even slight inaccuracies in focus can have a noticeable effect on image quality, leading to disappointment for photographers.
Using manual focus can be a valuable strategy when shooting in challenging environments. By switching to manual mode, you take control of where the camera focuses. This is especially useful in macro photography or when photographing subjects with complex backgrounds. Take some time to practice your focusing technique to enhance your photography skills.

Camera Settings and Functions
Shutter Speed Adjustments
Shutter speed is a crucial element of photography that affects how motion is captured. A slow shutter speed can lead to motion blur if the subject or camera moves during the exposure. Conversely, a fast shutter speed can freeze action and deliver sharp results. To achieve sharper images, adjust your shutter speed according to the scene’s requirements.
In bright lighting conditions, a faster shutter speed allows you to capture clear images without shaking. In situations with low light, you may have to compromise by increasing the ISO setting or using a wide aperture. It’s also wise to remember that the rule of thumb suggests using a shutter speed equal to or faster than the focal length of your lens. For example, with a 50mm lens, try to use a shutter speed of at least 1/50 seconds to avoid shake.
Aperture Control
The aperture affects both the exposure and depth of field in an image. A wider aperture (smaller f-number) allows more light to enter the camera, creating a shallower depth of field. Conversely, a narrower aperture (larger f-number) allows less light but increases depth of field. Understanding how to manipulate these settings effectively is crucial for clear photography.
When shooting portraits, consider using a wider aperture to create a soft background blur while the subject remains sharp. For landscapes, a narrower aperture can capture more detail throughout the image. Experiment with different aperture settings to find what works best for your desired outcome. This knowledge will enhance your ability to create sharp images in various scenarios.
Lens Quality and Maintenance
Selecting the Right Lens
Lens quality plays a significant role in achieving sharp images. Lower-quality lenses may introduce distortion, softness, or aberrations, leading to blurry photographs. Always choose lenses suitable for your specific photography needs. Investing in high-quality glass can make a noticeable difference in image clarity.
When selecting a lens, consider factors such as focal length and aperture. Prime lenses, which have a fixed focal length, often offer superior sharpness compared to zoom lenses. If you frequently shoot landscapes or architecture, wide-angle lenses with excellent resolution should be your choice. For portraits, look toward fast lenses that allow you to capture striking images with beautiful bokeh.
Regular Lens Cleaning
Over time, lenses can accumulate dirt, dust, and smudges, which can negatively impact image quality. Regular maintenance is essential to ensure the best performance from your lenses. Use a microfiber cloth or a lens cleaning solution specifically designed for camera lenses to gently clean the glass surface. Avoid using abrasive materials to prevent scratches.
Additionally, check for any internal issues, such as fogging or scratches on the lens element. These can severely affect image quality and clarity. Regularly inspect your equipment and take proper care of your lenses for optimal results.

Environmental Factors
Lighting Conditions
Lighting plays a crucial role in photography. Poor lighting can lead to camera blurry images, particularly in low-light situations where longer exposure times are required. Insufficient lighting can cause the camera’s autofocus system to struggle, resulting in unclear images. Therefore, understanding how to work with lighting conditions is vital for any photographer.
When possible, shoot during the golden hours of early morning or late afternoon, when natural light is soft and flattering. If you must shoot in low light, consider using a flash or portable light source to illuminate your subject adequately. Furthermore, when shooting in bright light, be cautious of harsh shadows and overexposed highlights. To manage these conditions, experiment with shaded areas or reflectors to achieve balanced lighting.
Weather Conditions
Weather can also impact the clarity of photographs. Rain, humidity, or fog can introduce a hazy look to images. Protect your camera from adverse weather conditions, using waterproof housing or lens hoods when necessary. Always check the weather before venturing outside to prepare adequately for the day’s conditions.
Sometimes, embracing weather can yield opportunities for unique photographs. Misty mornings or rain-soaked streets can offer dramatic backdrops. It’s essential to adapt your shooting style based on environmental factors while considering how they can enhance the overall composition.
Post-Processing Techniques
Utilizing Editing Software
Even with careful planning and shooting techniques, some images may still require touch-ups in post-processing. Utilizing editing software can refine your photos and enhance their sharpness. Popular programs, such as Adobe Lightroom and Photoshop, offer various tools to sharpen images effectively.
One common method is using the “Sharpen” tool available in most editing software. This tool can enhance the definition of edges in your images without introducing unwanted noise. Additionally, use selective sharpening techniques to focus on specific areas of the photograph, ensuring a refined final product.
Correcting Lens Distortion
Many lenses introduce distortion that affects image clarity. Post-processing allows photographers to correct distortion while maintaining sharpness. Use your software’s lens correction options to automatically adjust for distortion based on the lens used. Such adjustments can significantly improve image quality, especially in architectural shots.
Regularly explore your software’s features and develop a workflow that allows for effective editing. Whether it’s correcting colors or enhancing sharpness, mastering these tools can take your photography skills to another level.

Practicing Good Shooting Techniques
Understanding Composition Rules
Effective composition plays a vital role in creating sharp and impactful images. Familiarize yourself with basic composition rules, such as the rule of thirds and leading lines. Framing your subject effectively draws attention and enhances overall clarity.
Consider using a grid overlay on your camera screen to help align your shot according to the rule of thirds. By placing your subject along these lines, you create more balanced and engaging compositions. Regularly practice your composition skills to improve your photographic eye over time.
Shooting Techniques and Experimentation
Experimenting with various camera settings and shooting techniques can also improve the sharpness of your photos. Take advantage of burst mode when capturing fast-moving subjects; this feature allows you to take multiple shots in quick succession, increasing the likelihood of capturing a sharp image.
Moreover, try different angles and perspectives when photographing subjects. A fresh viewpoint can lead to unexpected results that enhance the overall clarity and impact of your photograph. Challenging yourself through experimentation will boost your skills and enrich your portfolio.
Conclusion
Why is my camera blurry? In conclusion, camera blurry photos can be a source of frustration for photographers of all levels. By understanding the common causes of blur and implementing the tips discussed in this article, you can capture clearer, sharper images. Stabilizing your camera, utilizing the correct settings, and maintaining your equipment are essential steps in this process.
Remember, practice and experimentation are vital in developing your skills. Embrace the learning process and continually explore new techniques and technologies to refine your craft. With dedication and patience, achieving stunning photographs with clear details becomes attainable. By following the tips and strategies in this guide, you’ll be well on your way to producing impressive images that capture every moment with clarity and style. Happy shooting!
