
Installing a motherboard can be an intimidating process, especially for first-time PC builders. However, with careful preparation and following step-by-step instructions, you can successfully set up your motherboard and lay the foundation for your computer. This tutorial will guide you through the essential steps of installing a motherboard, from preparing your workspace to connecting all necessary components.
Preparing for Installation
Setting Up Your Workspace
Before beginning the installation, you need to prepare a clean, static-free workspace. A large, flat table with ample lighting is ideal. To prevent static electricity from damaging electronic components, consider using an anti-static wristband or working on an anti-static mat.
Gathering Necessary Tools
The primary tool you’ll need is a Phillips head screwdriver to firmly secure the motherboard in place. Additionally, gather all the parts you’ll need, including the motherboard, compatible CPU, RAM, power supply, and computer case. Keep the motherboard manual close by, as it provides the layout, component placement, and connection ports specific to your motherboard.
Installing the CPU and RAM
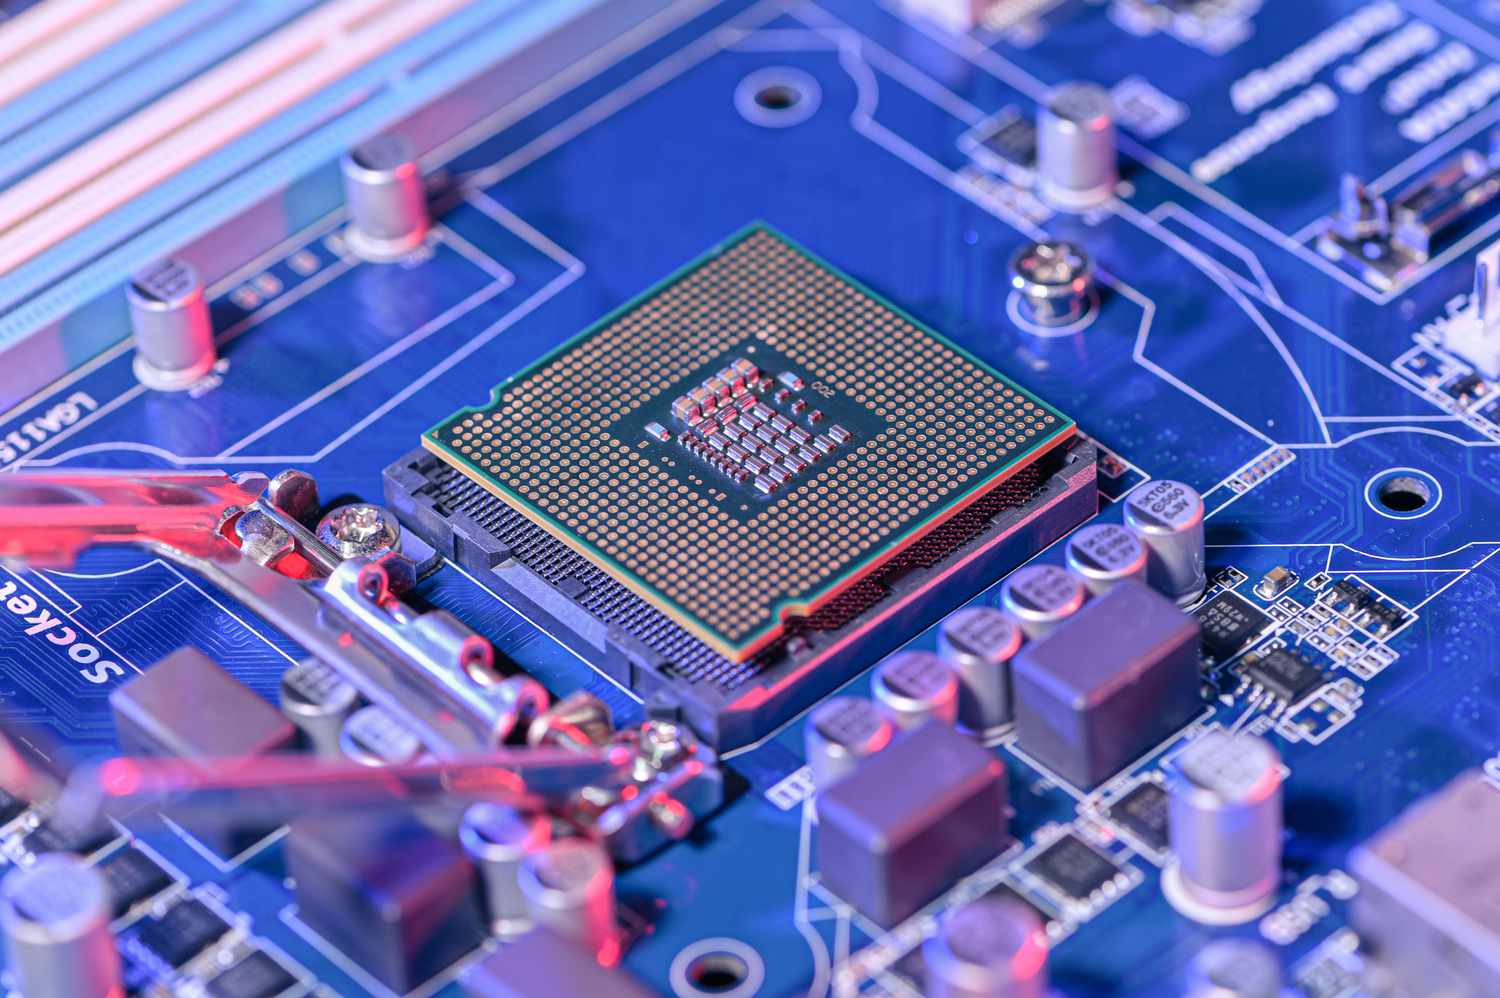
Mounting the CPU
Before mounting the motherboard in the case, it’s easier to install the CPU and RAM. Place the motherboard on a flat surface. Lift the CPU socket’s lever or unlock the retention mechanism, depending on your motherboard’s design. Carefully align the CPU with the socket, watching for the orientation indicated by a small triangle on both the CPU and socket. Gently lower the CPU into place without applying force, and then secure the lever to lock the CPU.
Adding RAM Modules
RAM slots are typically located near the CPU socket. To install RAM, open the clips on either side of the RAM slots. Align the notch on the RAM stick with the notch in the slot, ensuring you’re installing the RAM in the preferred slots as indicated by the motherboard manual for optimal performance. Apply even pressure on both ends of the RAM stick until the clips snap shut, securing the RAM in place.
Securing the Motherboard
Preparing the Computer Case
Take the computer case and lay it on its side. Locate the standoffs – small metal spacers – in the case. These standoffs prevent the motherboard from touching the case and causing a short circuit. Ensure they match the screw holes on your motherboard layout. If your case doesn’t have pre-installed standoffs or they’re in the wrong places, install or reposition them as needed.
Positioning and Securing the Motherboard
Carefully lower the motherboard into the case, aligning the screw holes with the standoffs. Make sure the ports line up with the holes in the case’s I/O shield, which may come pre-installed in the case or need to be installed beforehand. Fasten the motherboard to the standoffs using screws, tightening them evenly without applying excessive force to avoid damaging the board.

Connecting Components and Power
Attaching Power Connectors
Locate the main power connector from the power supply, which is usually a 24-pin connector, as well as the separate CPU power connector – often an 8-pin. Connect these to their respective ports on the motherboard. These connectors can only be plugged in one way, so ensure they are oriented correctly and snapped firmly into place.
Wiring Front Panel, Fans, and Other Components
Refer to your motherboard’s manual to connect the front panel wires, which include the power switch, reset switch, power LED, and hard drive LED. The connectors are often labeled and must be placed on the corresponding pins on the motherboard. Similarly, connect any case fans or additional components such as a graphics card. For fans, find the appropriate fan headers on the motherboard, and for PCIe devices like a graphics card, insert them into the corresponding slots and secure them to the case.
Testing and Troubleshooting
Powering On for a Test Run
Before closing up your case, it’s wise to perform a test run. Connect your monitor, keyboard, and mouse to the system. Turn on the power supply and press the power button on your case. If everything is installed correctly, the system should boot up, and you should see the motherboard’s splash screen or enter BIOS setup. Listen for a single beep that indicates a successful POST (Power-On Self-Test).
Troubleshooting Common Issues
If the system doesn’t power on, recheck all connections, ensuring everything is firmly in place. Check for any loose screws or misplaced standoffs that might be causing a short circuit. If you encounter persistent issues, consult your motherboard manual for troubleshooting tips or seek help from online forums or the manufacturer’s support services.

Finalizing Connections and Cable Management
Once you’ve confirmed that the motherboard and connected components are working correctly, the next step is to tidy up the internal space of your case. Good cable management isn’t just about aesthetics; it optimizes airflow and cooling within your system. Route cables along the sides of the case or through designated cable management areas, using zip ties or Velcro straps to bundle them together neatly and keep them out of the path of fans. This preventive measure helps ensure that your system runs cooler and more efficiently, potentially prolonging the life of your components.
Installing Additional Peripherals and Drives
After securing your cables, you can proceed to install any additional peripherals such as SATA hard drives, SSDs, or optical drives if your building includes these components. Locate the SATA ports on the motherboard for data connections and connect the drives to the power supply using the appropriate cables. Make sure to secure the drives in the drive bays or mounting brackets provided by your case. Always refer to your motherboard manual and the case instructions to properly install these components so they are connected and mounted correctly.
Completing the Build and System Setup
With all components installed and cables managed, close up your case and connect your computer to its permanent location. Ensure you have a power source, monitor, keyboard, and mouse connected. Upon booting up, you may need to access the BIOS or UEFI settings to configure your system settings or update the motherboard firmware. Set your preferred boot order, check that all hardware is recognized, and make any necessary adjustments to optimize performance. Finally, proceed with installing your preferred operating system, followed by the necessary drivers for your motherboard and peripherals. Once everything is up and running, you’ve successfully installed your motherboard and set the foundation for your custom PC experience.
After a successful test run, you can finish assembling the case and enjoy your newly built computer system. By following this tutorial step by step and taking care when handling components, you’ll find that installing a motherboard is a rewarding process that sets the cornerstone for your custom PC.