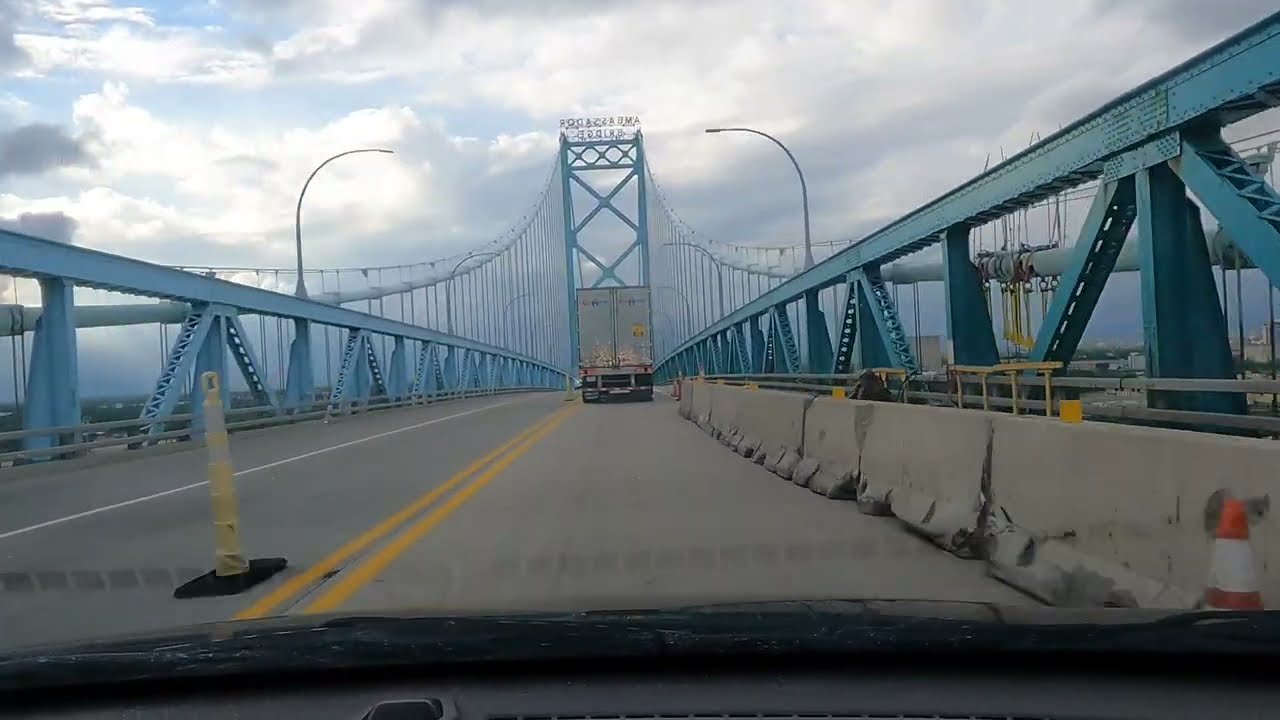
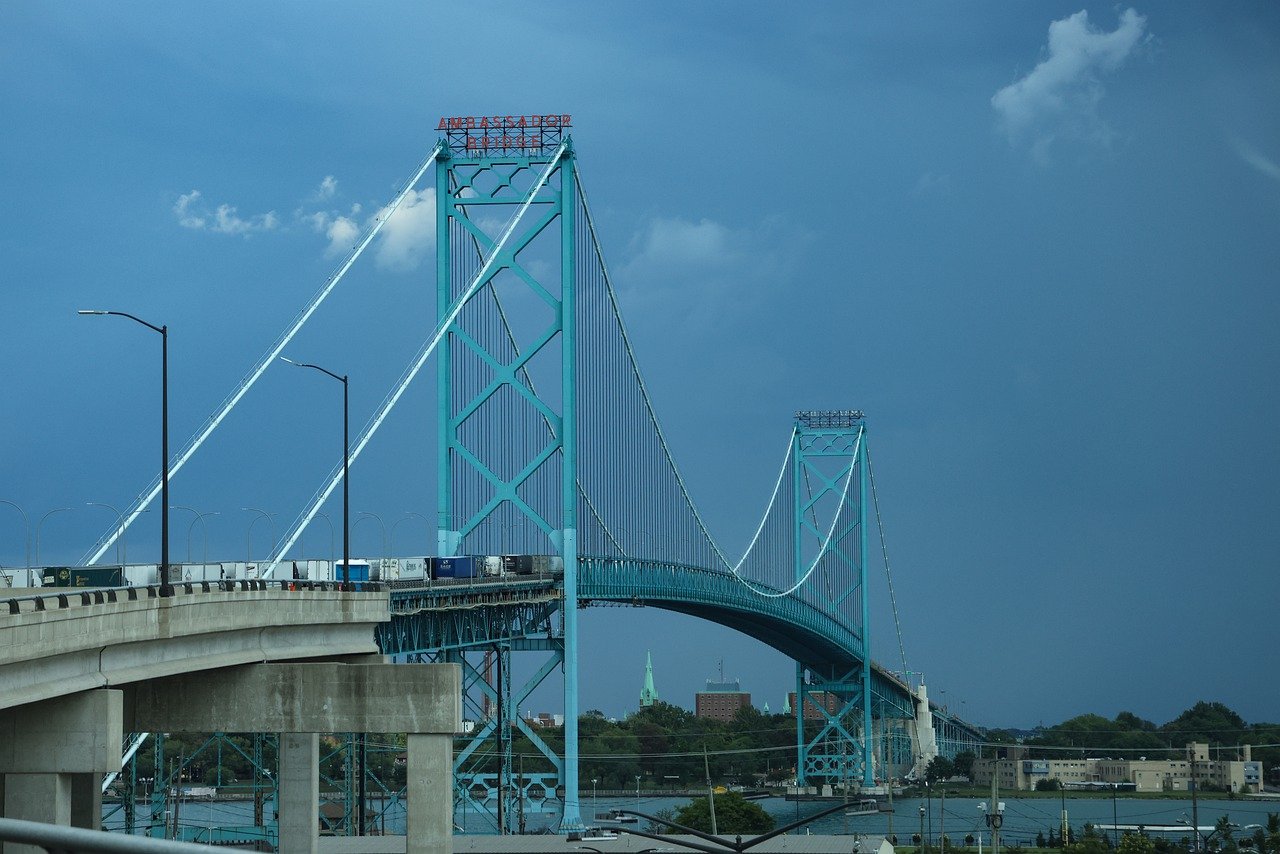
The Ambassador Bridge, an iconic structure that connects Detroit, Michigan, to Windsor, Ontario, is more than just a testament to engineering – it’s a photography enthusiast’s dream. The unique perspectives it offers of the Detroit River and the skylines of two nations make it a captivating subject. This guide aims to unlock the secrets of capturing the Ambassador Bridge through your camera lens, focusing not just on the bridge itself but also on the sprawling vistas it presents. From selecting the best spots for your shoot to understanding the ideal times for photography, and extending to tips on camera settings for optimal shots, followed by advice on post-processing, each step is a stride towards perfecting your Ambassador Bridge photography.
Selecting Your Vantage Points
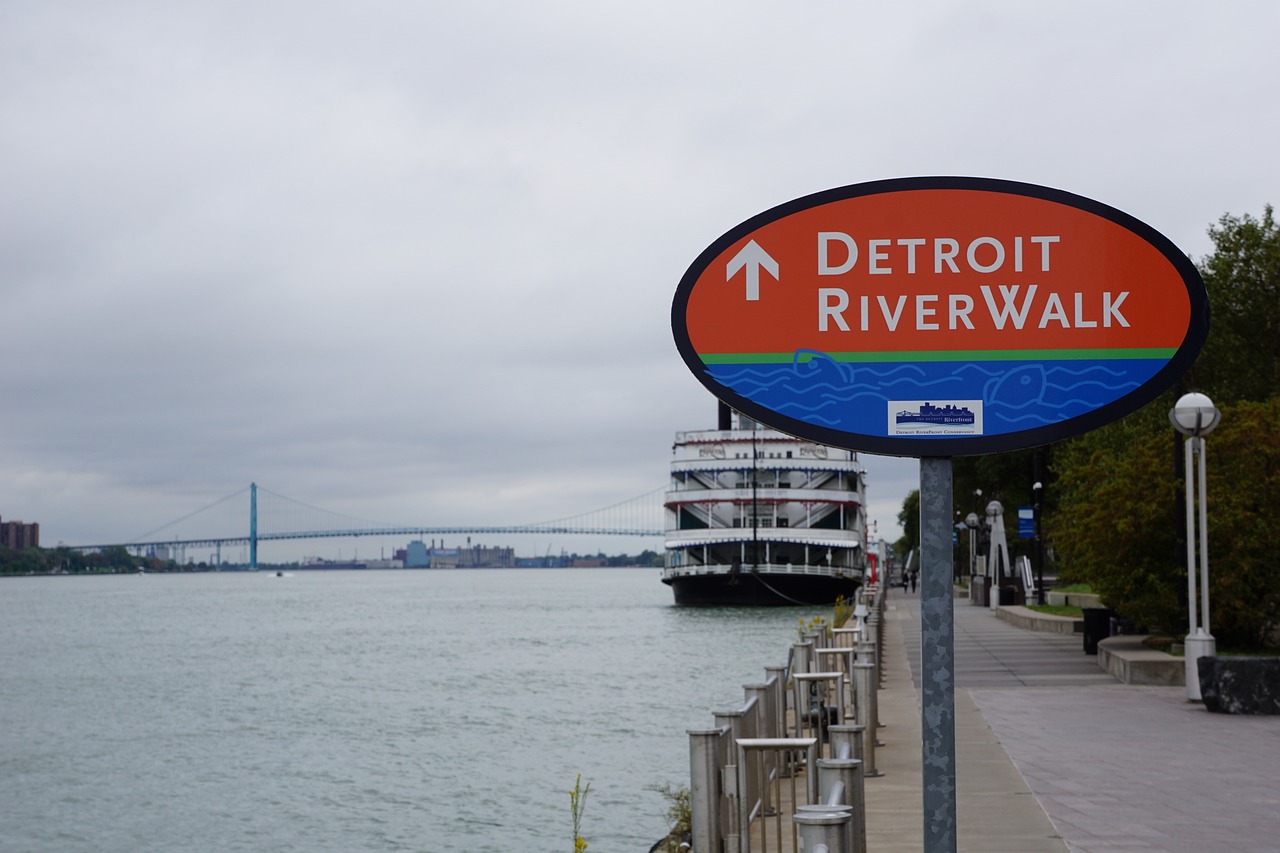
Exploring Riverside Parks
Both Detroit and Windsor boast riverside parks that provide stellar views of the Ambassador Bridge. Detroit’s West Riverfront Park and Windsor’s Assumption Park are notable mentions. These locations offer unobstructed views of the bridge, especially compelling at dawn or dusk when the sky’s colors complement the bridge’s silhouette. Experiment with different angles, taking advantage of the parks’ open spaces to frame the bridge against the sky, water, or city backdrop.
Finding Urban Perspectives
Urban settings around the Ambassador Bridge present unique photographic opportunities. In Detroit, the historic Corktown neighborhood offers a contrasting backdrop of old buildings against the modern marvel of the bridge. Meanwhile, the University of Windsor area allows for shots that capture the bridge towering over educational institutions. These contrasting elements can add depth to your photos, highlighting the bridge’s impact on its urban environment.

Understanding the Best Times for Photography
Golden Hour Brilliance
The golden hour, the period shortly after sunrise or before sunset, provides soft, warm lighting that can dramatically enhance your photographs of the Ambassador Bridge. During these times, the bridge’s structure can appear almost golden, harmonizing with the sky’s hues. Additionally, the low-angle sunlight creates long shadows that can add texture and depth to your compositions.
Nighttime Lights
After dark, the Ambassador Bridge transforms into a well-lit spectacle against the night sky. Long exposure shots during this time can capture the bridge’s lights and their reflections in the water, creating vibrant streaks of color. The contrast between the brightly lit structure and the dark surroundings can produce striking photographs that emphasize the bridge as a beacon of connectivity between two nations.
Adjusting Your Camera for Optimal Shots
Manual Mode Mastery
To truly capture the essence of the Ambassador Bridge, familiarize yourself with your camera’s manual mode. Control over aperture, shutter speed, and ISO settings will allow you to adapt to the variable lighting conditions the bridge presents. A small aperture (high f-number) is ideal for daylight shots to ensure sharpness across the frame. For night photography, a combination of a wide aperture, slow shutter speed, and a tripod to prevent camera shake will yield stunning long exposure shots of the bridge’s illumination.
Focus on Composition
Composition is key in photography, and the Ambassador Bridge offers numerous elements to play with. Use the rule of thirds to position the bridge interestingly within your frame, or experiment with leading lines, allowing the bridge’s structure to guide the viewer’s eye through the photo. Pay attention to symmetry, especially in calm water conditions, where the bridge’s reflection can create a mesmerizing mirror effect.

Enhancing Your Images with Post-Processing
Tweaking Exposure and Color Balance
Even well-composed shots can benefit from post-processing adjustments to exposure and color balance. Tools like Adobe Lightroom or Photoshop can correct underexposed or overexposed areas, ensuring the bridge and its surroundings are evenly lit. Adjusting the color balance can also help recapture the scene’s true colors, especially if your camera’s auto white balance didn’t quite get it right.
Introducing Dramatic Effects
For those looking to add a bit more drama to their Ambassador Bridge photos, post-processing software offers creative options. Experiment with black and white conversion to emphasize the bridge’s structural details against the skyline. Or, apply selective color techniques to highlight the bridge while the rest of the image remains monochrome, drawing the viewer’s eye directly to the subject.

Mastering Lighting Conditions
Leveraging Natural Light
Natural light plays a pivotal role in outdoor photography, and understanding its nuances is crucial for capturing the Ambassador Bridge. Pay close attention to how the sunlight interacts with the bridge at various times of the day. Morning light can cast a refreshing glow, while afternoon sunlight may bring out the stark contrasts of the bridge’s architecture. Keep an eye on weather conditions as well; overcast skies can provide a soft, diffused light that minimizes harsh shadows and creates an almost ethereal effect on the bridge and the surrounding waters.
Embracing Weather Variations
Weather greatly influences the mood and atmosphere of your photographs. Fog can shroud the Ambassador Bridge in mystery, while a clear day can emphasize its grandeur. Snow adds a layer of purity and transforms the landscape into a winter wonderland. Don’t shy away from adverse weather conditions; instead, use them to capture unique, mood-driven photographs that showcase the bridge in a variety of elements.
Creative Techniques for Dynamic Images
Incorporating Movement
Incorporating movement into your photographs can add a dynamic energy to the static grandeur of the Ambassador Bridge. Capture the motion of passing cars with long exposures, creating light trails that lead the eye across the frame. Use the movement of water as a compositional element, perhaps with slower shutter speeds to smooth the river’s surface, which can juxtapose the bridge’s solidity with the fluidity of the river.
Playing with Angles and Perspectives
Challenging the conventional straight-on shot can lead to more engaging photographs. Explore different angles by shooting from below to emphasize the bridge’s height, or from the side to capture its length. Close-up details of the bridge’s structure can tell the story of its design and history. Playing with perspective involves getting creative, not just with your position but also with the camera’s tilt and zoom, offering fresh takes on an oft-photographed landmark.
In conclusion, photographing the Ambassador Bridge can be an enriching experience for any photographer, offering a study in contrasts, lighting, and urban landscape. By carefully selecting your shooting location and time, adjusting your camera settings for optimal capture, and applying thoughtful post-processing, you can create captivating images that reflect the beauty and significance of this iconic structure. Whether you’re a local resident or a visiting photographer, the Ambassador Bridge is a subject that never ceases to inspire.