In an era defined by digital sophistication, the bulky VHS Camera tapes from the past stand out as relics of an analog age. Yet, these tapes hold precious memories that many of us are not willing to let fade into obscurity. Fortunately, transferring VHS camera footage into digital formats has become an achievable task. This process not only preserves our cherished memories for the 21st century but also unlocks new ways to share and enjoy them. Herein, we delve into practical steps and considerations essential for digitizing your VHS collections effectively.
Choosing the Right Equipment
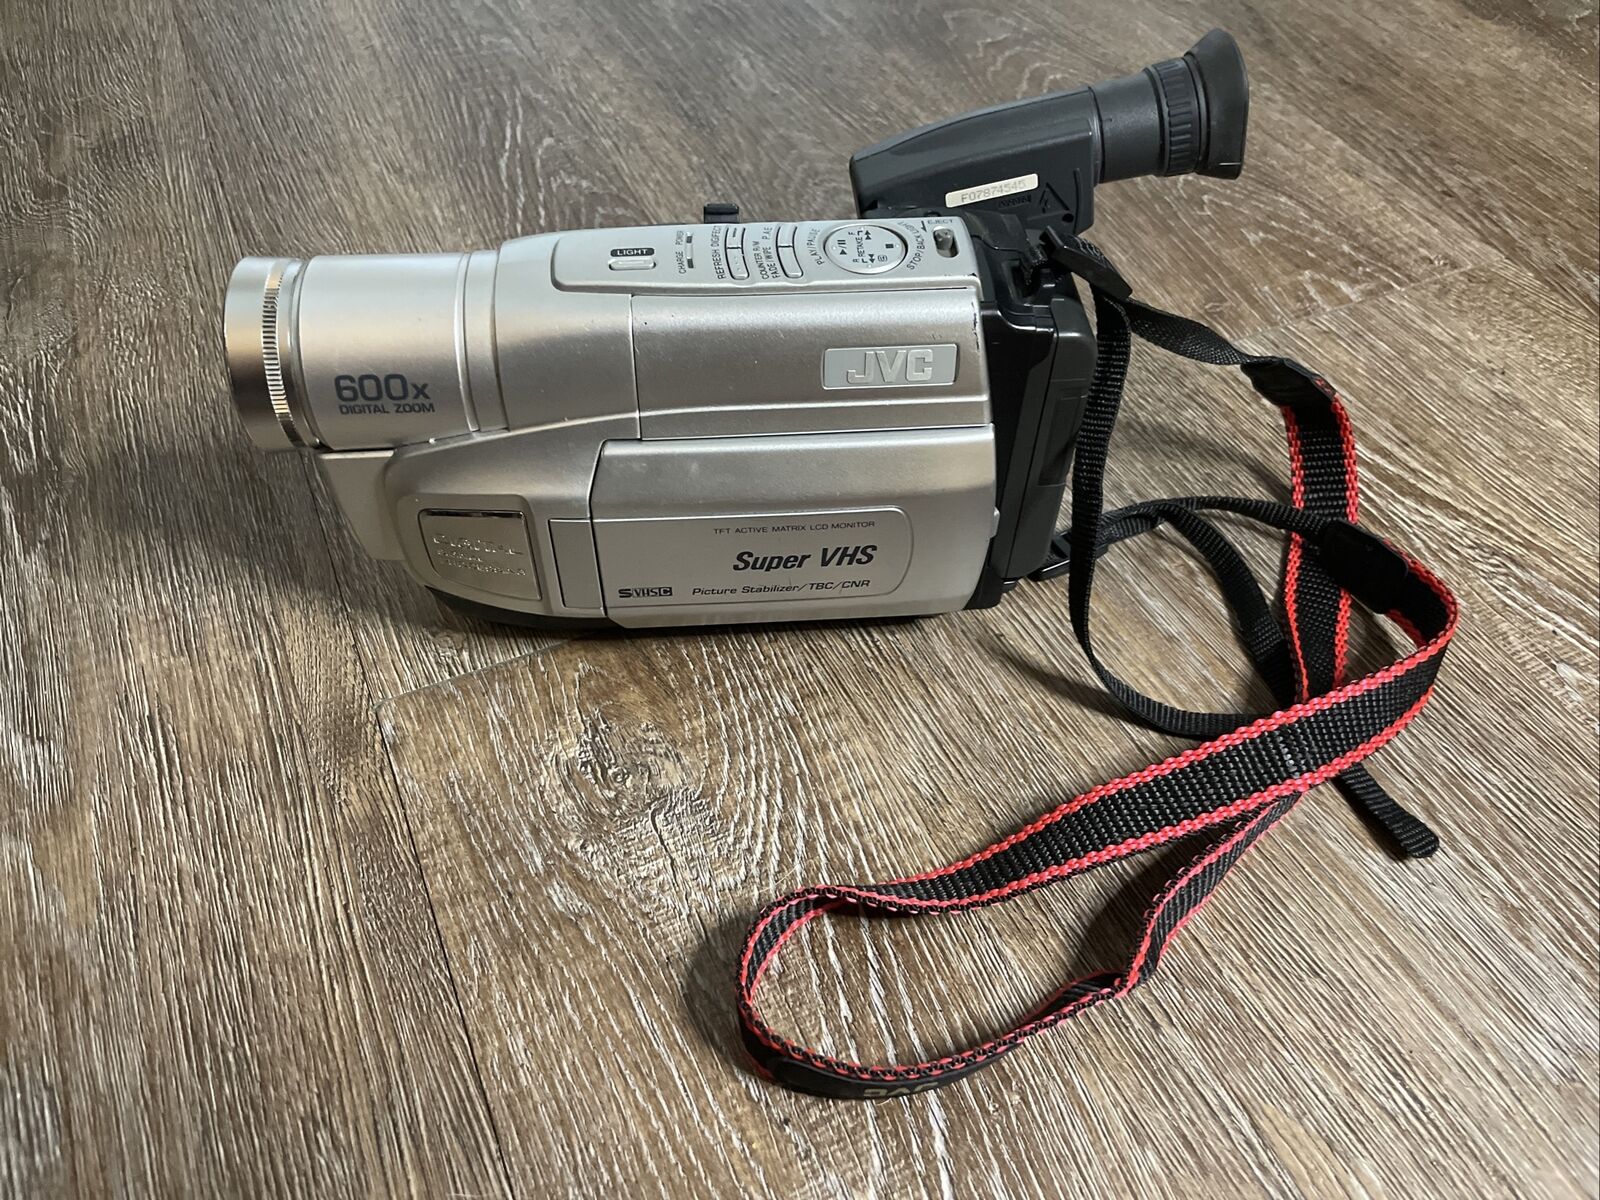
VHS Player and Capture Device
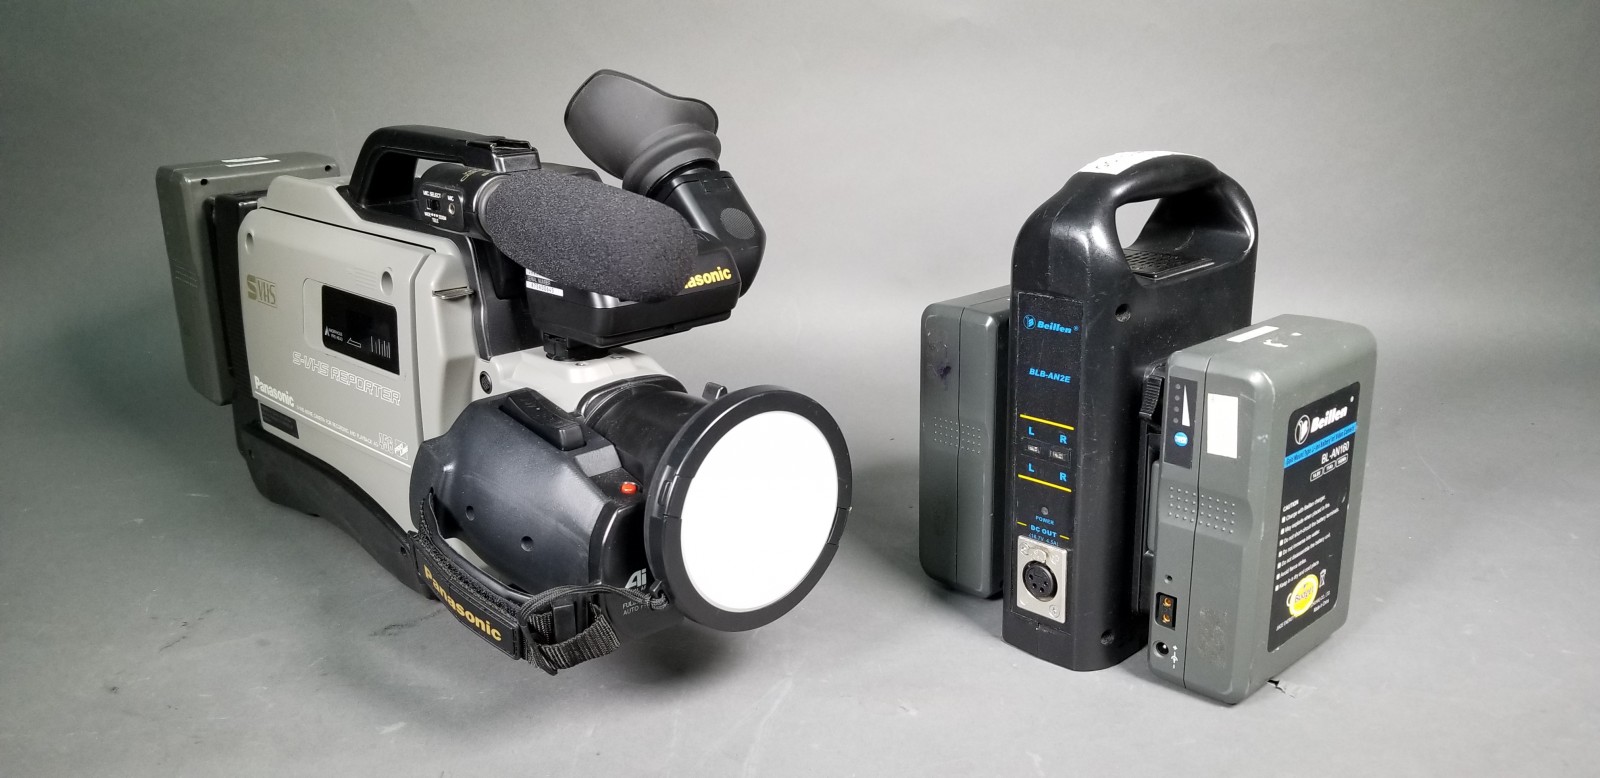
To commence the transfer process, the first step involves gathering the necessary equipment, primarily a functional VHS player and a digital capture device. While finding a working VHS player might require a bit of searching, thrift stores or online marketplaces can often yield surprisingly good finds. Once you have the player, the next critical piece of hardware is a digital capture device. These devices connect between your VHS player and a computer, converting the analog signal into a digital format. Opt for a capture device compatible with your operating system and offers user-friendly software to facilitate the transfer.
Ensuring Quality with Correct Cables
The quality of your digital transfer heavily depends on the cables you use to connect your VHS player with the capture device. Always use high-quality, shielded cables to minimize potential signal interference. Typically, an RCA or S-Video cable will serve this purpose well. Note that selecting S-Video cables, where compatible, can significantly enhance the video quality of your transfers compared to standard composite cables.
Preparing for Transfer
Clean and Check Your Tapes
Before transferring your tapes, it’s imperative to ensure they’re in good condition to avoid damage to both the tape and your VHS player. Consider cleaning your tapes with a soft, dry cloth to remove any dust or debris gently. If your tapes are visibly damaged or show signs of mold, consulting a professional tape repair service is advisable before proceeding with the digital transfer.
Set Up a Comfortable Workspace to Monitor the Transfer
Digitizing VHS footage is not a quick process; it occurs in real-time, meaning a two-hour tape takes two hours to transfer. Prepare a comfortable workspace equipped with everything you need to monitor the transfer process. Make sure your computer has enough storage space for the digitized files, which can be quite large, and keep any necessary software or drivers for your capture device readily available.
The Digitization Process
Conducting the Transfer
With your setup ready, it’s time to initiate the transfer. Connect your VHS player to the capture device and then to your computer following the instructions provided with your capture equipment. Play the tape in your VHS player and use the capture device’s software to start the digitization process. It’s crucial to monitor the transfer closely, as tapes can have imperfections that may require you to pause and adjust settings for optimal quality.
Editing and Enhancing Your Digital Files
After completing the transfer, you’ll have raw digital video files. This stage is your opportunity to edit the footage; you can cut out unwanted sections, adjust the brightness and contrast, or add effects to enhance the visual appeal. Various video editing software options are available, ranging from user-friendly to professional-grade programs. Select one that matches your skill level and requirements. Remember, editing is optional but can significantly improve the quality and enjoyability of your footage.
Preserving and Sharing Your Memories
Choosing the Right Format and Storage
Once digitized and edited, determining the appropriate format to save your files in is essential. MP4 is widely recommended due to its balance of quality and compression, making files easier to store and share. Regarding storage, investing in reliable external hard drives or cloud storage services ensures your digital memories are preserved safely and can be easily accessed or shared with friends and family.
Enjoying and Sharing Your Digitized Footage
The final step in this journey is arguably the most rewarding—enjoying and sharing your newly digitized memories. Whether through social media platforms, personal blogs, or simply a family movie night, the digitized format of your VHS footage opens up numerous avenues for sharing. You might even consider creating DVDs or digital albums as thoughtful gifts for family members, ensuring these precious moments continue to be celebrated for generations to come.
Finalizing and Protecting Your Digital Legacy
Confirming File Integrity and Backup
After the transfer process is complete, it’s imperative to ensure that the digital files are intact and free from corruption. Play back your newly created digital files to check for any issues that may have occurred during the transfer. Once verified, create multiple copies for backup. Using a combination of physical storage, such as external hard drives or USB flash drives, and cloud storage options can provide a safeguard against data loss. Remember, technology can fail, but having multiple backups in different locations dramatically reduces the risk of losing your treasured memories.
Organizing Your Digital Archive
With potentially hours of footage now in digital form, staying organized is crucial. Create a logical file naming system that includes the date and content description for each video. Organizing your files into appropriately labeled folders will help you and others navigate your digital archive with ease. Consider adding metadata, such as tags or comments, that can provide context or anecdotes related to the footage, enriching the viewing experience for those who may watch these videos in the future.
Maintaining Digital Health
Technology evolves rapidly, and so do file formats and storage mediums. To ensure long-term accessibility, keep abreast of changes and periodically update your files to the latest formats and transfer them to new storage solutions as old ones become obsolete. Software tools can automate much of this process, but a regular schedule of manual checks can help catch issues before they become problematic. Staying proactive in managing and maintaining your digital archive will ensure that your video memories remain accessible for many years to come.
Legal Considerations and Ethics
Respect Copyright and Privacy Laws
While transferring personal VHS footage generally doesn’t implicate copyright concerns, it’s important to be aware of legal considerations if your tapes contain copyrighted material, such as recorded TV shows or music. Be mindful of copyright laws and refrain from sharing this content publicly without permission. Moreover, if your footage includes other people, consider their privacy and obtain consent before sharing the videos more widely, especially if the content could be considered sensitive.
Ethical Archiving
As you digitize personal memories, it’s also worth reflecting on the ethical implications of archiving. Some moments captured on tape might be private or potentially embarrassing for those involved. Exercise discretion when deciding what to share or keep private. Establish clear boundaries and communicate with family members or subjects of the video to ensure everyone’s comfort with the digital preservation of these shared memories.
In conclusion, transferring VHS camera footage into the digital realm is a worthy endeavor that safeguards precious memories against the ravages of time. By following the steps outlined above, you can ensure that your cherished moments are not only preserved but also revitalized, ready to be enjoyed and shared in the 21st century. This process, though somewhat laborious, offers a rewarding way to reconnect with the past, bringing forgotten moments back to life with the click of a button.