
Discovering the hidden life of wildlife can be a captivating and educational experience for both professional and amateur naturalists. Trail cameras are invaluable tools for capturing candid images and videos of animals in their natural environment, without creating disturbance. Whether you’re monitoring wildlife for research or simply enjoying the marvels of nature, a good trail camera can make all the difference. In this article, you’ll learn about the key features to look for, the top picks in today’s market, how to effectively place and use your trail camera, and tips for selecting the best option tailored to your naturalist endeavors.
Essential Features in a Trail Camera
High-Quality Imaging and Video
A trail camera that captures high-resolution images and videos will provide clearer, more detailed observations of wildlife. Look for cameras with at least 12 megapixels for still images and 1080p for video resolution. The quality of night vision is equally important; infrared or low-glow LED flash ensures nighttime images are sharp without scaring off the animals.
Trigger Speed and Detection Range
Trigger speed—the time a camera takes to capture an image after detecting movement—is crucial for photographing fast-moving species. Opt for cameras with a trigger speed of less than 0.5 seconds. Additionally, a wide detection range allows the camera to capture more animals as they pass by, so consider cameras with a detection range of at least 50 feet.
Top Trail Cameras for Wildlife Enthusiasts
High-End Options for Professionals
For wildlife professionals who require the utmost in reliability and advanced features, the Reconyx HyperFire 2 offers exceptional image quality and a rapid trigger speed. Another stellar option is the Browning Strike Force Pro X, boasting brilliant image clarity and an extensive detection range. These models are built for demanding fieldwork and long-term monitoring.
Budget-Friendly Choices for Amateurs
Amateur naturalists on a budget have great choices as well, like the Bushnell Trophy Cam HD Essential E3, which provides excellent value with good image quality and decent trigger speed. The Moultrie A-40i Pro also offers a balance between functionality and cost, making it an accessible option for those starting in wildlife observation.
Setting Up Your Trail Camera for Optimal Viewing
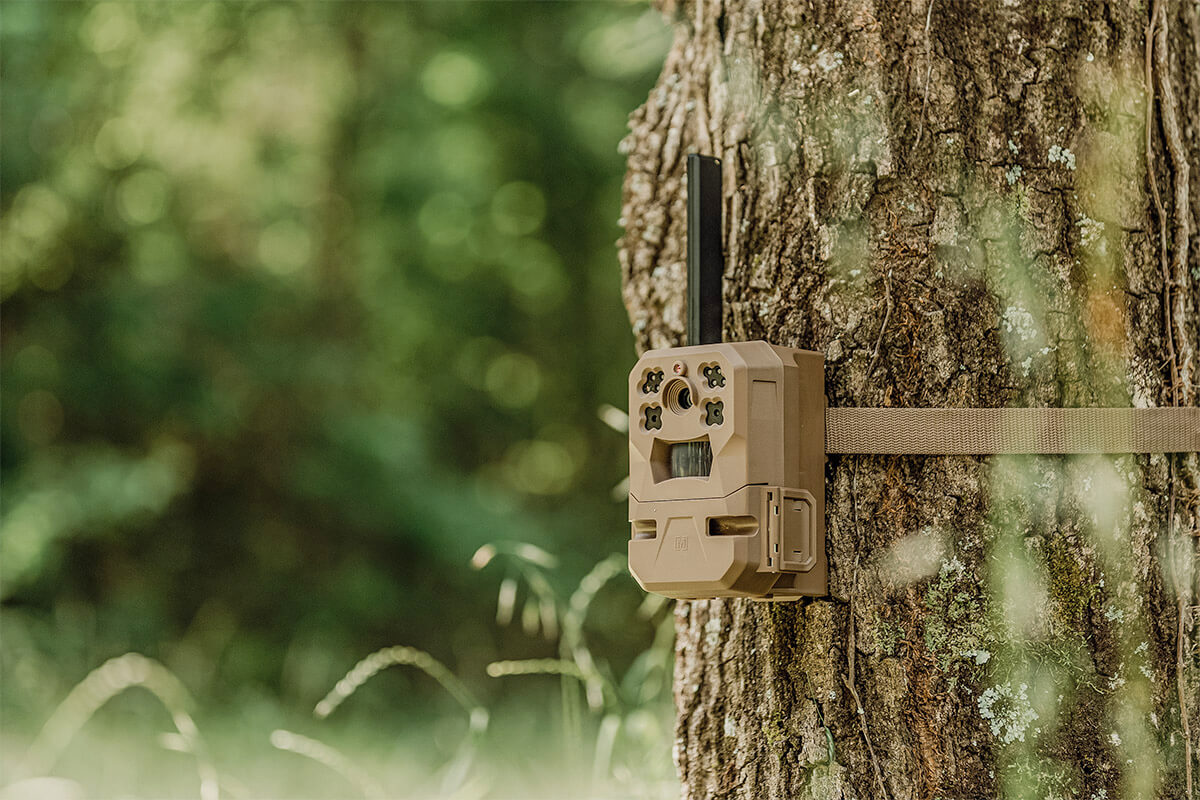
Strategic Placement
Position your trail camera where animals are known to frequent, such as near water sources, along trails, or feeding areas. Set the camera at the recommended height—typically around 3 feet off the ground—and angle it slightly downward to ensure the detection zone is on point. Clear away any branches or debris that might obstruct the camera’s view or mistakenly trigger it.
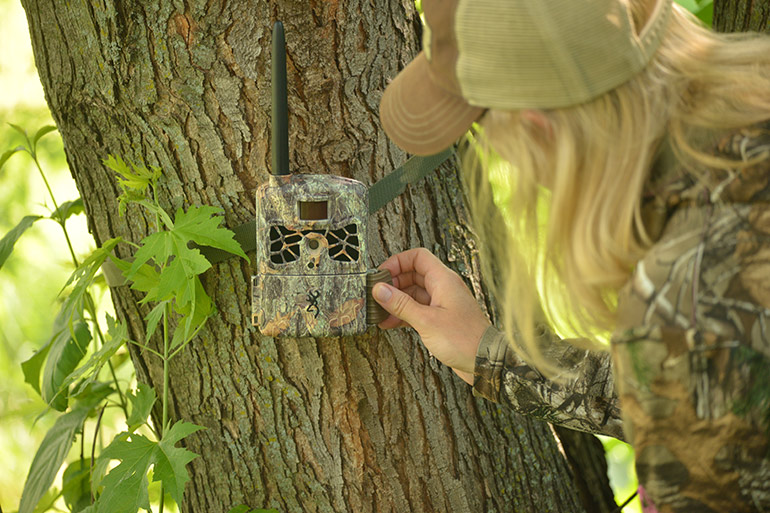
Configuration and Test Runs
Configure your camera’s settings according to what you aim to observe. If you’re hoping to capture nocturnal activity, adjust the night vision settings accordingly. Run tests to make sure the camera’s motion sensors are correctly triggered by movement within its range. Check the camera’s positioning, ensuring it’s secure and camouflaged, to prevent it from being noticed by animals or other visitors.

Choosing the Right Trail Camera for Your Needs
Considering the Ecosystem and Wildlife
Consider the specific ecosystem and types of wildlife you’ll be observing when selecting a trail camera. For creatures that are small or have subtle movements, a camera with high sensitivity and a fast trigger speed is vital. In contrast, if you’re observing a wide or open area, look for cameras with a broad detection range and wide-angle lens.
Balancing Features with Practicality
Balance the camera’s features with its usability and practicality in the field. It might have all the latest capabilities, but if it’s too cumbersome to set up or difficult to maintain, it may not be the right fit. Features like long battery life, sturdy design for weather resistance, and easy data retrieval should be on your checklist.
Maximizing Trail Camera Usage for Effective Monitoring
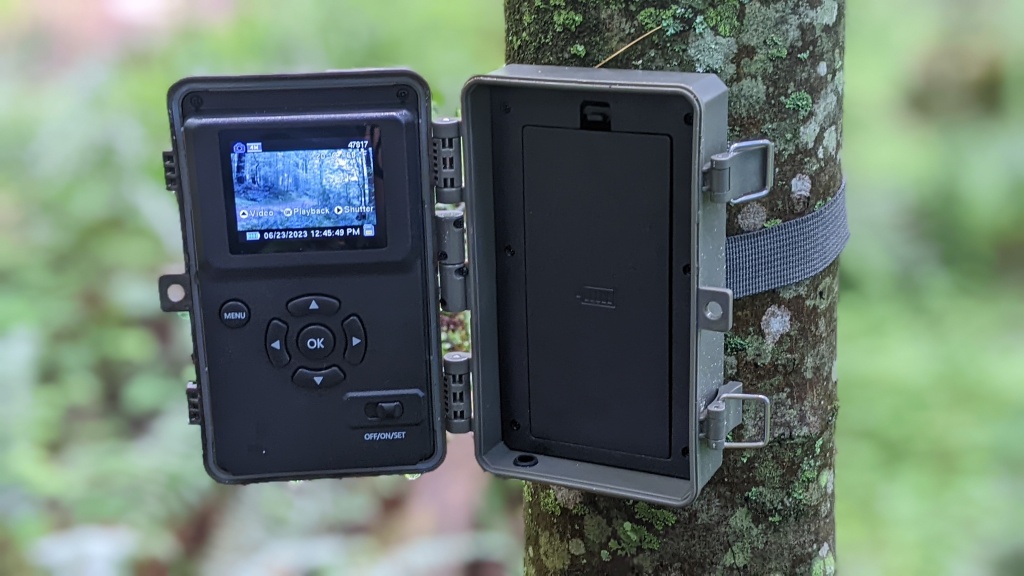
Experimenting with Camera Settings
To get the most out of your trail camera, investing time in mastering its settings is key. Adjust the sensitivity of the motion detector based on the species size and the level of activity in your chosen location. Experiment with interval settings to capture time-lapse images or bursts of photos to ensure not missing any critical wildlife action. Understanding these features can make a substantial difference in the quality and quantity of the data you collect.
Adapting to Seasonal Changes
Wildlife patterns can change with the seasons, so adapt your camera placement and settings accordingly. During certain times of the year, animals may frequent different areas for food or mating. Update the camera’s location to match these patterns. Keep in mind the changing lighting conditions and foliage growth when considering the camera’s field of view and whether or not to use its flash.
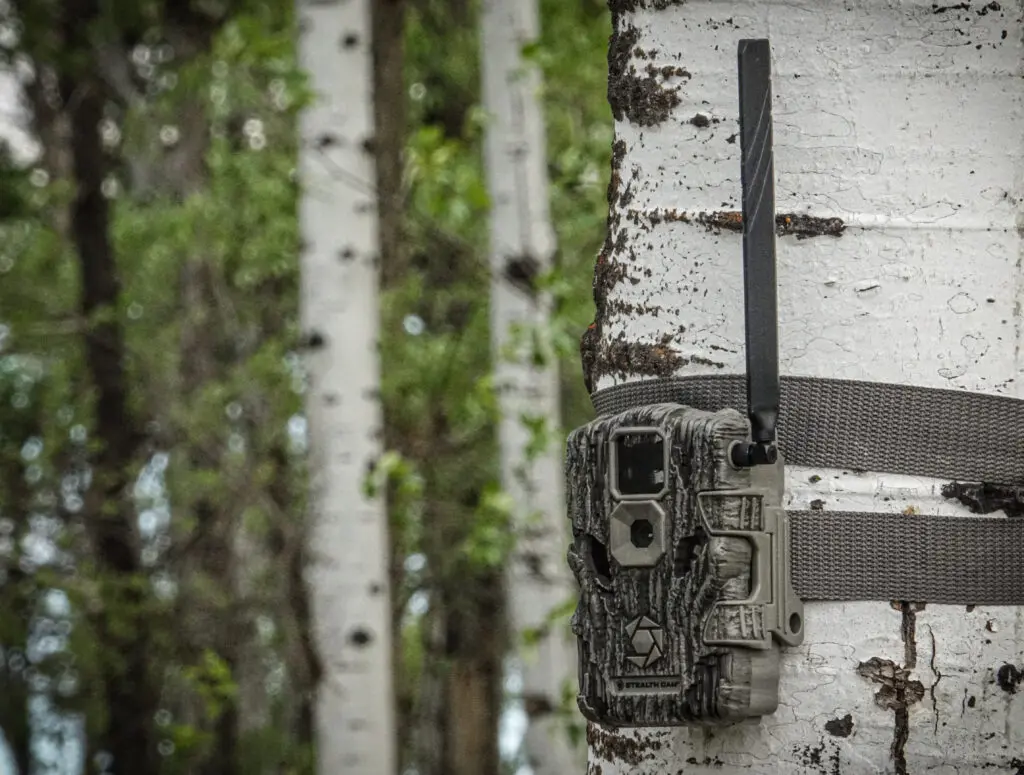
Securing Your Investment
Trail cameras can be prime targets for theft or tampering, especially in areas with higher human traffic. When placing your camera, choose a hidden spot that doesn’t draw attention. Security boxes and locking mechanisms are also worth the investment, securing the camera to the tree or another stable object. Lastly, insure your equipment if necessary, especially if investing in higher-end models.
Leveraging Data for Wildlife Research and Enjoyment
Analyzing the Captured Data
Gathering data is just the beginning; analyzing what you’ve captured can be highly rewarding and informative. Look for patterns in animal behavior, such as times of day when wildlife is most active or how weather changes impact the movement. This information can contribute to research projects, conservation efforts, or just deepen your understanding and appreciation for the local ecosystem.
Sharing Findings with the Community
Consider sharing your findings and best shots with the naturalist community. It can foster collaboration, contribute to citizen science projects, and help in efforts to protect and conserve wildlife. Platforms and forums dedicated to trail camera users and wildlife enthusiasts are great places to start discussions, get feedback, and learn from the experiences of others.
In conclusion, selecting the best trail camera is a personal choice that should align with your specific interests in wildlife observation, the research you intend to conduct, and the type of environment you’ll be working in. By taking into account image and video quality, trigger speed, detection range, along with the best models available for both professional needs and amateur enjoyment, you will enhance your naturalist pursuits significantly. The right trail camera will serve as a silent witness to nature’s untold stories, providing insights and enjoyment for years to come.