
Venturing into the world of film photography is a rewarding journey that combines the thrill of analogue processes with the fundamentals of photography. Despite living in a digital age, the allure of film is ever-present, with many photographers – new and seasoned – embracing its timeless appeal. If you’re considering delving into this craft, this article unveils the essentials to get you started, from selecting the suitable equipment to understanding film types, as well as developing your negatives and finally, producing prints that encapsulate the analogue experience.
Equipment Essentials: Choosing Your Tools
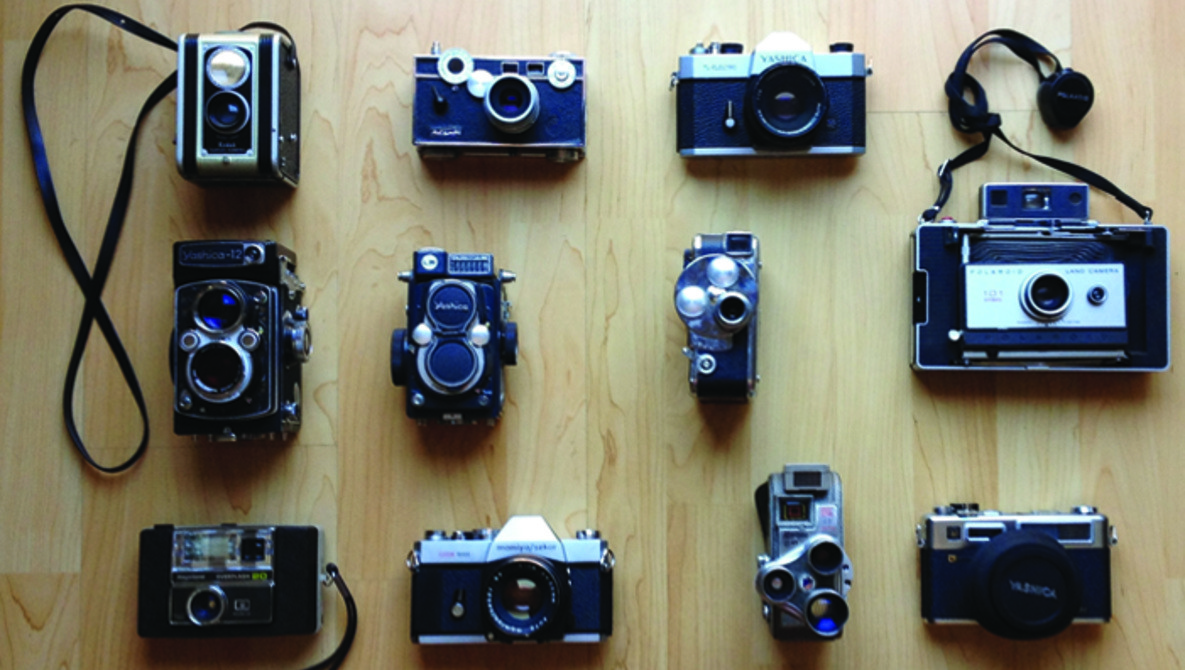
The first step in your film photography adventure is to assemble your toolkit, emphasizing the camera and lens as the foundation of your tangible photographic creations.
Finding the Right Camera
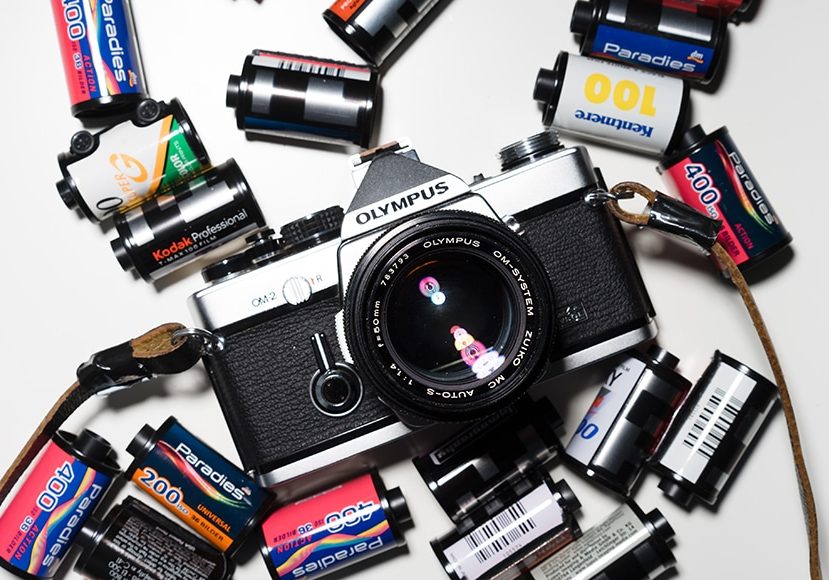
Start with a reliable film camera that meets your specific needs and level of expertise. Beginners may benefit from fully or semi-automatic 35mm SLRs or point-and-shoot cameras for ease of use. These often come with built-in light meters and automatic exposure settings. More experienced photographers might prefer fully manual cameras or medium format for greater control over aspects such as focusing, exposure, and depth of field.
Lenses and Accessories
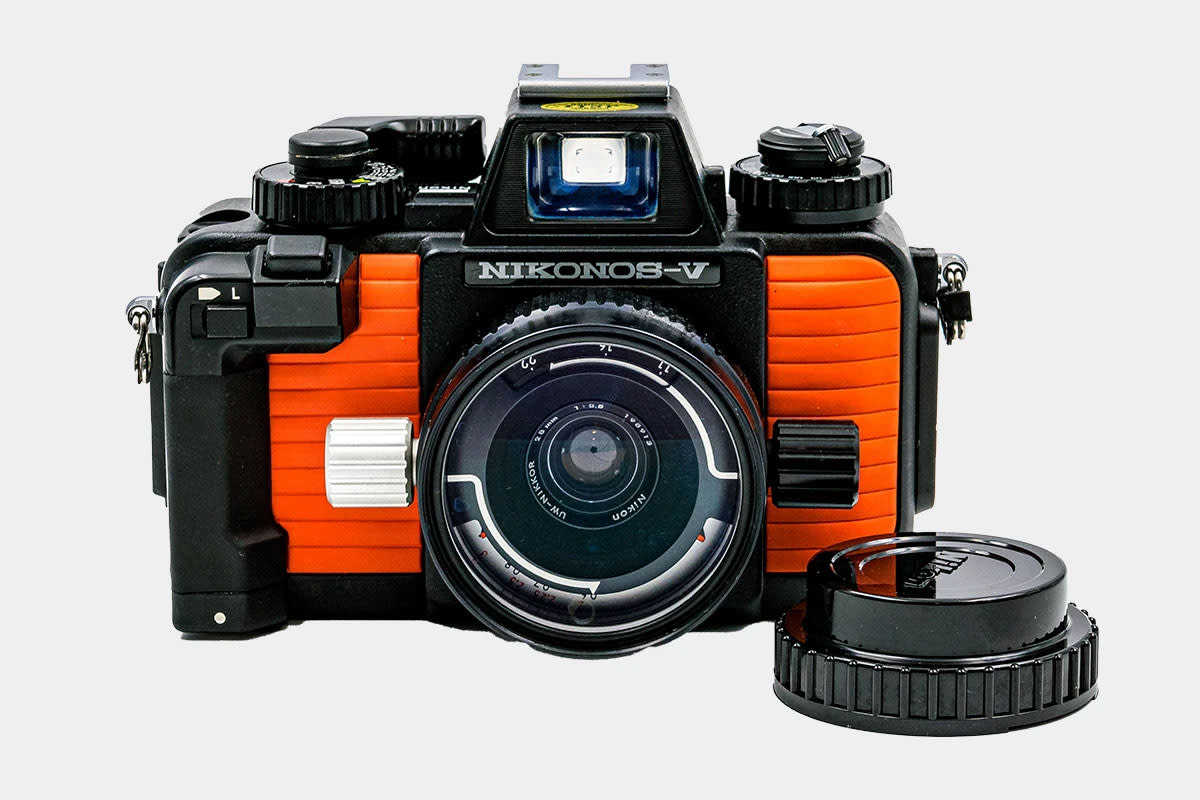
Choose a versatile lens, such as a 50mm prime lens, to partner with your chosen camera. The fixed focal length promotes a straightforward approach to composition, forcing you to move physically to frame your shots. For expanding your capabilities, consider wide-angle or telephoto lenses and essential accessories like a sturdy tripod, a reliable camera bag, and a handheld light meter for precise exposure readings.
Film Types and Selection: Understanding Your Medium
Film selection is crucial as it influences the aesthetic of your images. Different types of film yield unique results, whether you shoot in color or black and white.
Grasping Film Speed and Grain
ISO ratings on film denote sensitivity to light – a lower number like ISO 100 is less sensitive and therefore suited for bright conditions but offers finer grain and higher image quality. High ISO films, such as ISO 800 or 1600, perform better in low light but come with increased grain. Experimenting with different ISO settings will help you find your preferred balance between light sensitivity and image texture.
Exploring Color and Black & White Films
Color film is perfect for capturing life in its vibrant form, but black and white add a timeless, evocative quality to your shots that often encourages a more thoughtful approach to composition and lighting. Several brands offer a wide array of films with varying contrasts and color renditions, empowering you to test and identify the film that conveys your artistic vision.
Developing Film: The Alchemy of Photography
Once you have captured your images on film, developing the negatives is a fascinating process that unveils the latent photographs. This step can be the most intimidating, but also the most rewarding aspect of film photography.
Home vs. Lab Development
Many photographers choose to develop film at home for complete control over the process. This requires a darkroom or changing bag, chemicals, tanks, reels, and some practice. Alternatively, local photo labs offer film developing services which can be advantageous for beginners or those not ready to invest in home development equipment.
The Process of Developing
Whether at home or through a lab, film development involves a sequence of chemical baths – developer, stop bath, fixer, and sometimes a hypo clearing agent – each playing a specific role in making your images appear on the film. It’s crucial to maintain precise timing and temperature control during development to ensure the resulting negatives are correctly exposed and preserved.
Print Making: Bringing Your Photos to Life
With developed negatives in hand, the final and most satisfying step is producing physical prints. This stage is where the tangibility of film photography truly shines through.
Darkroom Printing
Printing in a darkroom offers a hands-on experience that can’t be replicated by digital processes. It allows you to manipulate the exposure and contrast of each print manually, using an enlarger and photographic paper. Dodging and burning are techniques to manage the lightness or darkness of certain areas, giving you creative control over the final image.
Digital Options for Film Photographers
While some purists might balk at the thought, it is possible to digitize negatives using a film scanner and then print images using digital techniques. This hybrid process combines the authenticity of film capture with the convenience of digital editing and printing, offering a contemporary spin on film photography.
Seeking Inspiration: Subject Matters
Before you even load your camera with film, it’s important to consider what you want to photograph. Inspiration can come from any number of sources, but film photography often calls for a more deliberate approach to subject selection.
Finding Your Focus in Photography
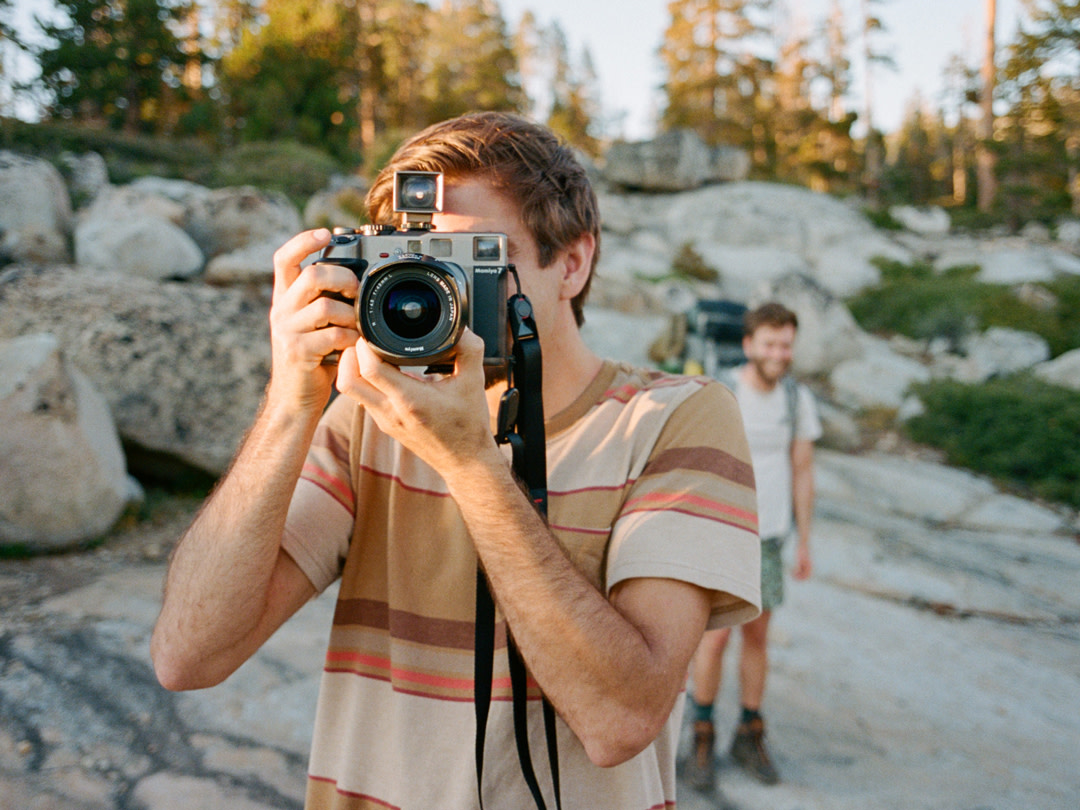
Identify what captivates you. Is it the urban landscape, the subtleties of nature, or intimate portraits that draw your eye? Film photography encourages you to slow down and truly see your subject. Study how light interacts with your environment; notice patterns, textures, and emotions. These observations will inform your choice of film stock, camera settings, and composition. Remember, the essence of photography lies in observation and capturing the world through your unique lens.
Project-Based Photography
Creating a photo project can bring direction and purpose to your work. It could be a series documenting local street life, a collection portraying the changing seasons, or an abstract exploration of light and shadow. Projects not only provide a coherent narrative to your work but also challenge you to think critically about how each image adds to your overall vision.
Embracing the Process: Learning and Patience
The magic of film photography is as much about the process as it is about the end result. From loading film to making prints, every step requires a certain amount of precision and care.
The Learning Curve
Expect to make mistakes – they are part of the film photography process. An overexposed roll, a misjudged focus, or a development error are all lessons rather than defeats. Each mishap teaches you a valuable lesson about your craft. Use these setbacks as opportunities to become a better photographer. Remember, in film photography, the process is the teacher.
The Virtue of Patience
In an era where digital snapshots are ubiquitous and disposable, film photography trains you to be patient. Wait for the right light, anticipate moments, and when it’s time, press the shutter with intention. The wait for developed film can be excruciating, but the anticipation is part of what makes the process so rewarding. When you finally see your negatives or prints, the wait pays dividends in satisfaction and achievement.
In conclusion, starting with film photography may appear daunting, but it opens up a world where the photographer connects deeply with every aspect of the image-making process. From choosing the right equipment and selecting the best film to developing your negatives and creating prints, each step is an art form in itself. As you begin your film photography journey, embrace the learning curve, and remember that every mistake is part of the discovery process. Film photography isn’t about instant results. It’s about thoughtfulness, patience, and the delight in each click of the shutter, knowing you’re creating something tangible and lasting.