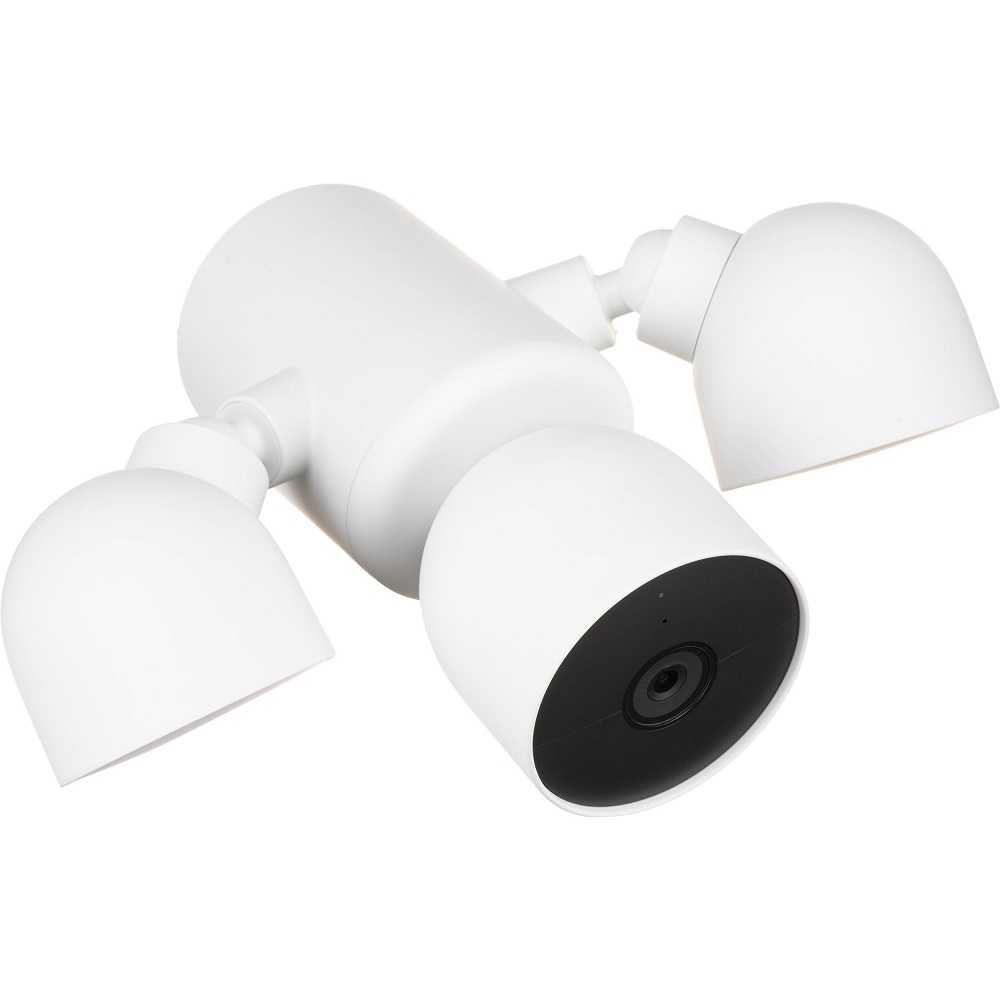
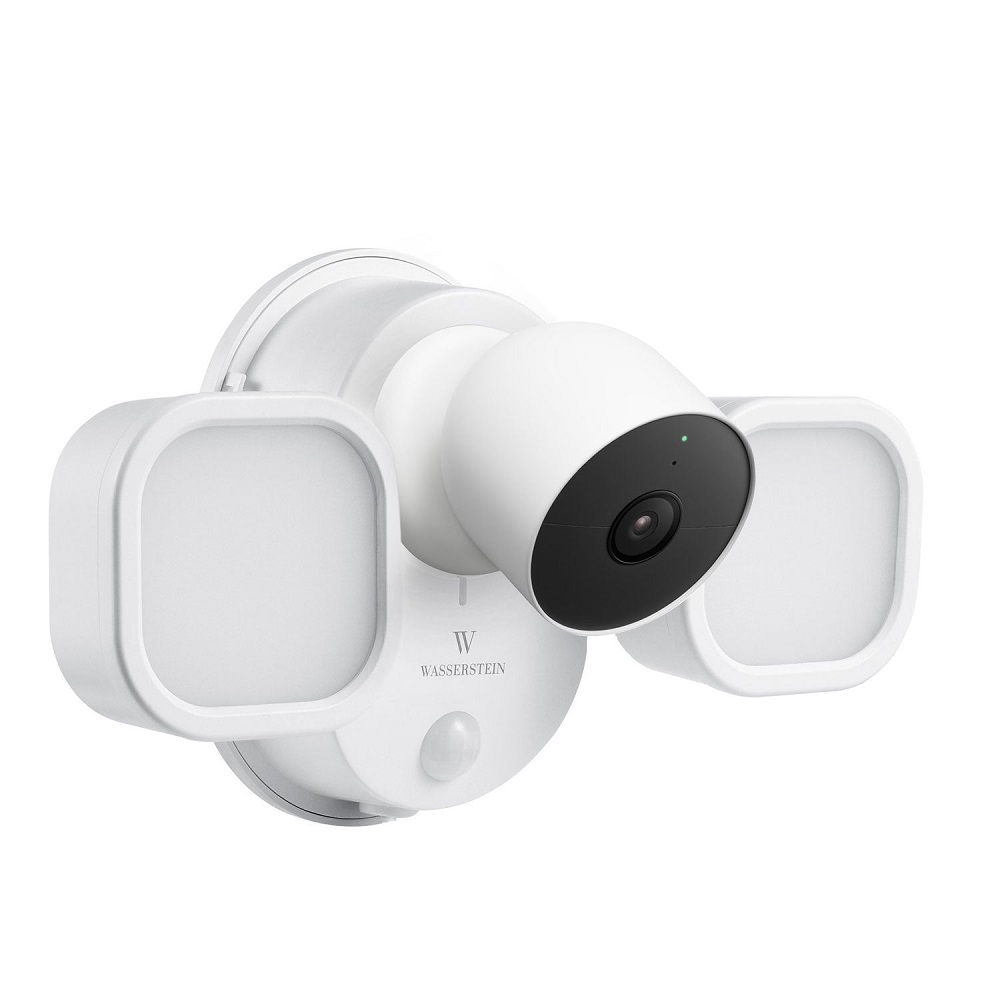
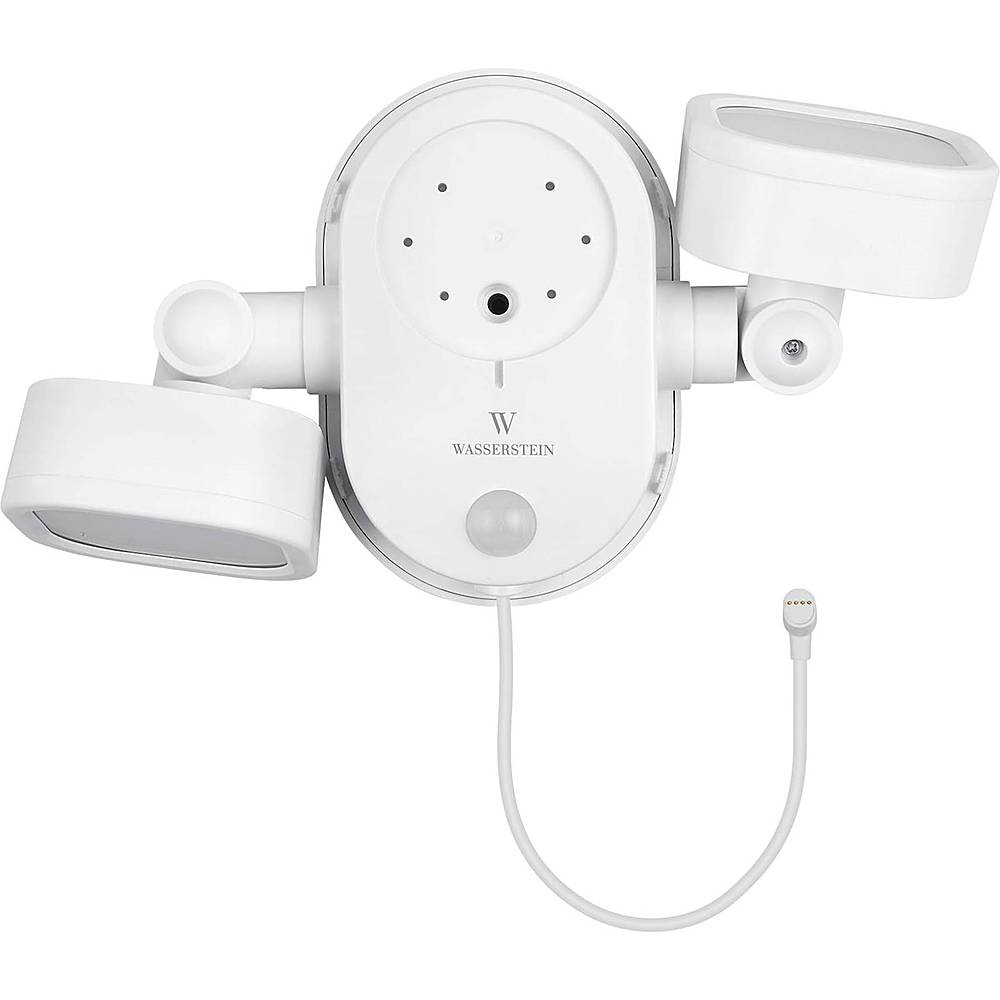
Enhancing home security and lighting capabilities has never been easier than with the Nest Floodlight Camera. This smart device combines motion-activated floodlights with a high-definition security camera, providing an all-in-one solution for outdoor surveillance. This comprehensive guide will walk you through the step-by-step process of setting up your Nest Floodlight Camera, ensuring a smooth and efficient installation.
Preparation and Tools
Gather Necessary Tools and Equipment
Before beginning the installation process, it’s important to gather all the necessary tools and equipment to make the setup efficient and seamless. You will need:
- A ladder (for reaching high installation points)
- A power drill with a set of drill bits
- A Phillips-head screwdriver
- Wire strippers
- Electrical tape
- The mounting bracket and hardware included with your Nest Floodlight Camera
- Your smartphone with the Google Home app installed
Having these tools and equipment on hand will streamline the installation process and help you avoid unnecessary interruptions. Ensuring you have everything you need before starting makes the installation more manageable and efficient.
Turn Off Power Supply
Safety should be your top priority when dealing with any electrical installation. Before you begin installing the Nest Floodlight Camera, make sure to turn off the power supply at the circuit breaker. This will prevent any electrical accidents or injuries while you are working on the installation.
It’s also a good idea to use a voltage tester to confirm that the power is indeed off before proceeding with the installation. Ensuring the power supply is turned off guarantees a safe and secure installation environment, reducing the risk of electrical hazards.

Mounting the Floodlight Camera
Choose the Ideal Location
Selecting the ideal location for your Nest Floodlight Camera is crucial for maximizing its effectiveness. The best placement is typically near entry points such as doors, garages, or porches where it can cover large areas and detect motion accurately. Ensure the camera has a clear view of the desired monitoring area and is within range of your Wi-Fi network.
Consider the height at which you mount the camera; placing it about 8-10 feet above the ground usually provides an optimal field of view and motion detection range. Choosing the right location ensures the camera captures clear footage and the floodlights illuminate the necessary areas effectively.
Install the Mounting Bracket
Once the location is chosen, the next step is to install the mounting bracket, which comes with your Nest Floodlight Camera. Follow these steps:
- Mark Drill Holes: Hold the mounting bracket against the wall and mark the positions of the drill holes using a pencil.
- Drill Holes: Use the power drill to create holes at the marked points.
- Insert Wall Anchors: If you are drilling into a surface like brick or stone, insert wall anchors into the holes to provide a more secure mount.
- Attach the Bracket: Use the provided screws to attach the mounting bracket firmly to the wall.
Ensure the bracket is securely mounted and level, as this will provide a stable base for the floodlight camera. Proper installation of the mounting bracket is essential for the overall stability and function of the camera.
Wiring the Camera
Connect Wires
With the mounting bracket in place, the next step involves wiring the floodlight camera. Carefully follow these steps:
- Strip Wire Ends: Use the wire strippers to remove about half an inch of insulation from the ends of the wires coming from your house and the camera.
- Match Wires: Match the corresponding wires (usually black to black, white to white, and green/bare to ground) from the camera to the house wiring.
- Connect Wires: Twist the wire ends together and secure them with wire nuts. Ensure the connections are tight and secure.
- Tape Connections: Use electrical tape to wrap around the wire nuts and connections for added safety and insulation.
Ensuring proper and secure connections is vital for the functionality and safety of the floodlight camera. Proper wiring techniques help prevent electrical faults and enhance the reliability of the device.

Secure Wiring Compartment
After the wires are connected, secure the wiring compartment to protect the connections from weather and other external factors. Follow these steps:
- Tuck Wires: Carefully tuck the connected wires into the wiring compartment on the back of the camera.
- Seal Compartment: Attach the cover or backplate to the wiring compartment, ensuring it is properly sealed and weatherproof.
Securing the wiring compartment protects the wire connections from moisture, dust, and other elements, ensuring long-term reliability and functionality of the camera and floodlights.
Mounting the Floodlight Camera
Attach the Camera to the Bracket
Once the wiring is securely in place, you can attach the floodlight camera to the mounting bracket. Follow these steps:
- Align Mounting Points: Align the mounting points on the back of the camera with those on the bracket.
- Secure Camera: Use the provided screws to secure the camera to the bracket, ensuring it is firmly attached.
Ensure the camera is tightly secured to prevent it from wobbling or coming loose. Double-check the alignment and stability of the camera before proceeding with the next steps.
Adjust Camera Angle and Lights
With the camera mounted, the next step is to adjust the angle and direction of the camera and floodlights. This ensures optimal coverage and motion detection. Follow these steps:
- Adjust Camera: Loosen the adjustment screws and position the camera to cover the desired area. Tighten the screws to lock the camera in place.
- Position Floodlights: Adjust the floodlights to illuminate key areas such as entryways, driveways, or paths.
Properly adjusting the camera and floodlights maximizes their effectiveness in monitoring and illuminating critical areas around your property.
Setting Up the Camera with Google Home
Connect to Wi-Fi
Now that the physical installation is complete, it’s time to set up the camera’s smart features using the Google Home app. Follow these steps:
- Download Google Home App: If you haven’t already, download and install the Google Home app on your smartphone.
- Add Device: Open the app, tap the “+” icon to add a new device, and select “Set up device.”
- Follow Prompts: Follow the on-screen prompts to connect the Nest Floodlight Camera to your Wi-Fi network. Ensure you have your Wi-Fi credentials handy.
Connecting the camera to Wi-Fi enables you to access its smart features and remote monitoring capabilities. The Google Home app provides a user-friendly interface to manage and configure your device.
Customize Settings
Once the Nest Floodlight Camera is connected to Wi-Fi, you can customize its settings through the Google Home app. Follow these steps:
- Access Device Settings: In the Google Home app, select your Nest Floodlight Camera and navigate to the settings menu.
- Adjust Motion Sensitivity: Customize motion detection sensitivity to reduce false alarms.
- Set Activity Zones: Define specific areas for the camera to monitor, minimizing unnecessary alerts.
- Configure Notifications: Adjust notification preferences to receive alerts on your smartphone whenever motion is detected.
Customizing these settings ensures the camera operates according to your preferences and provides relevant alerts and monitoring capabilities.

Testing and Final Adjustments
Test Floodlights and Camera
After configuring the settings, the final step is to test the floodlights and camera to ensure everything is functioning correctly. Follow these steps:
- Turn on Power: Restore power at the circuit breaker.
- Test Motion Detection: Walk within the camera’s field of view to test the motion detection and floodlights. The lights should turn on and the camera should start recording.
- Check Camera Feed: Open the Google Home app and check the live feed from your Nest Floodlight Camera.
Testing ensures all components are working as intended and provides an opportunity to make any necessary adjustments to the camera angle or settings.
Final Adjustments and Maintenance
Based on the test results, make any final adjustments to the camera angle, floodlight positions, or settings configurations. Periodically check the camera and lights to ensure they remain properly positioned and functional:
- Angle Adjustments: Fine-tune the camera and floodlight angles for optimal coverage.
- Firmware Updates: Regularly check for firmware updates via the Google Home app to ensure the camera has the latest features and improvements.
- Clean Lens: Keep the camera lens clean from debris or dirt for clear video footage.
Regular maintenance ensures the long-term performance and effectiveness of your Nest Floodlight Camera in enhancing your home security.
Conclusion
Setting up the Nest Floodlight Camera can be a straightforward and rewarding process when following the right steps. From preparing the necessary tools and selecting the ideal location to wiring the camera and configuring settings, each phase is crucial for optimal functionality. By following this detailed guide, you can enhance your home security with the powerful combination of floodlights and high-definition surveillance offered by the Nest Floodlight Camera. Whether you’re upgrading your existing security system or installing a new one, this guide ensures a smooth and effective setup, providing peace of mind and enhanced safety for your home.
