In an age where home security is more paramount than ever, the Ring Indoor Camera offers an effective way to monitor your space. This small yet powerful device provides a comprehensive view of your home, allowing you to keep an eye on your loved ones and your belongings. Setting up the Ring Indoor Camera can be a smooth process if you follow the right steps. This guide will take you through each stage of the setup process, ensuring that you have everything in place to make the most of your security system.
Understanding Your Ring Indoor Camera
Features of the Ring Indoor Camera
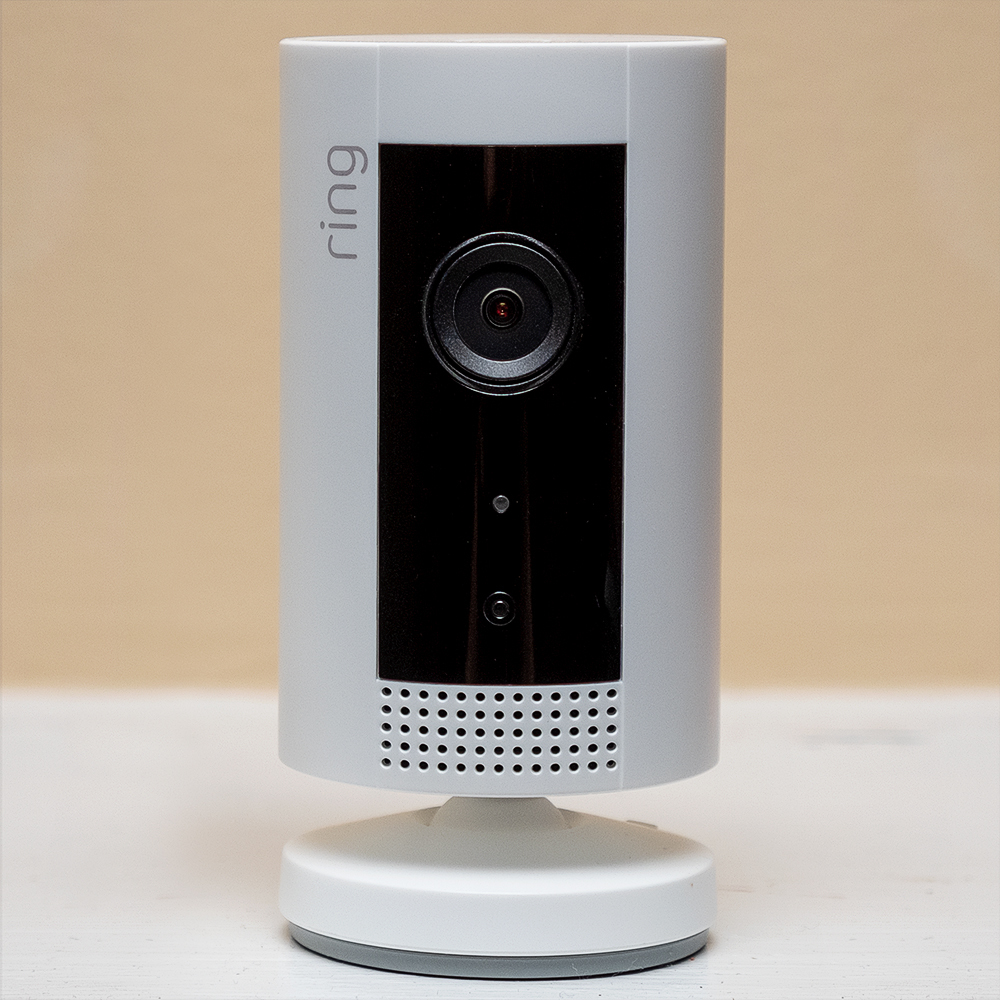
Before diving into the setup process, it’s essential to familiarize yourself with the features of the Ring Indoor Camera. This device comes equipped with high-definition video, two-way audio, night vision capabilities, and a wide field of view. The built-in motion sensors alert you when movement occurs, allowing you to capture events in real time. You can access live feeds and recordings via the Ring app on your smartphone or tablet. Furthermore, the camera is compatible with voice assistants like Amazon Alexa, enabling you to command the device hands-free.
Additionally, the privacy settings allow you to customize when the camera is active, ensuring peace of mind. With features like these, the Ring Indoor Camera effectively serves as both a security device and a home assistant.
What’s in the Box?
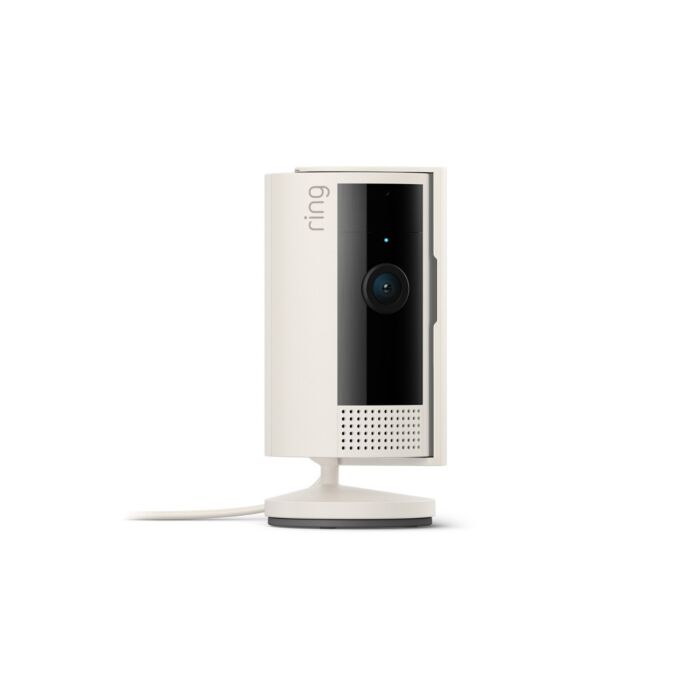
When you open the box, you’ll find the Ring Indoor Camera itself, a power adapter, a mounting bracket, power cable, and setup instructions. Take a moment to verify that all components are accounted for before beginning the setup. Each item plays a vital role in ensuring that your camera functions correctly and is securely installed in your desired location.

Preparing for Installation
Choosing the Right Location
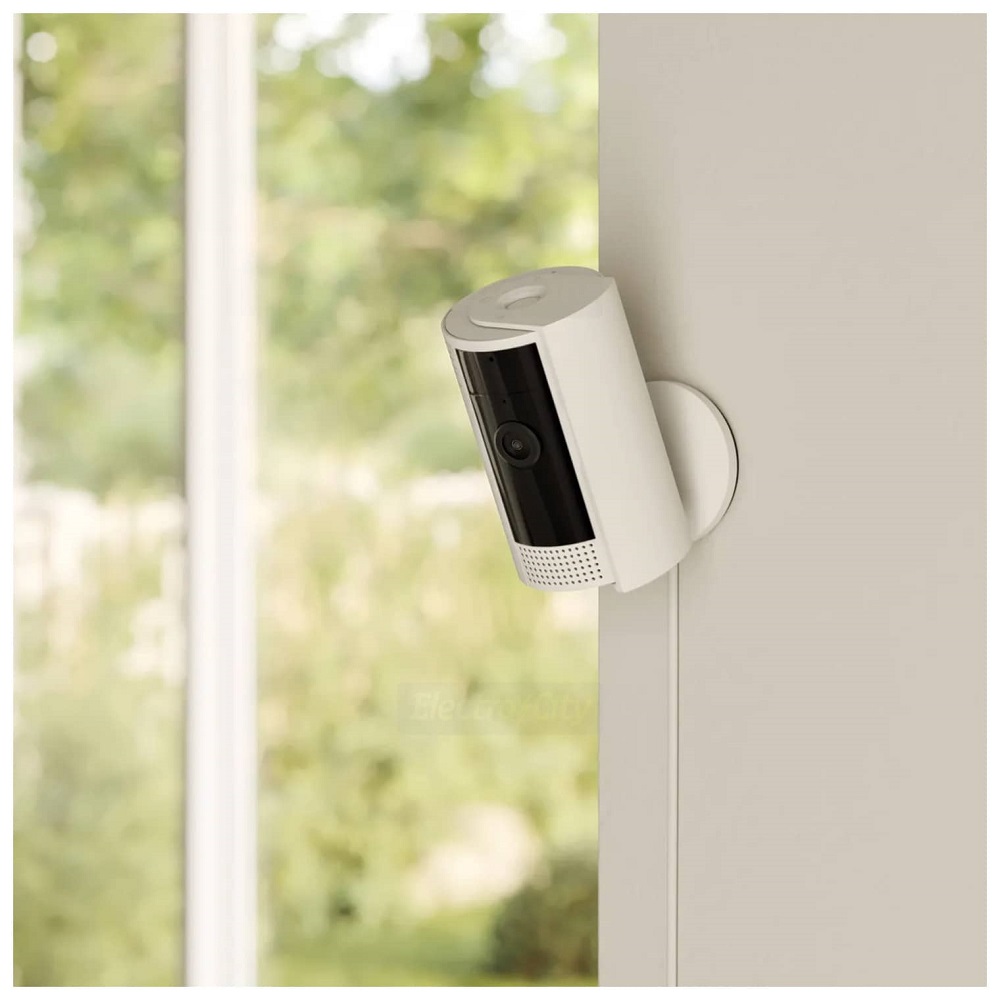
Selecting the proper location for your Ring Indoor Camera is crucial for optimal performance. Look for a spot that offers a clear view of the areas you wish to monitor. Avoid locations that face direct sunlight, as this can lead to glare and impact video quality. A corner of the room often works well since it allows the camera to capture multiple angles at once.
Additionally, consider placing the camera at eye level to maximize visibility. If you place it too high up or too low, you may miss important details, like facial recognition or certain movements. Also, ensure that the location you choose is within range of an electrical outlet since the Ring Indoor Camera requires consistent power to operate.
Connecting to Wi-Fi
An active Wi-Fi connection is essential for your Ring Indoor Camera to function. Before installation, check the strength of your Wi-Fi signal in the chosen location. You can do this using your smartphone or a Wi-Fi analyzer app to confirm that the connection is solid. If the signal is weak, consider moving the router closer to the camera or using a Wi-Fi extender to boost the signal. A strong connection ensures that you won’t face interruptions during live video streaming or alert notifications.
Downloading the Ring App
Installing the App
To utilize the Ring Indoor Camera effectively, download the Ring app on your smartphone or tablet. The app is available for both iOS and Android devices. Visit the App Store or Google Play Store, search for “Ring,” and select the app to download. Once downloaded, tap on the app icon to open it.
Creating an Account
If you’re a first-time user, you’ll need to create a Ring account. Follow the on-screen prompts to enter your email address and create a unique password. Once complete, confirm your email address by clicking on the link sent to your inbox. If you already have a Ring account, simply log in using your credentials. Creating an account allows you to manage your devices and access video recordings easily.

Adding Your Ring Indoor Camera to the App
Adding a New Device
With the Ring app open and your account activated, it’s time to add your Indoor Camera. Navigate to the main dashboard and tap on the “+” icon to add a new device. The app will prompt you to select the type of device you want to add. Choose “Cameras” and then select “Ring Indoor Camera.”
Scanning the QR Code
After selecting your camera type, point your smartphone camera at the QR code located on the back of the Indoor Camera or in the included user manual. The app will automatically detect the QR code and begin the setup process. This step streamlines the process by linking your camera to your app, making it easy to manage once it’s fully set up.
Powering Up and Connecting Your Camera
Connecting the Power Adapter
Once the app recognizes your camera, it’s time to connect the Indoor Camera to a power source. Use the provided power adapter and cable to plug the camera into a wall outlet. Make sure the connection is secure, and avoid using third-party chargers, as they may not provide the necessary voltage for optimal performance.
Waiting for the Setup Mode
After powering the camera, it will automatically enter Setup Mode, indicated by a spinning white light. This visual cue lets you know the camera is ready for connection. If it doesn’t enter Setup Mode, try turning it off and on again by unplugging the power adapter and reconnecting it.
Completing the Configuration
Connecting to Wi-Fi
Your next step is to connect the camera to your Wi-Fi network. Within the app, it will prompt you to choose your network from the available options. Select your Wi-Fi network and enter the password. Make sure you choose the 2.4 GHz network rather than the 5 GHz one if both are available, as many smart home devices, including Ring cameras, perform better on the 2.4 GHz band.
Finalizing the Setup
Once you’ve successfully connected the camera to Wi-Fi, the app will provide a confirmation message. This process is important as it enables remote access to your camera from anywhere, giving you the ability to monitor your home in real time. The app will walk you through final setup configurations, including notifications and privacy settings. Take the time to review these options to tailor your experience according to your preferences.

Testing and Utilizing Your Ring Indoor Camera
Conducting a Test Run
After completing the setup, it’s essential to conduct a test run to ensure everything operates correctly. Walk around the monitored space, triggering motion detection to see if notifications appear on your smartphone. Check the video feed through the app and confirm that the audio functions work as expected. Test the two-way audio feature by speaking through the app to see if the sound quality is satisfactory.
Utilizing Advanced Features
The Ring Indoor Camera offers several advanced features worth exploring. Check the motion zones within the app, which allow you to customize which areas trigger notifications. This can help avoid false alerts caused by pets or passing cars. Additionally, set up your camera to record footage on motion detection which you can review later. Understanding how to utilize these features will greatly enhance your experience and provide better security coverage for your home.
Integrating with Other Smart Devices
If you have other Ring devices or smart home products, consider integrating them for a cohesive experience. The Ring app allows you to link devices so that they work together. For example, you can set your doorbell or outdoor camera to trigger alerts on your Indoor Camera, enhancing your home security even further. Voice control capabilities through Alexa also enable you to command your camera seamlessly.
Conclusion
Setting up your Ring Indoor Camera doesn’t have to be a daunting task. With this step-by-step guide, you can prepare, install, and optimize your camera to enhance your home security effectively. By understanding its features and utilizing the app, you can easily monitor your home from anywhere and enjoy peace of mind.
Regularly check for firmware updates through the app to ensure your camera is operating with the latest features and security protocols. Home security is an ongoing process; staying informed and engaged allows you to make the most of your Ring Indoor Camera and keep your home safe. Enjoy the flexibility and security that comes with being able to monitor your living spaces anytime and anywhere!
