Sketching can be a delightful and rewarding hobby, allowing you to capture the essence of the world around you on paper. Drawing a camera, with its intricate details and technical elements, may seem daunting at first glance, but it can be simplified into a few manageable steps. Whether you are a budding artist or a seasoned sketcher looking to refine your skills, this tutorial will guide you through an easy approach to drawing a camera. By breaking down the process into simple shapes and adding detail incrementally, you’ll be able to create a recognizable and detailed camera sketch.
Setting the Foundation with Basic Shapes
Outline the Basic Structure of the Camera
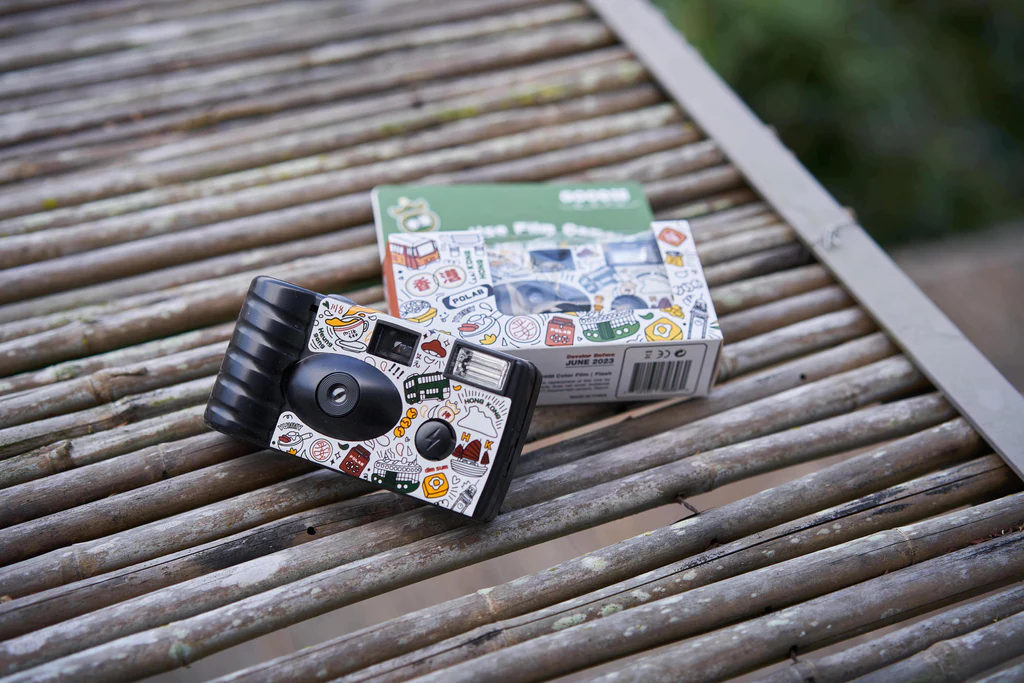
Begin by visualizing the camera as a combination of basic shapes. Most cameras can be broken down into rectangles, squares, and circles. Start your sketch with a rectangle for the camera body, ensuring that the proportions reflect the type of camera you’re drawing, whether it’s a compact point-and-shoot or a larger DSLR. For the lens, draw a circle or an oval at the front of the rectangle, and use a smaller circle inside it to represent the lens opening.
Incorporate the Viewfinder and Other Elements
On top of the camera body, sketch a smaller rectangle for the viewfinder. If you’re drawing a camera with a protruding lens, add a cylinder shape extending from the initial lens circle. For the grip, which is common in DSLR cameras, draw a slightly curved shape on one side of the body rectangle. Remember to lightly sketch these foundational shapes, as you’ll be refining and adjusting them as your drawing progresses.
Adding Details and Refinement
Focus on the Lens and Dials
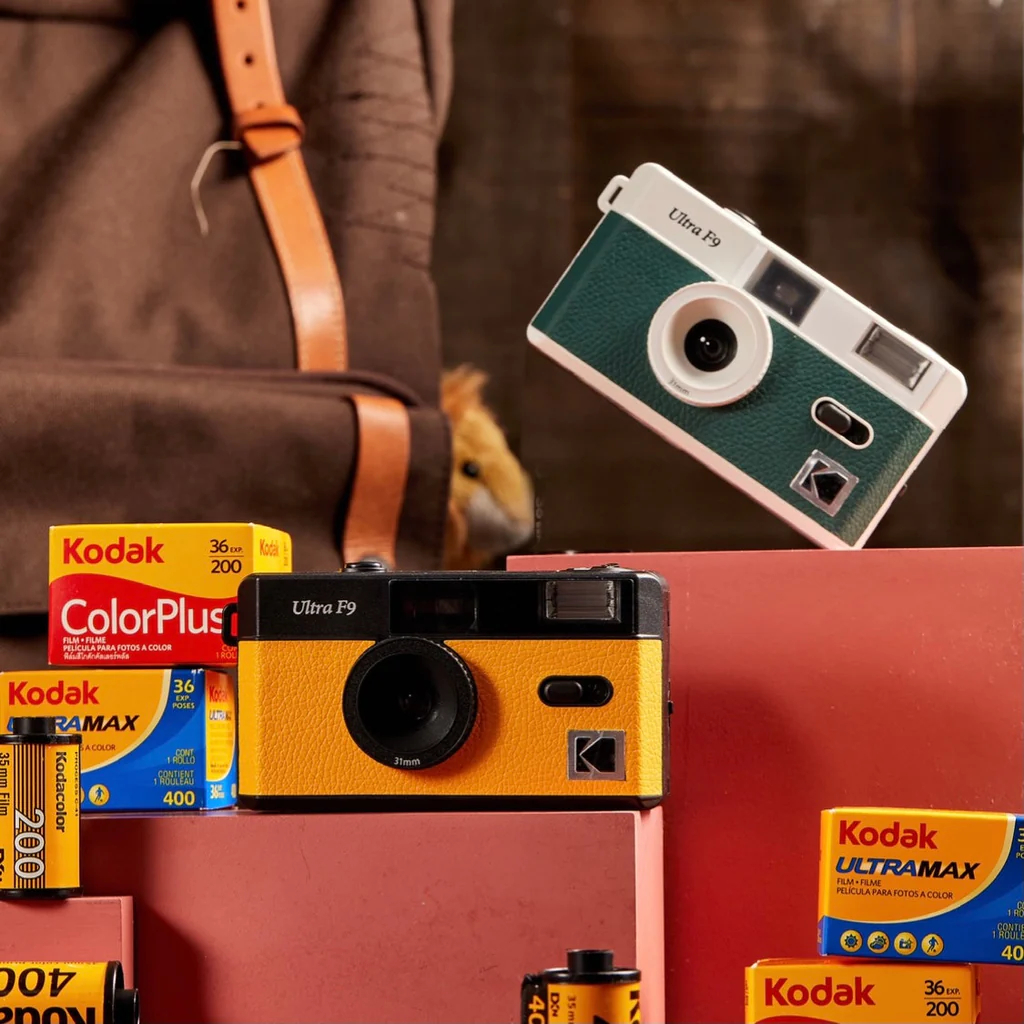
With the basic camera structure in place, it’s time to add details that will bring your camera sketch to life. Refine the lens by adding concentric circles to represent the glass elements and the rim of the lens. Sketch any switches or buttons typically found on the lens body. Then, move to the top of the camera and draw dials or buttons, which are often circular or oblong. Pay attention to their placement and size relative to each other and to the viewfinder.
Sketch the Camera’s Body Details
Next, add details to the camera body, such as the shutter release button, mode dial, and any branding or text. If your camera has an LCD screen on the back, sketch a rectangle within the body rectangle, and add any additional buttons or control pads beside it. These details don’t need to be overly intricate; simple representations will suffice to maintain the camera’s recognizable features.
Refining Your Camera Drawing
Erase and Adjust for Accuracy
As you add more specifics to your camera sketch, take a step back to review the overall composition. Use an eraser to remove any unnecessary guidelines from the initial shapes and to clean up areas that may have become cluttered with details. Adjust any elements that seem out of proportion or misaligned. This is also the time to refine the camera’s curves and angles, ensuring they accurately represent the camera model you’re sketching.
Add Texture and Depth
To give your sketch depth and texture, use shading techniques. Identify where the light source is coming from and add shadows accordingly. Shade around the camera grip, under dials, and inside the lens to give these areas volume. Use hatching or cross-hatching to create texture on the camera body, such as a leather grip or the rough surface around the mode dial. Keep your shading consistent with the light source throughout the drawing for a more realistic appearance.
Final Touches and Presentation
Ink and Highlight Key Features
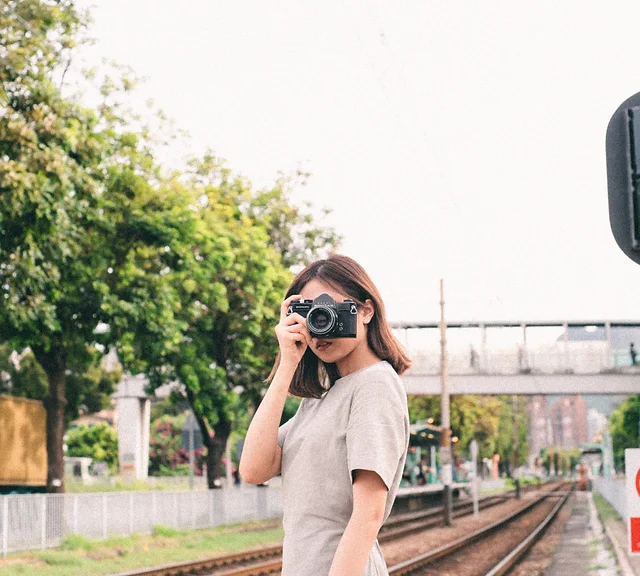
If you want to finalize your camera sketch, consider going over it with ink or a darker pencil line to highlight key features and add sharpness to the drawing. Use a fine-tip pen or a sharp pencil to trace over your pencil lines, then allow the ink to dry before erasing any remaining pencil marks. This step will make your camera drawing stand out and give it a clean, professional look.
Presenting Your Work
With your camera drawing complete, consider the presentation. If you’re compiling an art portfolio, mount your sketch on a larger sheet of paper. Add a mat border to frame it. You could scan your drawing. Enhance it digitally after scanning. This gives you options to share it online. Alternatively, you can print it in various sizes. Every drawing reflects your unique style and perspective. Take pride in your work. Share it with confidence.
Embracing Your Unique Style and Continuing Practice
Celebrate Your Artistic Journey
Every artist has a distinct style that develops over time with practice and experimentation. As you complete your camera sketch, take a moment to appreciate the effort and creativity you’ve invested in your work. Your camera drawing is more than just lines on paper. It represents your artistic journey and growth. Embrace the quirks and nuances in your drawing. These elements make your work unique. Showcase your personal touch with confidence. Pay attention to the details you’ve emphasized or simplified. These choices reflect your artistic decisions.
Commit to Continued Learning and Practice
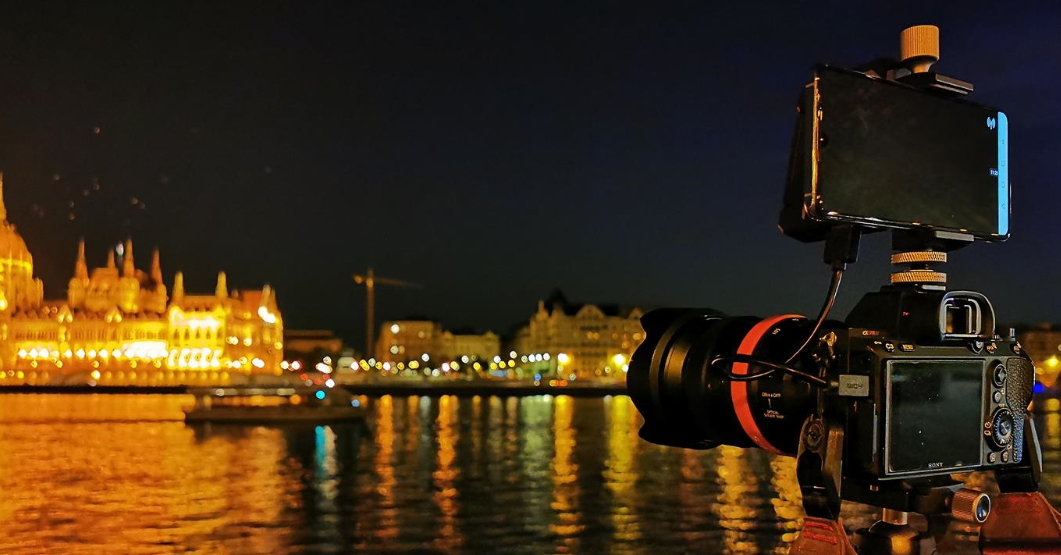
Artistic mastery is an ongoing process, and each sketch serves as a stepping stone towards improvement. Keep challenging yourself with new subjects and increasingly complex compositions. Consider keeping a sketchbook dedicated to drawing different types of cameras and photographic equipment, documenting various models, and experimenting with perspectives and shading. As you continue to sketch regularly, you’ll notice a natural progression in your skills and confidence. Share your work with others for feedback, and don’t forget to draw inspiration from the world around you and the vast community of artists who share your passion for sketching. With dedication and enthusiasm, the simple act of drawing a camera can open doors to a fulfilling and enriching artistic adventure.
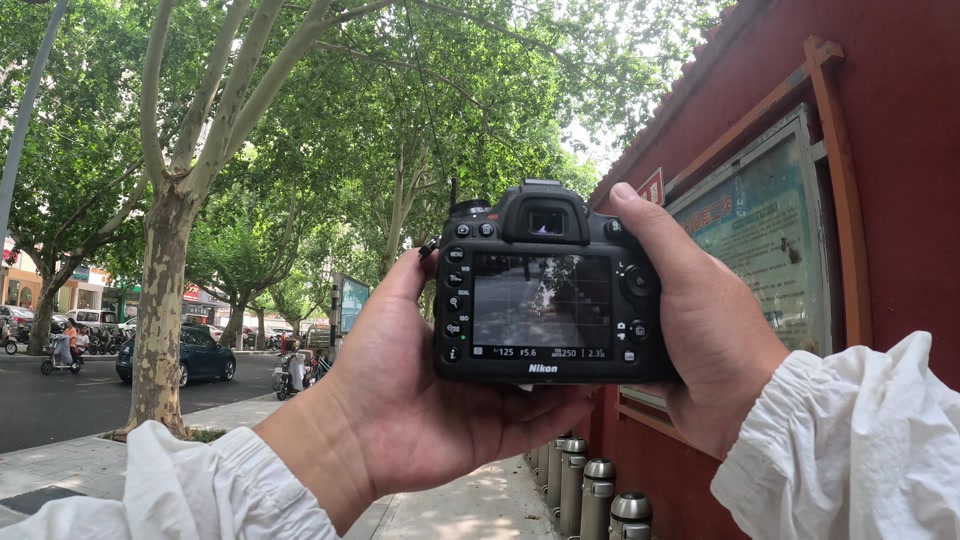
With these simple steps, you can master the art of sketching a camera, transforming a complex subject into an approachable drawing challenge. Starting with basic shapes and progressively adding details allows you to focus on each element without becoming overwhelmed. Remember to refine your sketch with clean lines and shading to bring out the camera’s texture and depth. Whether for practice, portfolio development, or personal enjoyment, drawing a camera can be an enjoyable exercise to enhance your artistic skills. So grab your sketchbook, and let’s bring the world of photography to life on paper!