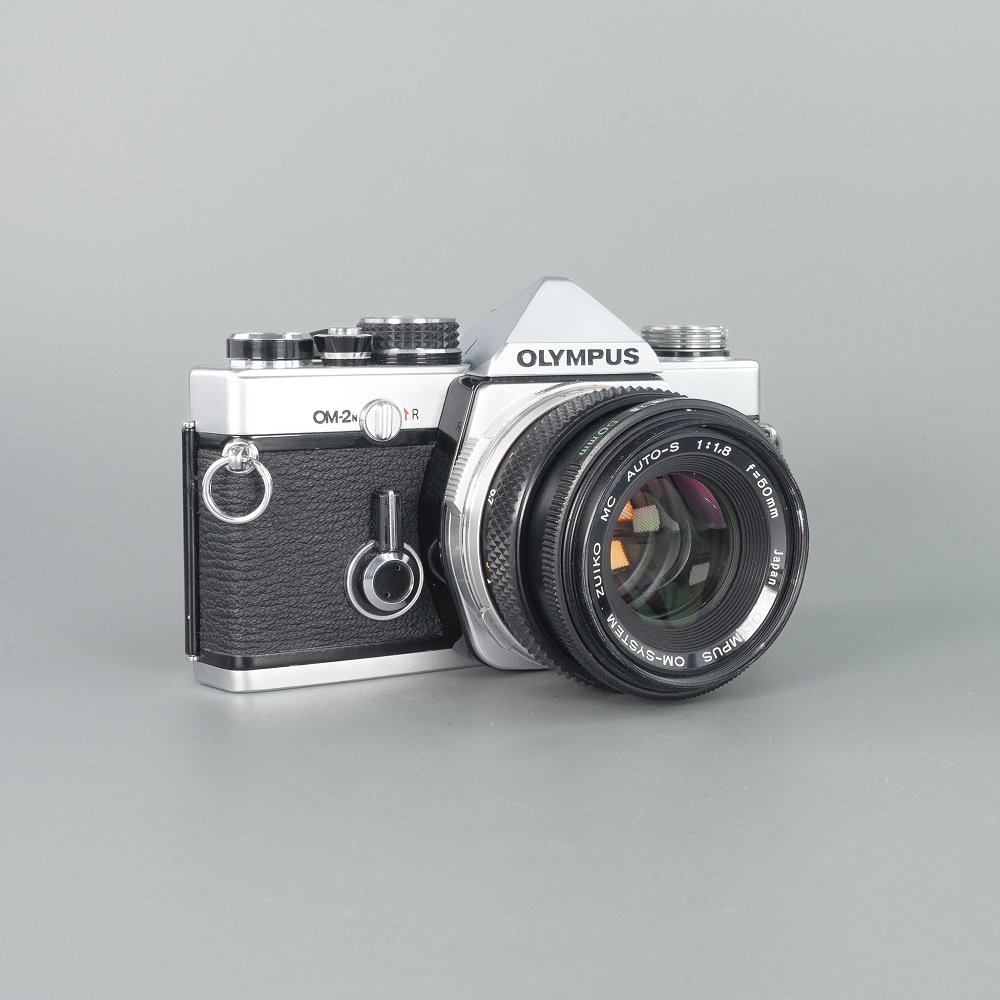
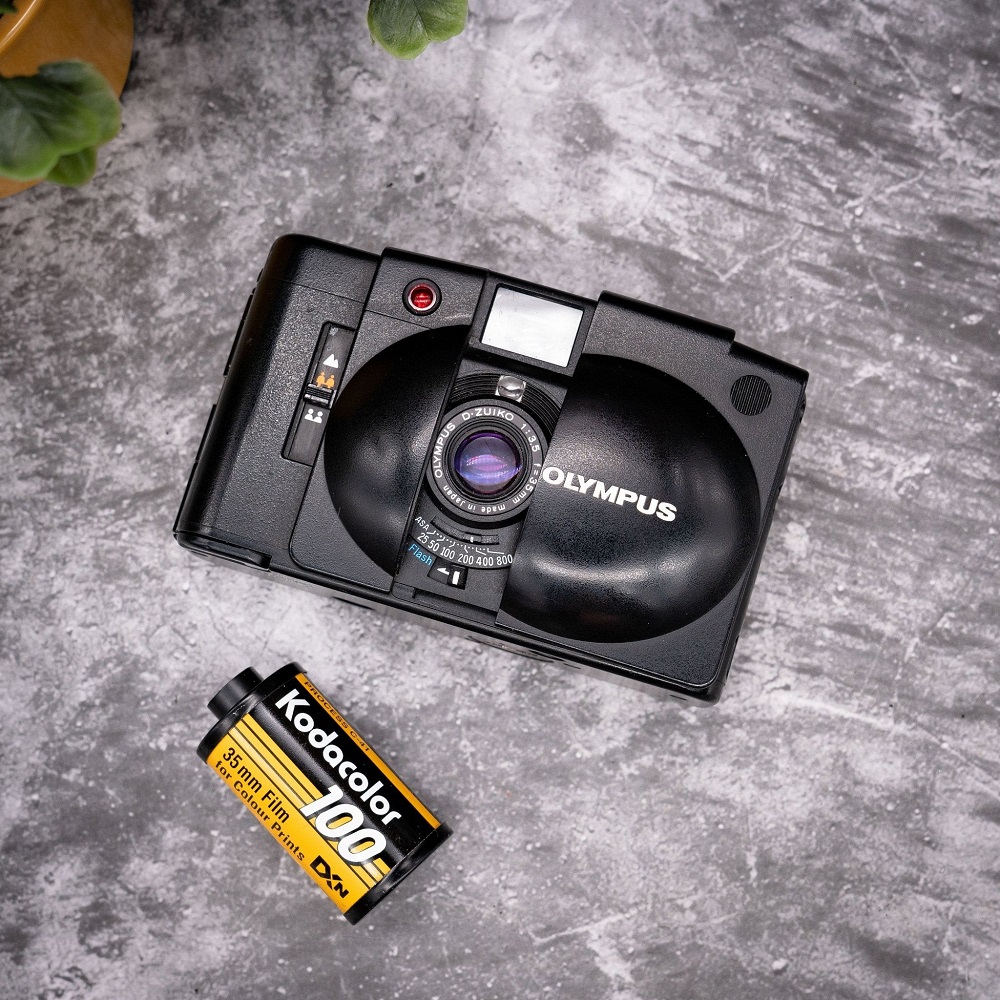
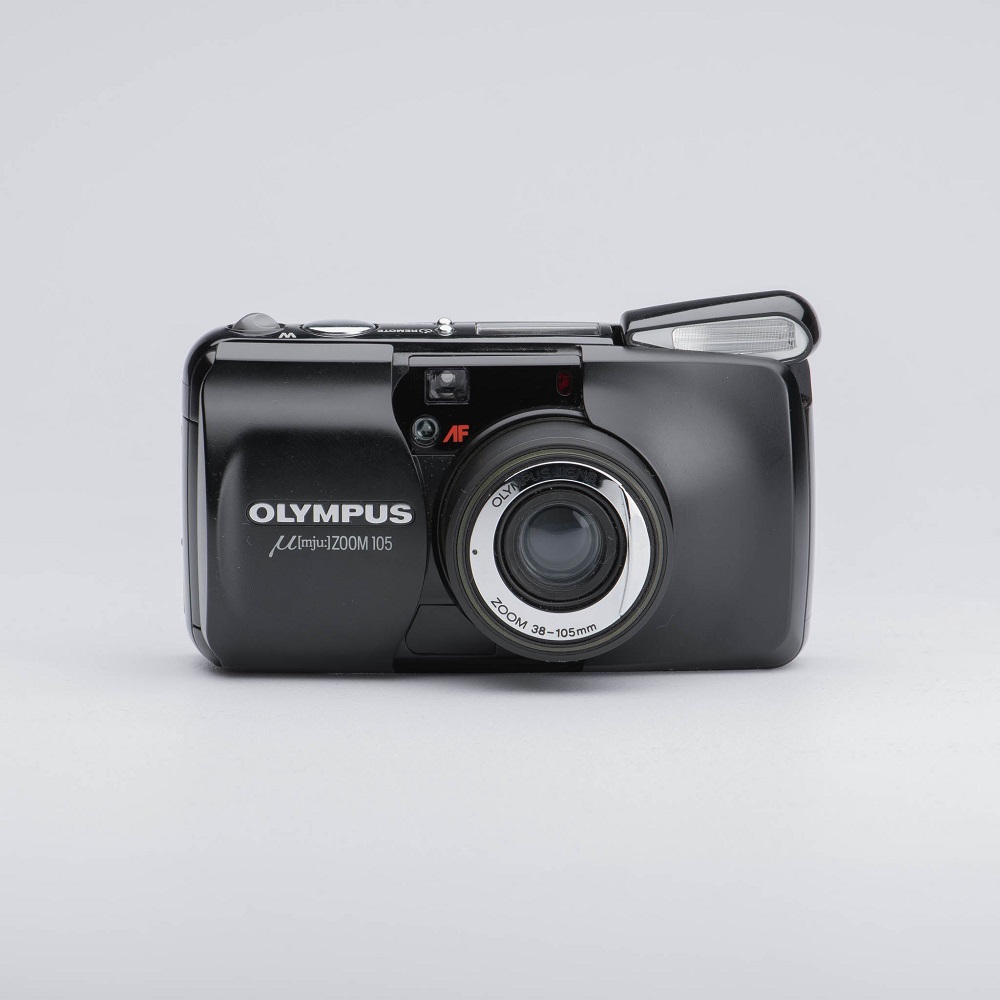
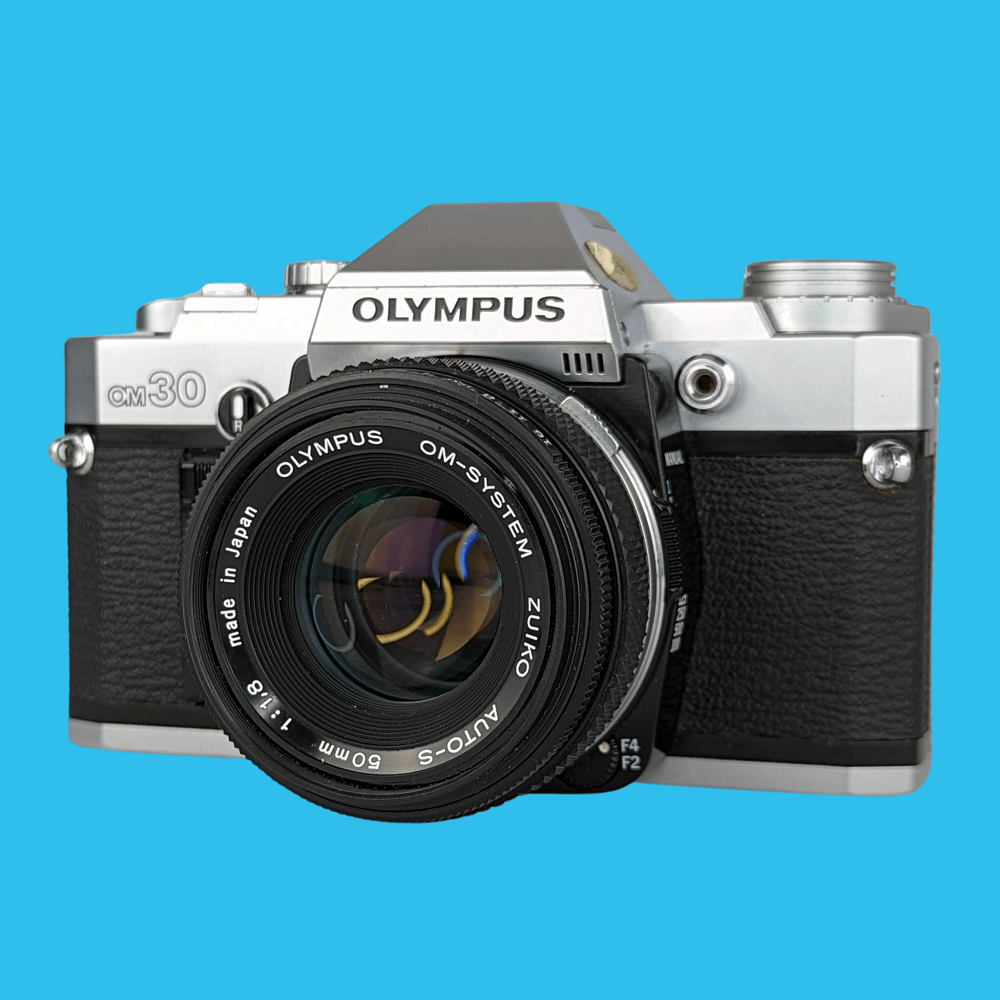
Olympus film cameras have garnered a dedicated following among photography enthusiasts around the world. These cameras are known for their excellent build quality, reliable performance, and user-friendly features. Whether you’re a beginner or a seasoned pro looking to explore the classic art of film photography, understanding the key elements of using an Olympus film camera can enhance your experience and outcomes. This article highlights valuable tips and techniques to help you make the most of your Olympus film camera, ensuring you capture stunning images every time you press the shutter.
Familiarize Yourself with Your Camera Model
Understanding Your Olympus Model
Before diving into the world of film photography, take time to learn about your specific Olympus camera model. Olympus has produced various popular film cameras, such as the OM-1, OM-2, and OM-4. Each one has unique features and controls. Start by reading the user manual to understand the camera’s layout, buttons, dials, and functions. This knowledge will empower you to make informed decisions while shooting.
Key Features to Focus On
Pay close attention to essential features such as shutter speed settings, aperture control, and film ISO settings. Understanding how these elements interact will provide you with the foundation to capture high-quality photos under various lighting conditions. Learn how to use the light meter if your camera has one, as it will guide your exposure choices. Familiarizing yourself with these features will allow you to feel more confident when using your Olympus film camera in the field.

Choose the Right Film
Selecting Film for Your Needs
Choosing the right film is crucial for achieving the desired look in your photographs. Film comes in various types, including color negative, black and white, and slide film, each offering distinct characteristics. For beginners, color negative film is a popular choice due to its forgiving nature and vibrant colors. Brands like Kodak and Fujifilm offer dependable options that yield great results.
Consider the ISO Rating
Pay attention to the ISO rating of the film you choose, as it dictates the film’s sensitivity to light. For shooting in bright daylight conditions, opt for lower ISO films (e.g., ISO 100 or 200). For low-light situations, higher ISO films (e.g., ISO 400 or 800) will help maintain image quality. Selecting the right film will significantly affect the outcome of your images.
Master Exposure Control
Importance of Exposure Settings
Exposure refers to the amount of light that reaches the film. Properly controlling exposure is vital for capturing images with accurate brightness and contrast. Your Olympus film camera will either have manual or automatic exposure settings, depending on the model. Understanding how to use these controls will elevate your photography skills.
Adjusting Shutter Speed and Aperture
Shutter speed determines how long the film is exposed to light, while aperture controls the size of the opening that light passes through. A fast shutter speed (e.g., 1/1000 second) freezes motion, while a slower speed (e.g., 1/4 second) captures movement and can produce motion blur. Aperture, expressed as f-stops, regulates the depth of field. A lower f-stop (e.g., f/2.8) creates a shallow depth of field, blurring the background, while a higher f-stop (e.g., f/16) increases depth of field and keeps more elements in focus. Learning how to balance these two settings will enhance your creative options as a photographer.

Utilize Composition Techniques
Rule of Thirds
Effective composition can significantly improve your photographs. A classic technique is the Rule of Thirds, where you divide the frame into a grid of nine equal sections. Position points of interest along the lines or at the intersections, drawing viewers’ eyes through the image. This technique often makes compositions more engaging and dynamic.
Leading Lines and Framing
Look for leading lines, such as roads, fences, or rivers, that guide the viewer’s eye to the main subject. Additionally, use natural frames like doorways or branches to add depth to your images. Experimenting with different compositions will help you hone your skills and develop a unique photographic style.
Experiment with Lighting Conditions
Utilize Natural Light
Lighting plays a significant role in photography. Natural light varies throughout the day, influencing the mood and quality of your images. Aim to shoot during the “golden hour”—the hour after sunrise and before sunset—when natural light is soft and warm. Capture landscapes and portraits during this time for stunning results.
Overcast vs. Bright Sunlight
Don’t shy away from shooting on overcast days. Cloud cover acts as a natural diffuser, softening harsh shadows and reducing glare. This lighting condition is ideal for capturing details and textures. Conversely, shooting in bright sunlight can produce sharp shadows and contrast. If you must shoot in harsh conditions, consider using reflectors or diffusers to control the light effectively.

Focus Accurately
Understanding Focusing Techniques
Proper focusing is critical for sharp images. Depending on your Olympus model, you may have manual or autofocus options. If using manual focus, practice getting familiar with the focusing ring on your lens. Use the viewfinder to assess sharpness and make adjustments until the subject appears clear.
Depth of Field Considerations
Each lens has a specific depth of field, influencing the area in focus in your photograph. Experiment with aperture settings to control depth of field. A shallow depth of field isolates your subject from the background, while a greater depth keeps multiple elements in focus. Understanding how focusing and depth of field work together will enhance your ability to convey your desired message through your images.
Develop and Preserve Your Film
Capturing Your Images
After shooting your roll of film, the next step is to develop it. You can either develop it yourself at home or send it to a professional lab for processing. If you choose to develop the film yourself, invest in darkroom equipment and supplies. Several online resources and guides are available to learn about the developing process, which typically involves chemicals like developers, stop baths, and fixers. This process gives photographers more control over their final images while allowing for creative opportunities through techniques such as cross-processing or push-processing.
Preserving Your Work
Once your film is developed, carefully store the negatives in archival sleeves to protect them from scratches and dust. If you desire prints from your negatives, professional labs can make high-quality enlargements. Consider also scanning your negatives to create digital files, which are easier to share and preserve over time. Digitization ensures your work remains safe for future generations while making it easier to access and showcase your favorite photographs.
Embrace Your Photography Journey
Using an Olympus film camera offers a rewarding experience that allows you to connect with photography on a deeper level. By familiarizing yourself with your camera, selecting the right film, mastering exposure and composition, and experimenting with lighting, you will unlock endless creative possibilities. As you practice and refine your skills, be patient with yourself and enjoy the learning process. Each photo you take contributes to your growth as a photographer.
Film photography encourages a mindful approach, as each shot counts. Developing your film can evoke a sense of anticipation, adding to the joy of capturing beautiful moments. Embrace your journey through Olympus film photography, and you will find it a gratifying and fulfilling art form. Whether you’re documenting everyday life or exploring the world, your Olympus camera is the perfect companion for capturing memories that last a lifetime.
